利用SpringBoot和vue+elementui做一个简单的书本信息管理系统
目录
1.准备工作
1.1.数据库准备
1.2.前端准备工作
1.3.后端准备工作
2.后台代码的编写
2.1.修改配置文件
2.2. 编写service层
2.3.编写Controller层
3.前台代码的编写
3.1.在src里面的api里面的action.js
3.2.搜索栏,表单
3.3.表格
3.4.弹出新增的模态框
1.准备工作

提前准备好的db(数据库表),html(前端代码),java(后端代码)等文件夹
1.1.数据库准备
表:
create database if not exists bookshop default charset utf8 collate utf8_general_ci;
use bookshop;
create table t_book(
id int not null auto_increment primary key comment '书本编号',
bookname varchar(50) not null comment '书本名称',
price float default 0 comment '书本价格',
booktype varchar(20) comment '书本类型'
) comment '书本信息表';
insert into t_book(bookname,price,booktype) values
('三国演义',110,'战争'),
('西游记',120,'神话'),
('红楼梦',130,'古典');
把什么的数据直接放到mysql里面进行执行即可
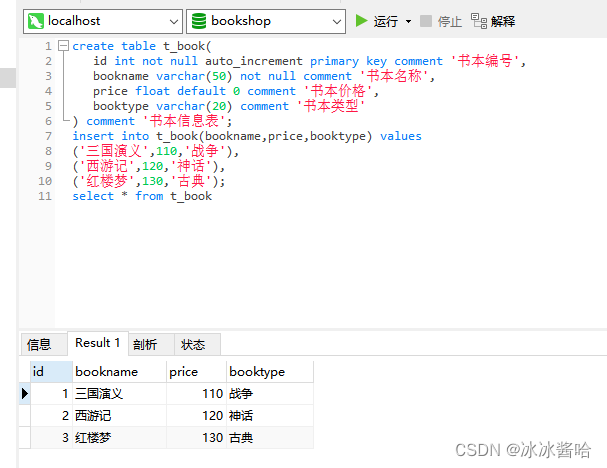
现在数据库准备工作已经完成
1.2.前端准备工作
把我们提前准备好的HTML文件里面的spbook文件夹导入前端工具中
在找的文件的根目录执行
npm -v 查看版本

注意:如果npm -v没有出现版本的话我们需要以管理员的身份进入即可
在执行npm i 或者npm install下载依赖
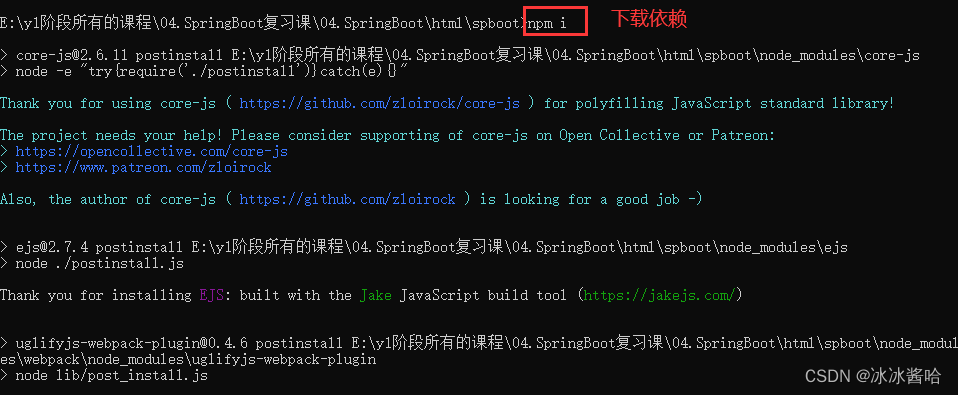
npm run dev
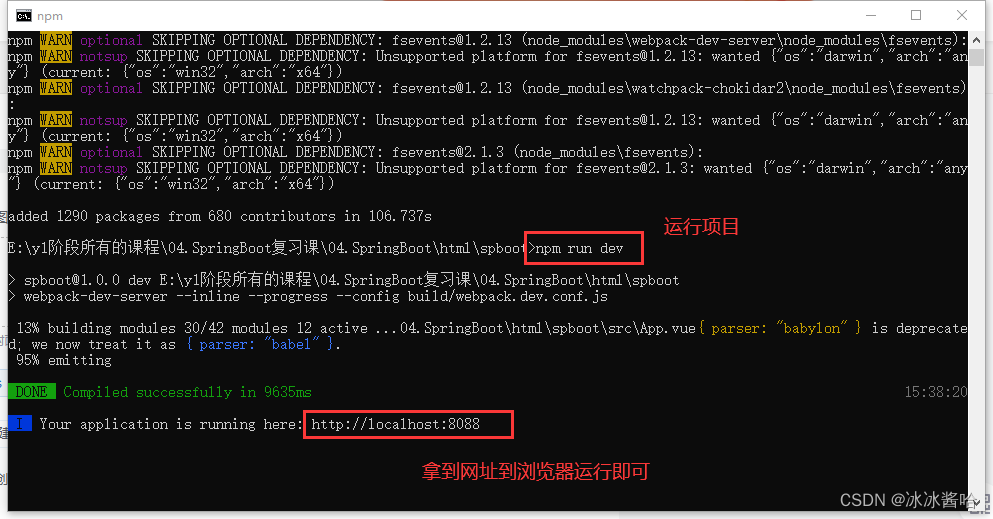
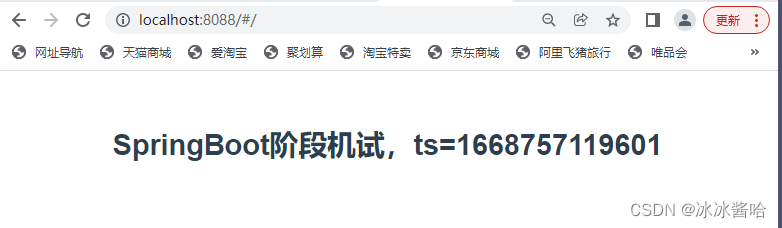
这样我们的前端准备工作就完成了
1.3.后端准备工作
导入准备好的java中的开发工具中
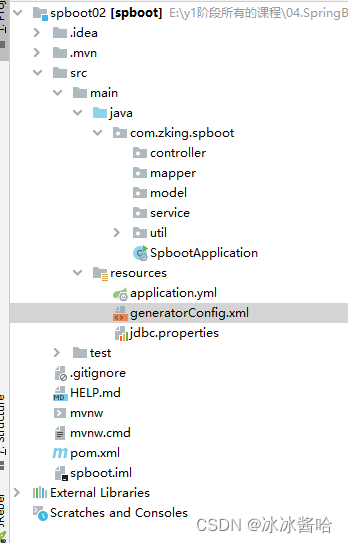
1.3.1修改maven仓库
导入项目之后面要修改maven仓库,一定要找到本地仓库
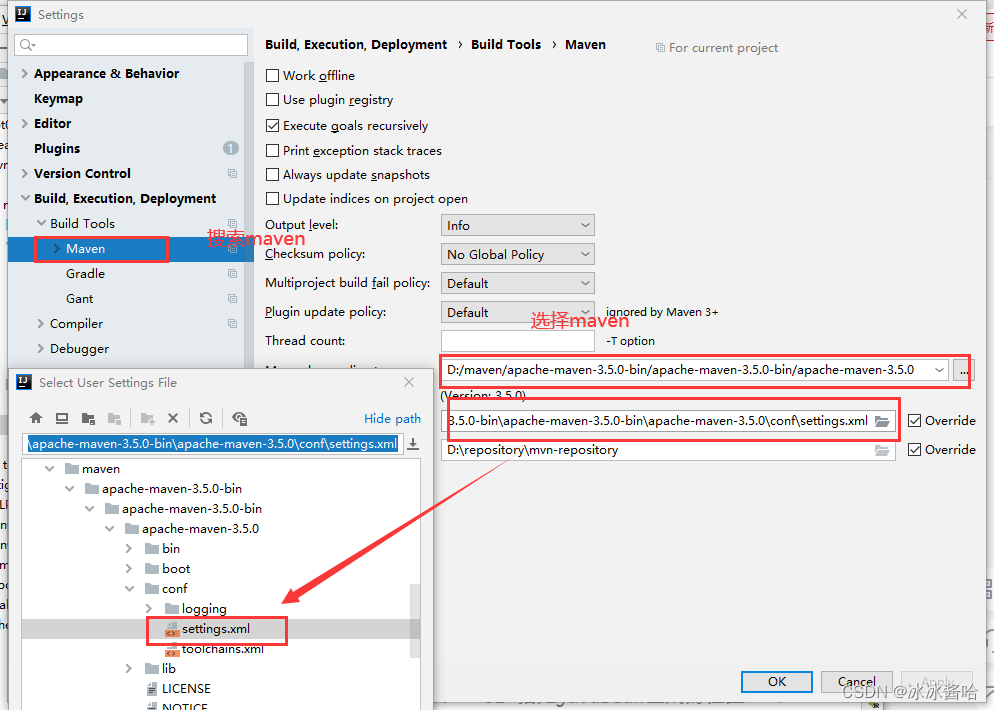
导入改变即可
1.3.2.修改配置文件
application.yml
server:port: 8080servlet:context-path: /spboot
spring:datasource:type: com.alibaba.druid.pool.DruidDataSourcedriver-class-name: com.mysql.jdbc.Driverurl: jdbc:mysql://localhost:3306/bookshop?useUnicode=true&characterEncoding=utf8&useSSL=falseusername: rootpassword: 123456druid:initial-size: 5min-idle: 5max-active: 20max-wait: 60000time-between-eviction-runs-millis: 60000min-evictable-idle-time-millis: 30000validation-query: SELECT 1 FROM DUALtest-while-idle: truetest-on-borrow: truetest-on-return: falsepool-prepared-statements: truemax-pool-prepared-statement-per-connection-size: 20filter:stat:merge-sql: trueslow-sql-millis: 5000web-stat-filter:enabled: trueurl-pattern: /*exclusions: "*.js,*.gif,*.jpg,*.png,*.css,*.ico,/druid/*"session-stat-enable: truesession-stat-max-count: 100stat-view-servlet:enabled: trueurl-pattern: /druid/*reset-enable: truelogin-username: adminlogin-password: adminallow: 127.0.0.1#deny: 192.168.1.100freemarker:cache: falsecharset: UTF-8content-type: text/htmlsuffix: .ftltemplate-loader-path: classpath:/templates
mybatis:mapper-locations: classpath:mapper/*.xmltype-aliases-package: com.zking.spboot.modelconfiguration:map-underscore-to-camel-case: true
logging:level:com.zking.spboot.mapper: debug
pagehelper:helperDialect: mysqlreasonable: truesupportMethodsArguments: trueparams: count=countSql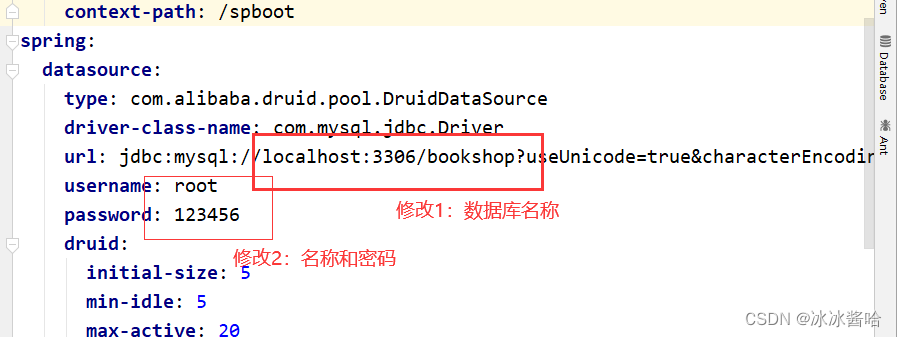
其他不要修改即可!!!
jdbc.properties
jdbc.driver=com.mysql.jdbc.Driver
jdbc.url=jdbc:mysql://localhost:3306/bookshop?useUnicode=true&characterEncoding=UTF-8
jdbc.username=root
jdbc.password=123456
同样的修改数据库名称和密码
generatorConfig.xml

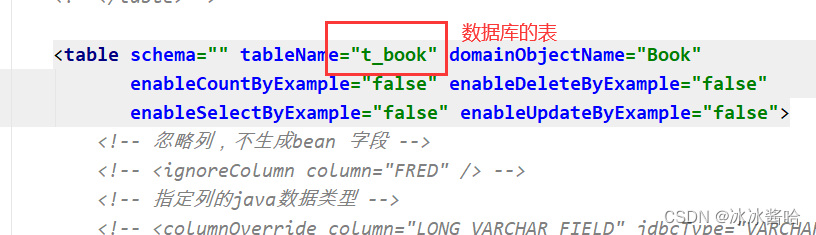
1.3.3.配置maven
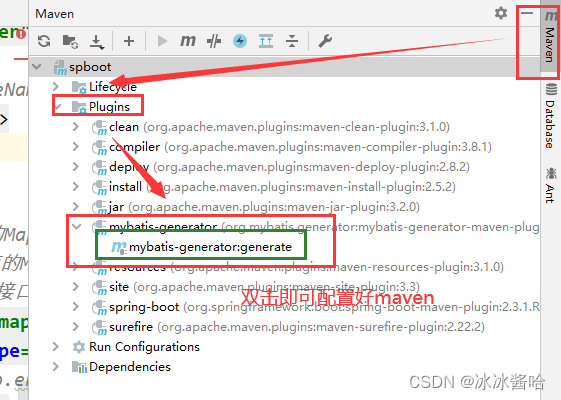
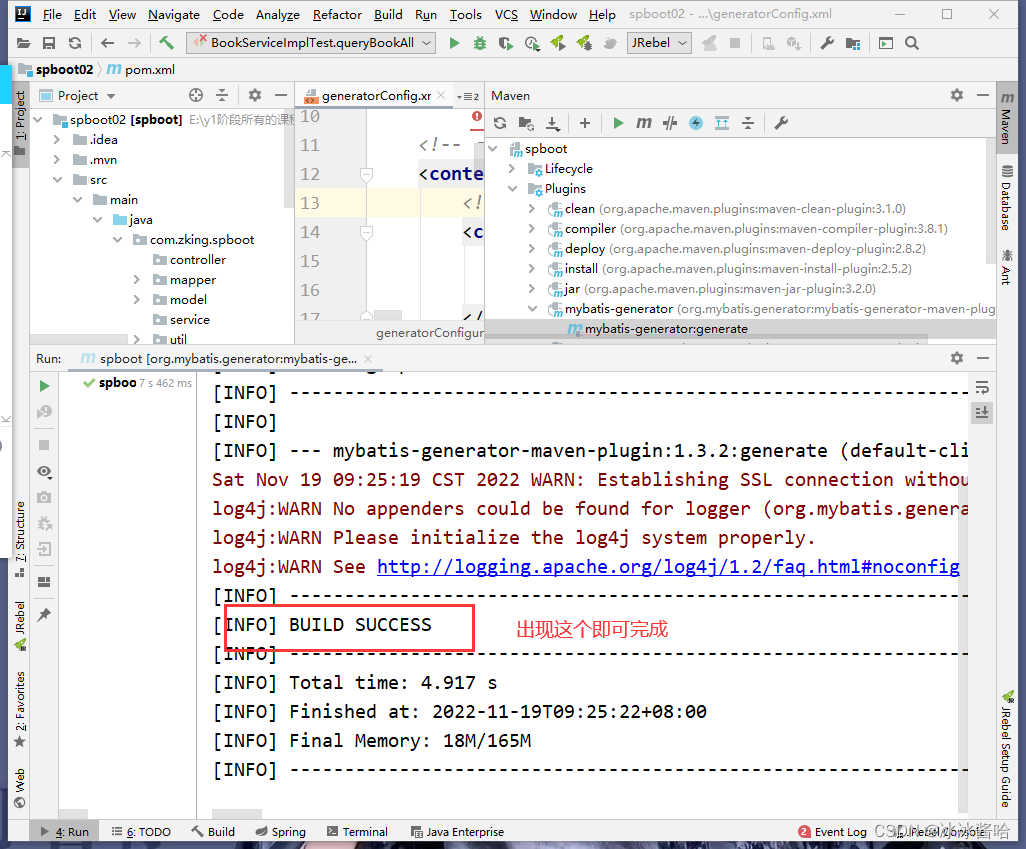
同时即可生成代码
完成以上步骤说明前后端环境已经搭建完成!!!!
2.后台代码的编写
2.1.修改配置文件
BookMapper:
package com.zking.spboot.mapper;import com.zking.spboot.model.Book;
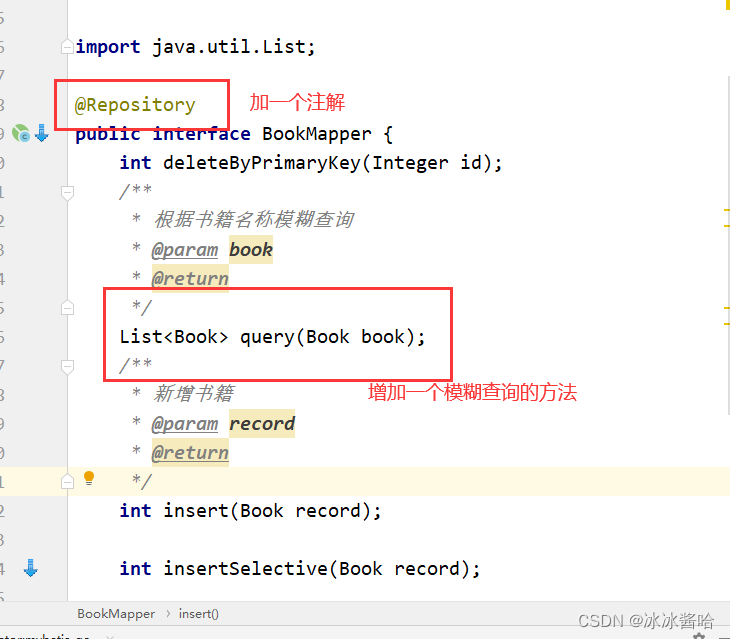
import org.springframework.stereotype.Repository;import java.util.List;@Repository
public interface BookMapper {int deleteByPrimaryKey(Integer id);/*** 根据书籍名称模糊查询* @param book* @return*/List query(Book book);/*** 新增书籍* @param record* @return*/int insert(Book record);int insertSelective(Book record);Book selectByPrimaryKey(Integer id);int updateByPrimaryKeySelective(Book record);int updateByPrimaryKey(Book record);
} 
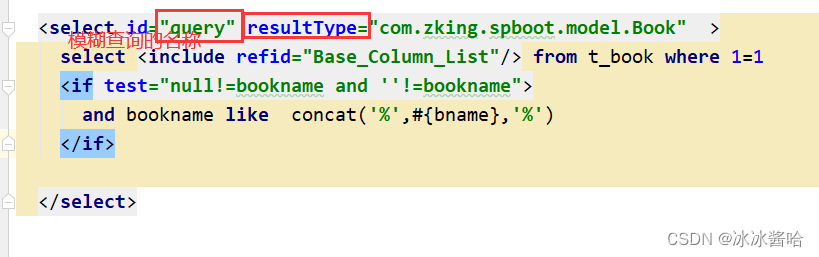
BookMapper.xml:
id, bookname, price, booktype delete from t_bookwhere id = #{id,jdbcType=INTEGER} insert into t_book (id, bookname, price, booktype)values (#{id,jdbcType=INTEGER}, #{bookname,jdbcType=VARCHAR}, #{price,jdbcType=REAL}, #{booktype,jdbcType=VARCHAR}) insert into t_bookid, bookname, price, booktype, #{id,jdbcType=INTEGER}, #{bookname,jdbcType=VARCHAR}, #{price,jdbcType=REAL}, #{booktype,jdbcType=VARCHAR}, update t_bookbookname = #{bookname,jdbcType=VARCHAR}, price = #{price,jdbcType=REAL}, booktype = #{booktype,jdbcType=VARCHAR}, update t_bookset bookname = #{bookname,jdbcType=VARCHAR},price = #{price,jdbcType=REAL},booktype = #{booktype,jdbcType=VARCHAR}where id = #{id,jdbcType=INTEGER}
2.2. 编写service层
BookService:
package com.zking.spboot.service;import com.zking.spboot.model.Book;
import org.springframework.stereotype.Repository;import java.util.List;public interface BookService {/*** 根据商品名称模糊查询* @param book* @return*/List query(Book book);/*** 新增书籍* @param record* @return*/int insert(Book record);} 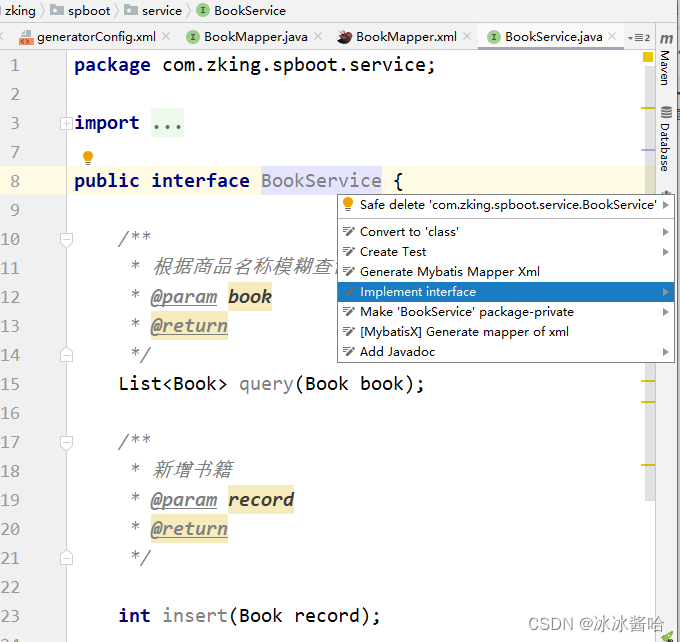
选中BookService alt+Enter 选择 implement interface
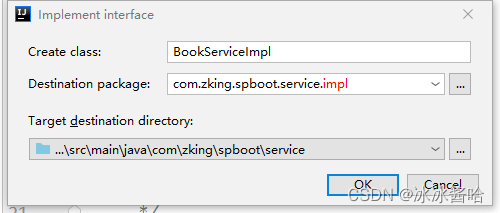
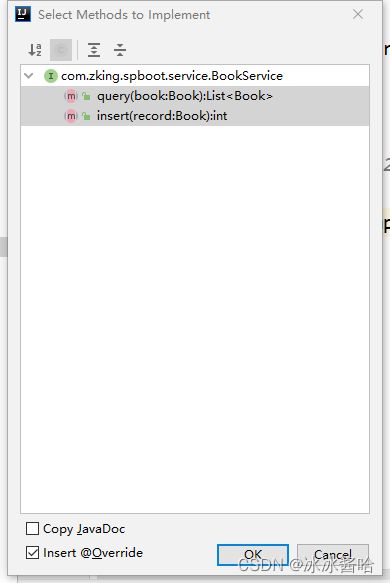
即可生成
BookServiceImpl:
package com.zking.spboot.service.impl;import com.zking.spboot.mapper.BookMapper;
import com.zking.spboot.model.Book;
import com.zking.spboot.service.BookService;
import org.springframework.beans.factory.annotation.Autowired;
import org.springframework.stereotype.Service;
import org.springframework.web.bind.annotation.RequestMapping;import java.util.List;/*** @author冰冰* @create  2022-11-19 10:24*/
@Service
public class BookServiceImpl implements BookService {@Autowiredprivate BookMapper bookMapper;@Overridepublic List query(Book book) {return bookMapper.query(book);}@Overridepublic int insert(Book record) {return bookMapper.insert(record);}
}
2.3.编写Controller层
BookController:
package com.zking.spboot.controller;import com.zking.spboot.model.Book;
import com.zking.spboot.service.BookService;
import lombok.AllArgsConstructor;
import lombok.Data;
import lombok.NoArgsConstructor;
import org.springframework.beans.factory.annotation.Autowired;
import org.springframework.web.bind.annotation.RequestMapping;
import org.springframework.web.bind.annotation.RestController;import java.util.List;/*** @author冰冰* @create  2022-11-19 10:29*/
@RestController
@RequestMapping("/book")
public class BookController {@Autowiredprivate BookService bookService;//模糊查询@RequestMapping("/query")public  JsonResponseBody query(Book book){List books = bookService.query(book);return new JsonResponseBody<>(200,"ok",books);}//新增@RequestMapping("/add")public  JsonResponseBody add(Book book){bookService.insert(book);return new JsonResponseBody<>();}@Data@AllArgsConstructor@NoArgsConstructorclass JsonResponseBody{private int code = 200;private  String msg = "ok";private T data;}}
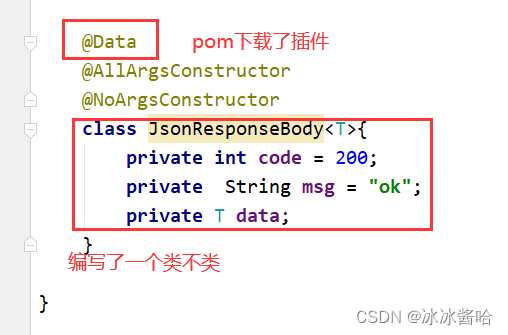
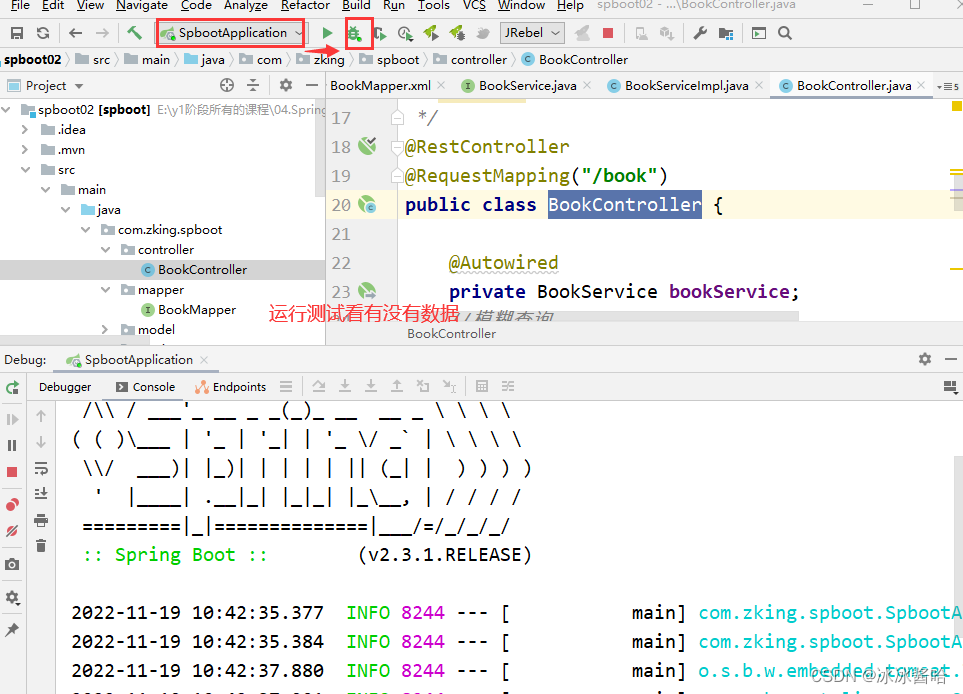

以上完成后台就全部写完了!!(只包括新增和查询和模糊查询)
3.前台代码的编写
3.1.在src里面的api里面的action.js
action.js:
/*** 对后台请求的地址的封装,URL格式如下:* 模块名_实体名_操作*/
export default {//服务器'SERVER': 'http://localhost:8080/spboot', 'ALL':'/book/query','ADD':'/book/add',	//获得请求的完整地址,用于mockjs测试时使用'getFullPath': k => {return this.SERVER + this[k];}
}
3.2.搜索栏,表单
表单的样式我们拜读官网
Element - The world's most popular Vue UI framework
注意:下面这个bookname是跟数据库的书籍名称保存一致
查询
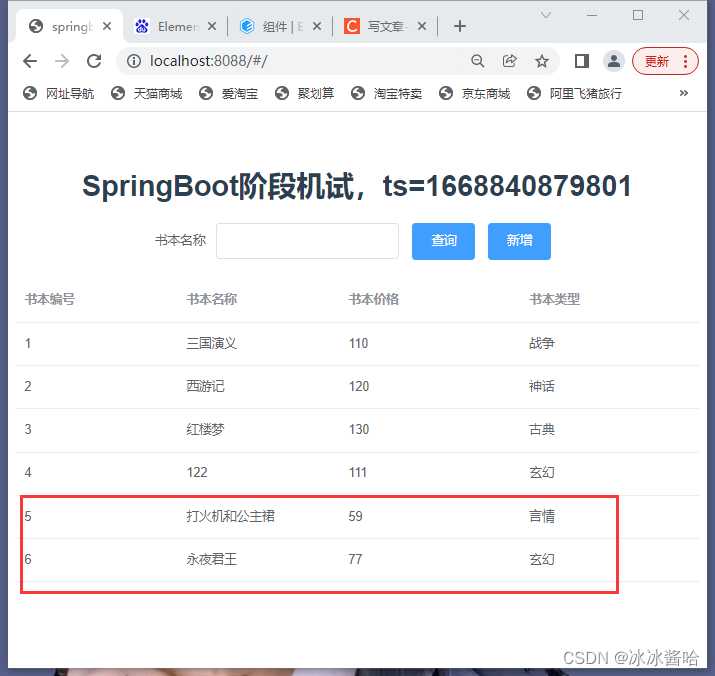
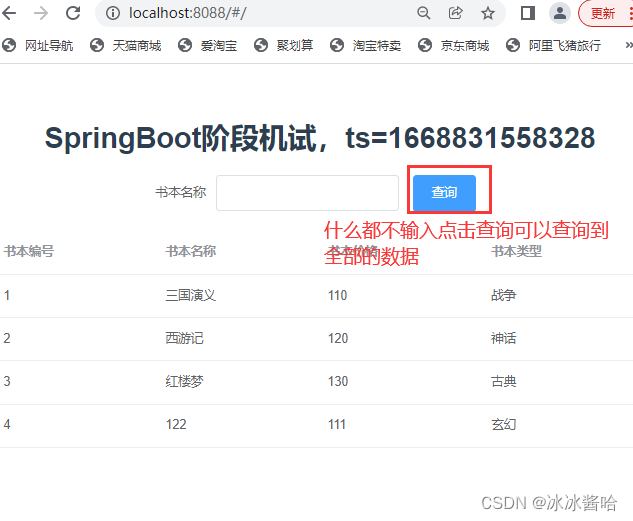
效果:
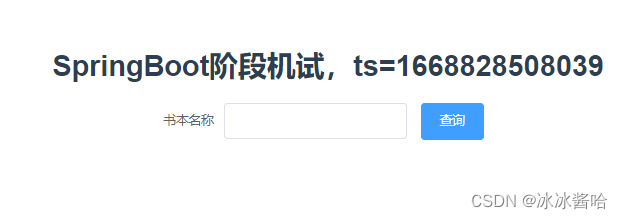
3.3.表格
效果:
查询
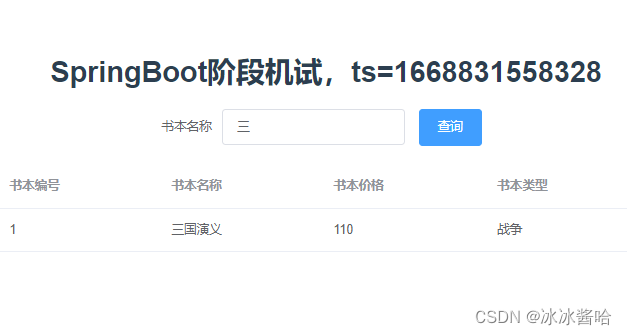
模糊查询
3.4.弹出新增的模态框
取 消
确 定
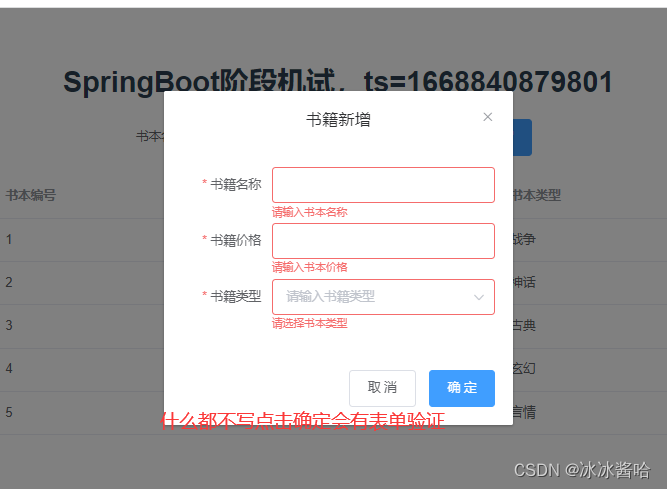
效果: