

【Spring(三)】熟练掌握Spring的使用
有关Spring的所有文章都收录于我的专栏:👉Spring👈
目录
一、前言
二、通过静态工厂获取对象
三、通过实例工厂获取对象
四、通过FactoryBean获取对象
五、Bean配置信息重用
六、Bean创建顺序
七、Bean对象的单例和多例
八、Bean的生命周期
九、配置Bean的后置处理器
十、通过属性文件给Bean注入值
十一、基于XML的Bean的自动装配
相关文章
| 【Spring(一)】如何获取对象(Bean) | 【Spring(一)】如何获取对象(Bean) |
| 【Spring(二)】java对象属性的配置(Bean的配置) | 【Spring(二)】java对象属性的配置(Bean的配置) |
一、前言
我们这一节来讲解一些Spring的剩下的一些基础内容。
二、通过静态工厂获取对象
我们在将Spring的第一节就讲了在Spring中如何来获取Bean对象,那是一种普通的Bean。而我们这里要讲的是另一种Bean:工厂Bean。它的种类有很多种:静态工厂、实例工厂、通过FactoryBean来获取Bean。
在此之前,同样的我们需要先创建一个静态工厂类。
package com.jl.spring.factory;
import com.jl.spring.bean.Monster;
import java.util.HashMap;
/*** @author long* @date 2022/9/1*/
public class MyStaticFactory {private static HashMap monsterMap = null;static {monsterMap = new HashMap<>();monsterMap.put("monster01",new Monster(100,"牛魔王","芭蕉扇"));monsterMap.put("monster02",new Monster(200,"白骨精","芭蕉扇"));}public static Monster getMonster(String key){return monsterMap.get(key);}
}
class:是静态工厂的全路径。factor-method:表示是静态工厂类的哪个方法返回对象。所以我们的静态工厂类里边必须要提供返回对象的静态方法。类的有参构造,而是我们获取对象方法的参数列表。key是我们的形参名,value是指要返回静态工厂中的哪个对象。
测试类
@Test
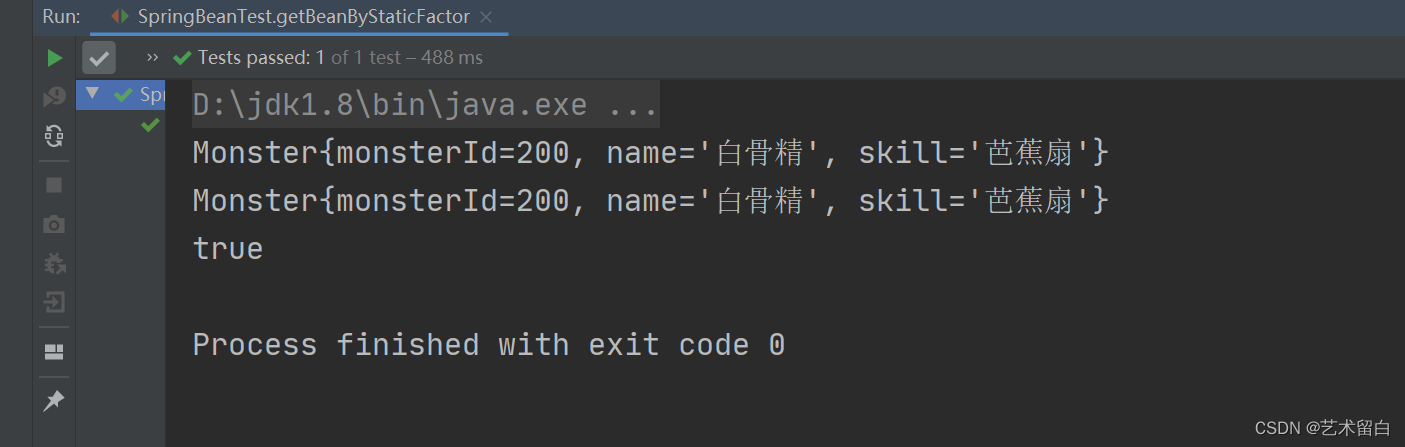
public void getBeanByStaticFactor(){ApplicationContext ioc = new ClassPathXmlApplicationContext("beans.xml");Monster monster = ioc.getBean("my_monster01", Monster.class);Monster monster04 = ioc.getBean("my_monster04", Monster.class);System.out.println(monster);System.out.println(monster04);//因为是静态工厂,内存中只加载一份,所以获取到的monster对象是同一个System.out.println(monster == monster04); //true
}
结果截图
三、通过实例工厂获取对象
实例工厂类
package com.jl.spring.factory;import com.jl.spring.bean.Monster;import java.util.HashMap;/*** @author long* @date 2022/9/1*/
public class MyInstanceFactory {private HashMap monsterMap;{monsterMap = new HashMap<>();monsterMap.put("monster03",new Monster(300,"牛魔王","芭蕉扇"));monsterMap.put("monster04",new Monster(400,"白骨精","芭蕉扇"));}public Monster getMonster(String key){return monsterMap.get(key);}
}
因为是实例工厂,所以前提是先得有一个实例工厂。
1.factory-bean:是实例工厂。
2. factory-method:表示是实例工厂类的哪个方法返回对象。
测试类
@Test
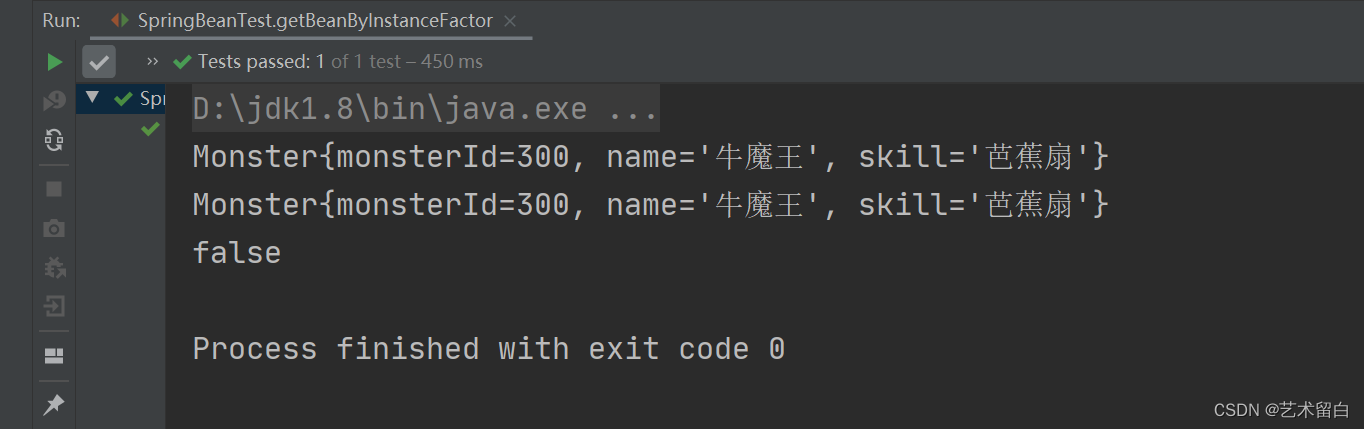
public void getBeanByInstanceFactor(){ApplicationContext ioc = new ClassPathXmlApplicationContext("beans.xml");Monster monster02 = ioc.getBean("my_monster02", Monster.class);Monster monster03 = ioc.getBean("my_monster03", Monster.class);System.out.println(monster02);System.out.println(monster03);//因为实例工厂可以有多个,所以获取到的monster对象不是同一个System.out.println(monster02 == monster03); //false
}
结果截图
四、通过FactoryBean获取对象
创建BeanFactory类,需要实现FactoryBean接口。
package com.jl.spring.factory;import com.jl.spring.bean.Monster;
import org.springframework.beans.factory.FactoryBean;import java.util.HashMap;
import java.util.Map;/*** @author long* @date 2022/9/1*/
public class MyFactoryBean implements FactoryBean {private String key;private Map monster_Map;{monster_Map = new HashMap<>();monster_Map.put("monster01",new Monster(100,"牛魔王","芭蕉扇"));monster_Map.put("monster02",new Monster(200,"白骨精","芭蕉扇"));}public void setKey(String key) {this.key = key;}@Overridepublic Monster getObject() throws Exception {return monster_Map.get(key);}@Overridepublic Class getObjectType() {return Monster.class;}@Overridepublic boolean isSingleton() {return true;}
}
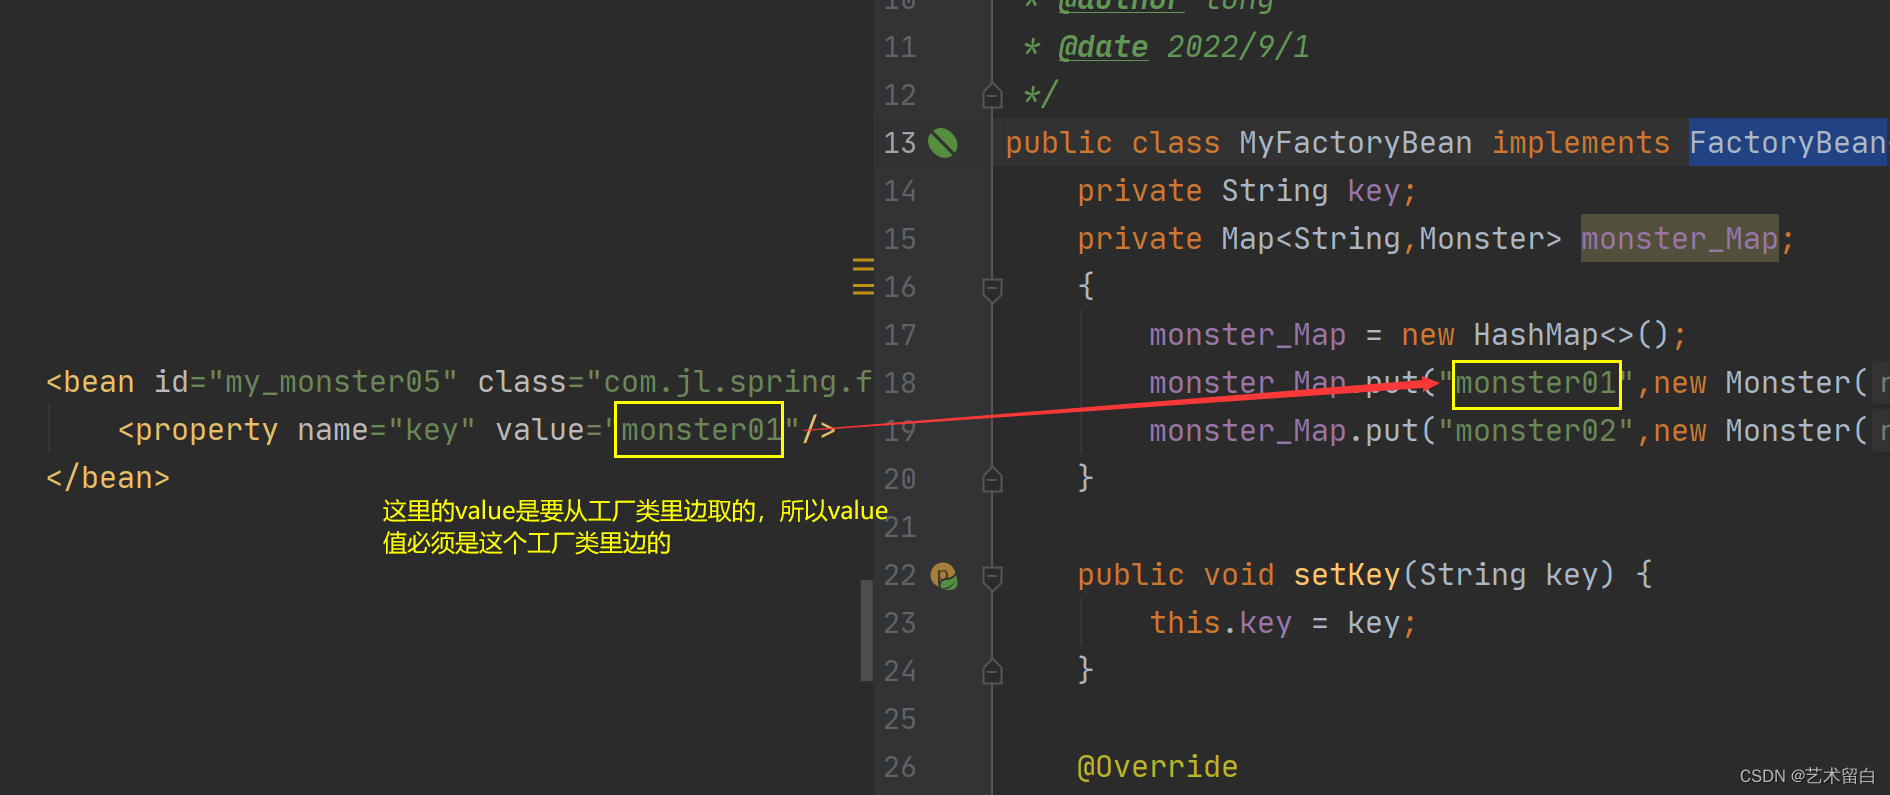
class:指定使用的FactoryBean。key:表示就是FactoryBean 属性key。value:就是想要获取的对象对应的key。
测试类
@Test
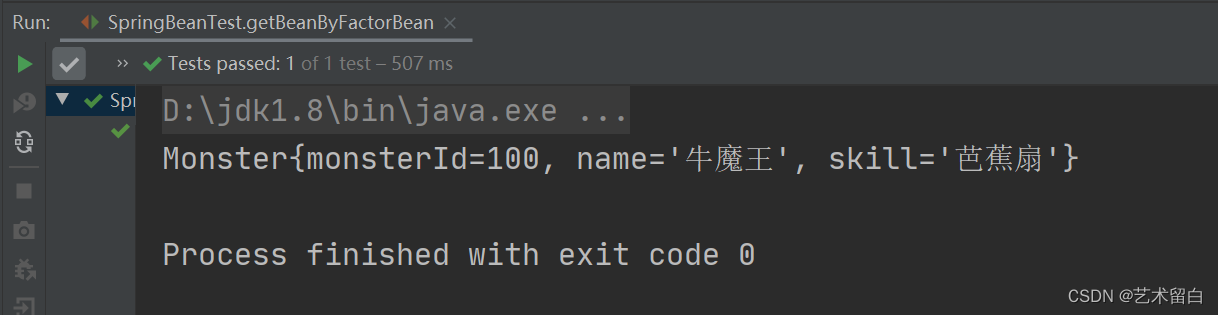
public void getBeanByFactorBean(){ApplicationContext ioc = new ClassPathXmlApplicationContext("beans.xml");Monster monster = ioc.getBean("my_monster05", Monster.class);System.out.println(monster);}
结果截图
💡补充说明:
如果value值不是这个工厂类中的就会报如下的错误:
前两个工厂,value也有同样的要求!!!
五 、Bean配置信息重用
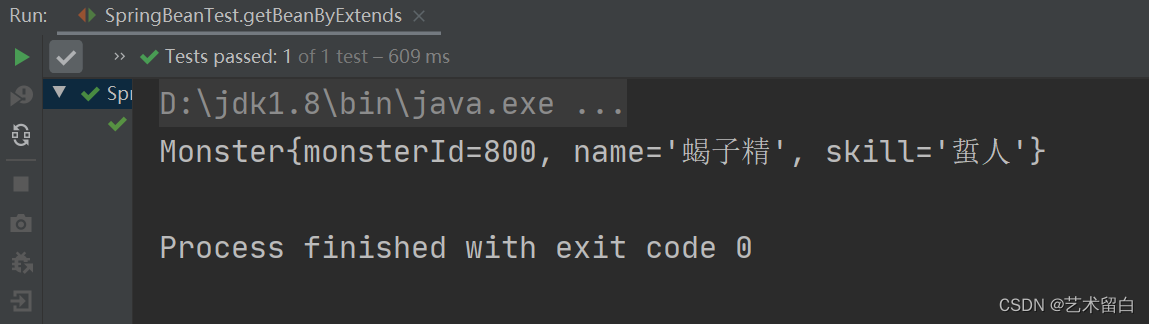
当我们多个Bean对象都需要配置一些相同信息的时候,我们可以使用这个信息重用。这有点类似于对象的继承。
abstract:当值为true的时候,就代表此Bean就只能用于继承,而不能创建为实例对象。parent:这个属性代表的是,当前的这个类继承于哪个Bean对象。
测试类
@Test
public void getBeanByExtends(){ApplicationContext ioc = new ClassPathXmlApplicationContext("beans.xml");Monster monster = ioc.getBean("monster12", Monster.class);System.out.println(monster);
}
六 、Bean创建顺序
我们配置文件中的Student、Department类这里不再列出,这里只是演示Bean的创建顺序。
- 默认Bean的创建顺序是从上到下的。
- 如果添加了
depends-on="department01",这时就会先去创建id=department01的这个对象。
💡说明:
当有ref引用的时候,spring容器都是先将所有对象全部创建完,然后再根据ref来调用对应的Setter()进行注入。这个我们在前边提到过。
测试类
@Test
public void sort(){ApplicationContext ioc = new ClassPathXmlApplicationContext("beans.xml");
}
结果截图
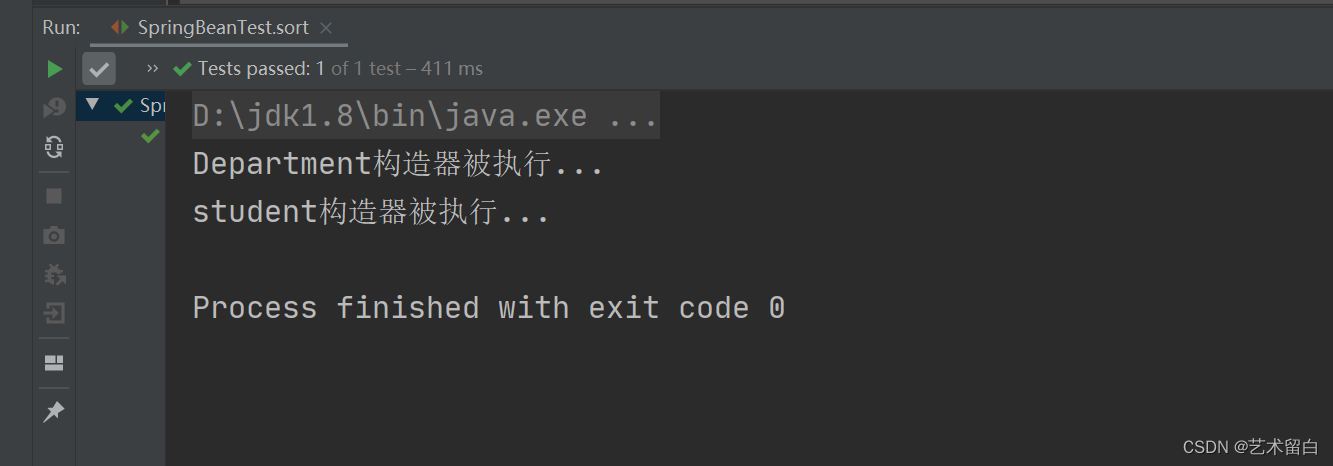
有结果可以看出,虽然Student在Department的前边,但因为Student依赖于Department,所以Spring容器会先创建Department。
七 、Bean对象的单例和多例
在Spring中, 默认的是按照单例创建的,即:配置一个bean对象后,Spring容器只会创建一个bean实例。如果我们希望配置的某个bean对象,是以多个实例形式创建的则可以通过配置scope="prototype" 来指定。
我们首先创建一个Cat类。
package com.jl.spring.bean;import java.util.Calendar;/*** @author long* @date 2022/8/30*/
public class Car {private Integer id;private String name;private Integer price;public Car(){}public Car(Integer id, String name, Integer price) {this.id = id;this.name = name;this.price = price;}@Overridepublic String toString() {return "Car{" +"id=" + id +", name='" + name + '\'' +", price=" + price +'}';}public Integer getId() {return id;}public void setId(Integer id) {this.id = id;}public String getName() {return name;}public void setName(String name) {this.name = name;}public Integer getPrice() {return price;}public void setPrice(Integer price) {this.price = price;}
}
- 默认
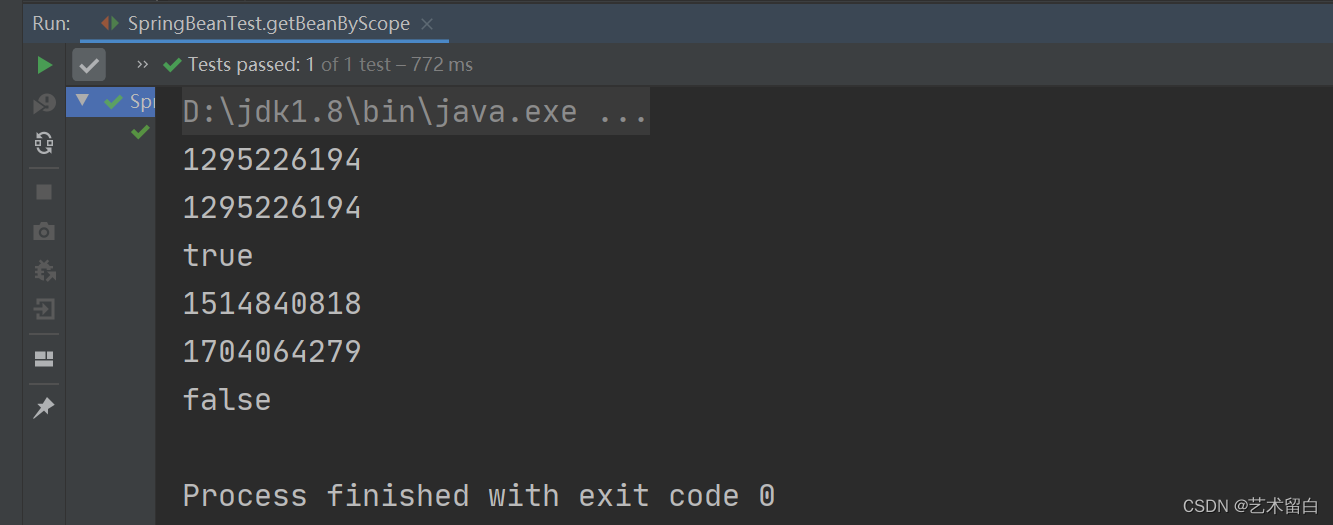
scope = singleton,只在容器中创建一个实例对象。 - 当我们执行getBean的时候,返回的是同一个对象。
- 如果我们希望每次获取到的是一个新的对象,可以scope=“prototype”。
- 我们Spring容器创建bean对象时候,取决于两个条件:
scope="singleton"、lazy_init=false(不开启懒加载)。这两个条件也是默认的。 - 当我们希望创建单例对象的时机在getBean的时候,可以
lazy_init=true。 scope="prototype"的时候,不管lazy_init=true/false ,在getBean的时候才创建对象,因为是多实例对象,Spring不知道你到底需要多少个。
测试类
@Test
public void getBeanByScope(){ApplicationContext ioc = new ClassPathXmlApplicationContext("beans.xml");Cat cat = ioc.getBean("cat", Cat.class);Cat cat1 = ioc.getBean("cat", Cat.class);System.out.println(cat.hashCode());System.out.println(cat1.hashCode());System.out.println(cat==cat1);Cat cat02 = ioc.getBean("cat02", Cat.class);Cat cat03 = ioc.getBean("cat02", Cat.class);System.out.println(cat02.hashCode());System.out.println(cat03.hashCode());System.out.println(cat02==cat03);}
结果
八 、Bean的生命周期
House类
package com.jl.spring.bean;/*** @author long* @date 2022/9/2*/
public class House {private String name;public House() {System.out.println("House构造器被执行...");}public House(String name) {this.name = name;}public String getName() {System.out.println("getName()被执行" + name);return name;}public void setName(String name) {System.out.println("setName()被执行" + name);this.name = name;}public void init(){System.out.println("init()被执行");}public void destroy(){System.out.println("destroy()被执行");}
}
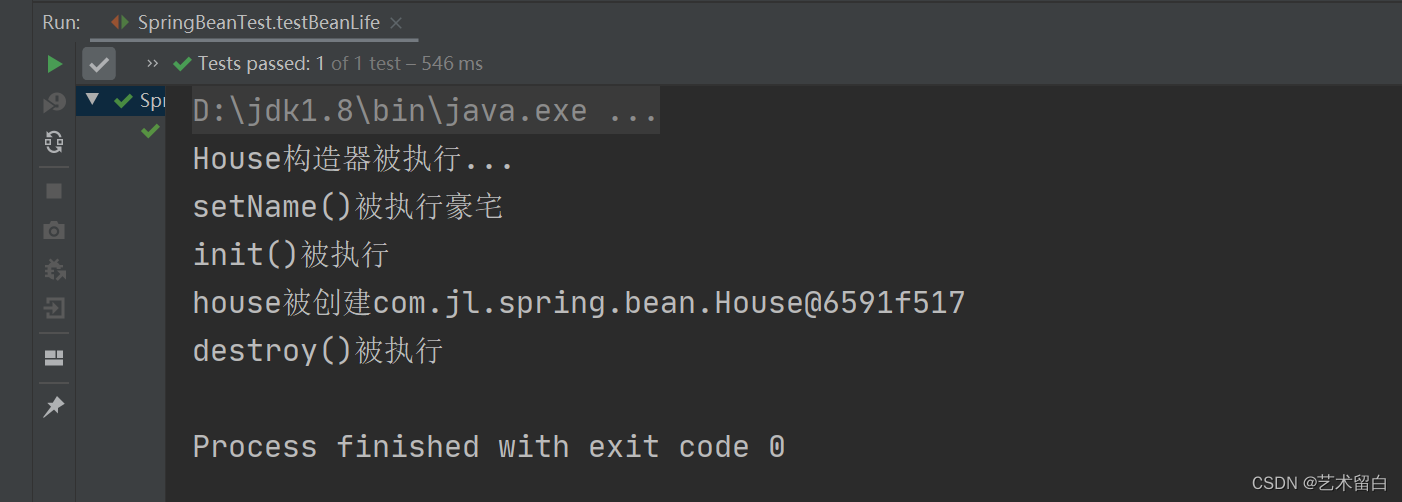
init-method="init"指定bean的初始化方法,在Setter方法之后执行。- init方法执行的时机是由Spring容器来控制的。
destroy-method="destroy"指定bean的销毁方法,在容器关闭的时候执行。- destroy方法执行的时机,由Spring容器来控制。
- 容器关闭的方法是
close(),close方法是ConfigurableApplicationContext接口中定义的,所以需要注意:右边定义的类型必须是继承了实现了该接口的类才行(左编译,右运行)。 - 生命周期执行顺序: 构造器->setter方法->初始化方法->销毁方法。
测试类
@Test
public void testBeanLife(){ApplicationContext ioc = new ClassPathXmlApplicationContext("beans.xml");House house = ioc.getBean("house", House.class);System.out.println("house被创建" + house);
//        左编译,右运行((ConfigurableApplicationContext)ioc).close();
}
结果:
初始化 init 方法和 destory 方法, 是程序员来指定。
销毁方法就是当关闭容器时才会被调用。即:使用close()方法的时候。
九 、配置Bean的后置处理器
Spring的后置处理器可以在:Bean对象初始化方法调用前和初始化方法调用后被调用。后置处理器他针对的是Spring容器中所有的Bean对象。后置处理器可以做一些:日期处理/权限的校验/安全的验证/等…。
创建处理器类,处理器类必须实现BeanPostProcessor接口。
package com.jl.spring.bean;import org.springframework.beans.BeansException;
import org.springframework.beans.factory.config.BeanPostProcessor;/*** @author long* @date 2022/9/3*/
public class MyBeanPostProcessor implements BeanPostProcessor {/*** 什么时候被调用:在Bean的init方法之前* @param bean 传入在ioc容器创建的bean* @param beanName ioc中配置的bean的id值* @return 可以对传入的bean进行 修改/处理, 返回* @throws BeansException*/@Overridepublic Object postProcessBeforeInitialization(Object bean, String beanName) throws BeansException {if (bean instanceof House){((House)bean).setName("上海豪宅");}System.out.println("postProcessBeforeInitialization" + beanName);return bean;}/***什么时候被调用:在Bean的init方法之后* @param bean 传入在ioc容器创建的bean* @param beanName ioc中配置的bean的id值* @return 可以对传入的bean进行 修改/处理, 返回* @throws BeansException*/@Overridepublic Object postProcessAfterInitialization(Object bean, String beanName) throws BeansException {System.out.println("postProcessAfterInitialization" + beanName);return bean;}
}
- 当我们在xml文件配置了MyBeanPostProcessor,这时后置处理器,就会作用在该容器创建的对象。
- 我们配置了这个后置处理器bean对象,Spring是通过使用(反射+动态代理+IO+容器+注解)执行到这个方法的。
测试类
@Test
public void testBeanPostProcessor(){ApplicationContext ioc = new ClassPathXmlApplicationContext("beans02.xml");House house = ioc.getBean("house", House.class);((ConfigurableApplicationContext)ioc).close();System.out.println(house);
}
结果截图:
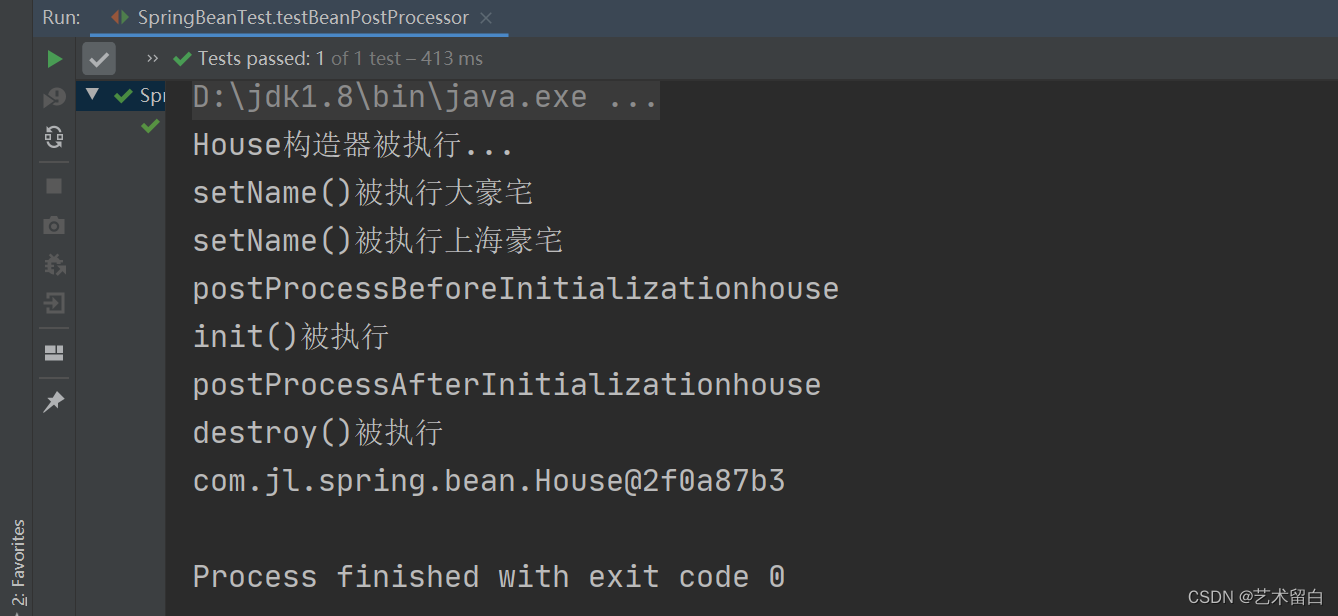
后置处理器和我们后边要学习的AOP有很大的关系,所以说很重要!!!
十 、通过属性文件给Bean注入值
使用配置文件的方式,使我们的程序配置在不修改原有代码的情况下完成修改,可以说是特别的灵活和方便。而我们的Spring也提供了这种方式的使用。
我们这里依然使用我们前边的Monster类来演示,所以不再列出。
monsterId=1000
name=\u8718\u86db
skill=hello
location表示指定属性文件的位置,而且需要带上classpath。- 属性值是通过
${属性名}。 - 这里的属性名就是properties文件 k=v 中的k。
测试类
/*** 通过属性文件注入属性值*/
@Test
public void setBeanByFile(){ApplicationContext ioc = new ClassPathXmlApplicationContext("beans03.xml");Monster monster1000 = ioc.getBean("monster1000", Monster.class);System.out.println(monster1000);
}
结果截图:
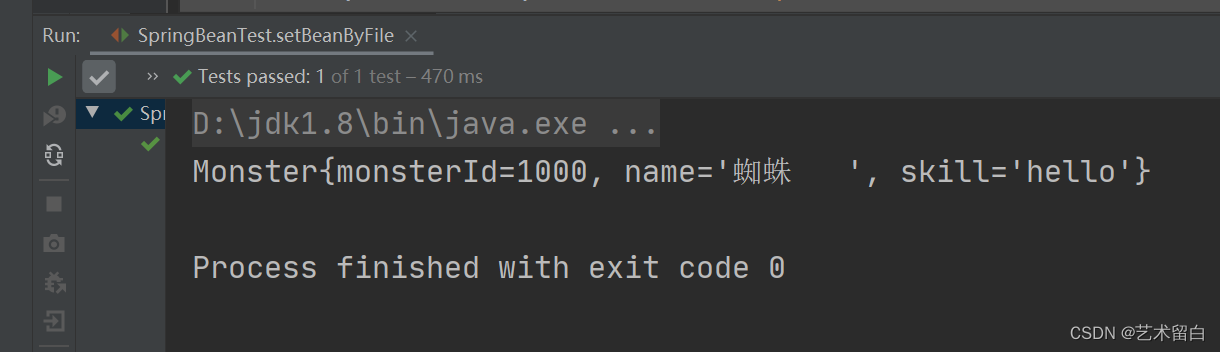
对于配置文件中要是有中文,需要将其转换为ASCII编码之后的字符
十一 、基于XML的Bean的自动装配
前边提到了很多有关Bean的配置,但还是有些繁琐,比如:我的Service层调用Dao层,需要创建对象。在前边说过这种情况,我们可以通过ref外部引用或者内部注入的方式。但我们这里将要介绍的,是将这些步骤进一步简化的方式。
我们首先创建两个类:OrderService、OrderDao。
package com.jl.spring.dao;/*** @author long* @date 2022/9/3*/
public class OrderDao {public void save(){System.out.println("保存订单....");}
}
package com.jl.spring.service;import com.jl.spring.dao.OrderDao;/*** @author long* @date 2022/9/3*/
public class OrderService {private OrderDao orderDao;public OrderDao getOrderDao() {return orderDao;}public void setOrderDao(OrderDao orderDao) {this.orderDao = orderDao;}
}
autowire="byType"表示,在创建orderService的时候通过类型的方式 给对象属性 自动完成赋值/引用。比如:OrderService对象中有OrderDao类型对象,就会在容器中去找有没有OrderDao类型对象。如果有,就会自动的装配,如果按照byType方式装配,在这个容器中,就不能有两个OrderDAO类型的对象。autowire=“byName“表示通过名字完成自动装配。举个例子:比如autowire="byName"class=“com.jl.spring.service.OrderService”。
- 第一步:OderService 属性 private OrderDao orderDao。
- 第二步:根据这个属性的SetXxx方法来找 Xxx来找对象id。
- 第三步:public void setOrderDao() 就会找到id=orderDao对象来进行自动装配;
- 第四步:如果没有就装配失败。
这两种方式和我们将要在后边介绍的用注解自动装配差不多!
测试类
@Test
public  void serBeanByAutowire(){ApplicationContext ioc = new ClassPathXmlApplicationContext("beans03.xml");OrderAction orderAction = ioc.getBean("orderAction", OrderAction.class);System.out.println(orderAction.getOrderService().getOrderDao());System.out.println(orderAction.getOrderService());System.out.println(orderAction);
}
结果截图:
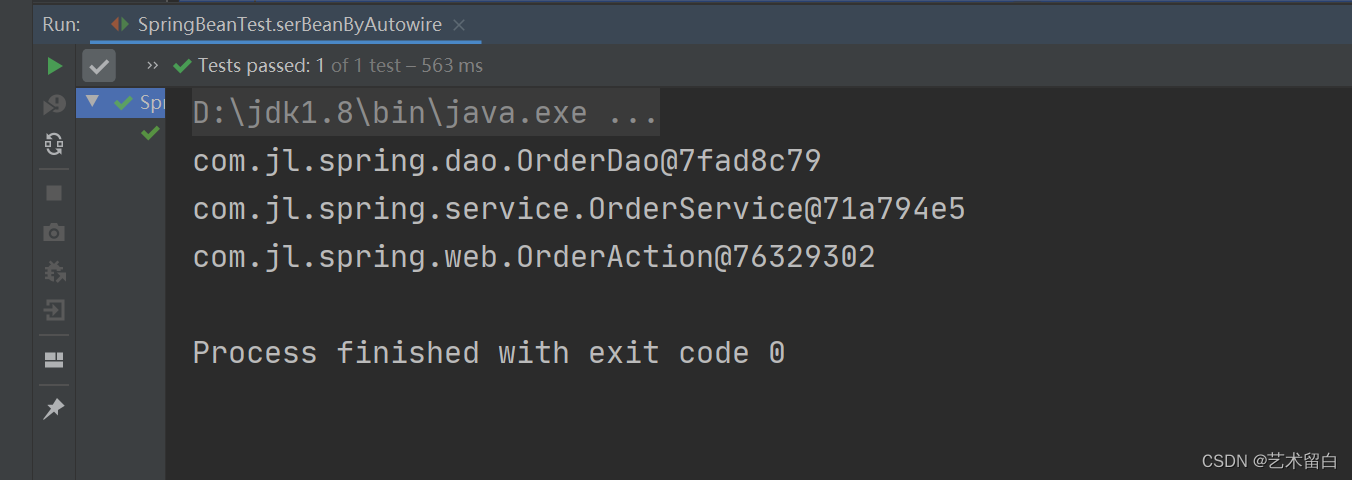
如果文章中有描述不准确或者错误的地方,还望指正。您可以留言📫或者私信我。🙏
最后希望大家多多 关注+点赞+收藏^_^,你们的鼓励是我不断前进的动力!!!
感谢感谢~~~🙏🙏🙏