

【Spring(四)】Spring基于注解的配置方式
有关Spring的所有文章都收录于我的专栏:👉Spring👈
目录
一、前言
二、基于注解需要的依赖
三、通过注解来配置Bean
四、注解配置Bean再补充
五、基于注解的自动装配
六、泛型依赖注入
相关文章
| 【Spring(一)】如何获取对象(Bean) | 【Spring(一)】如何获取对象(Bean) |
| 【Spring(二)】java对象属性的配置(Bean的配置) | 【Spring(二)】java对象属性的配置(Bean的配置) |
| 【Spring(三)】熟练掌握Spring的使用 | 【Spring(三)】熟练掌握Spring的使用 |
一、前言
前面的三节,我们已经对Spring基于XML方式配置做了一个完整的讲解。从这节开始,我们开始对Spring基于注解的配置方式做一个讲解。
二、基于注解需要的依赖
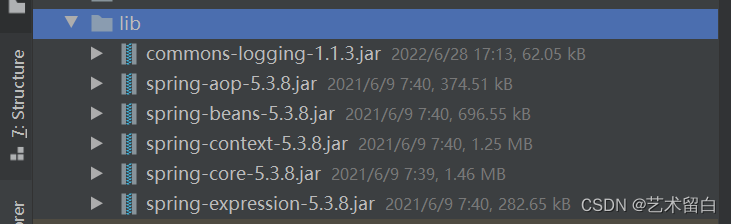
spring-aop-5.3.8.jar,这个jar包在spring的lib目录下。到这里我们Spring基本使用,一共需要六个jar包。
三、通过注解来配置Bean
package com.jl.spring.entity;import org.springframework.stereotype.Component;/*** @author Long* @date 2022/11/21* @CSDN https://blog.csdn.net/qq_35947021**/
@Component
public class MyCal {public MyCal(){System.out.println("MyCal被调用.....");}
}
在Spring配置文件中指定"自动扫描的包",这样IOC容器才能检测到哪些类有注解。而且context:也得在头部添加声明,在IDEA中我们可以按ALT+ENTER自动补全,所以我们这里不再赘述。
测试类
@Test
public void setBeanByAnnotation(){ApplicationContext ioc = new ClassPathXmlApplicationContext("bean.xml");MyCal bean = ioc.getBean(MyCal.class);System.out.println(bean);}
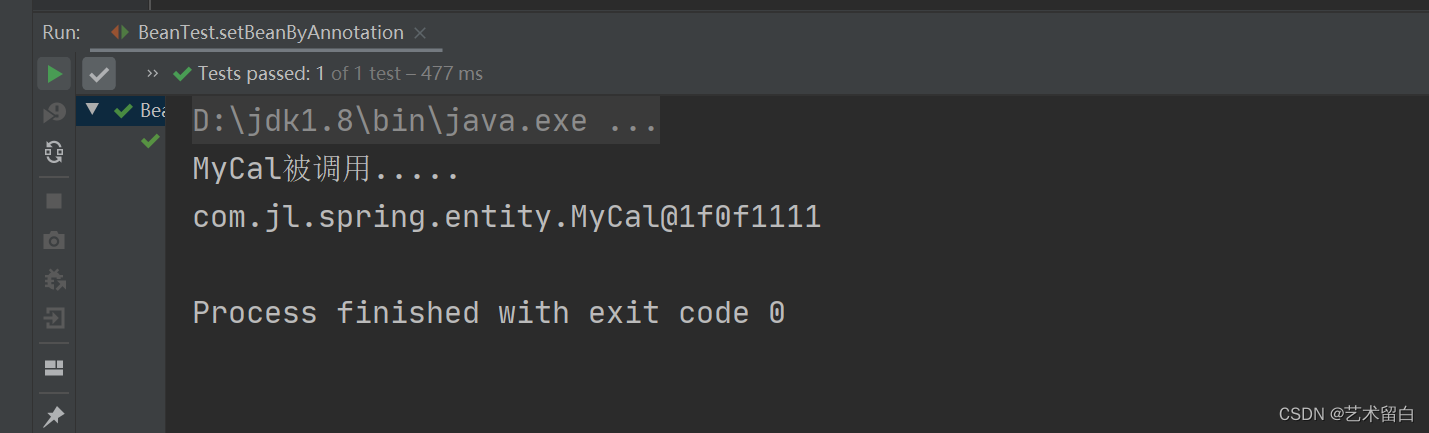
结果截图:
四、注解配置Bean再补充
上面我们介绍了Spring基于注解配置Bean的方式,但那只是最简单的一种用法,我们这里继续对注解配置Bean深入了解一下。
除了上边我们用到的@Component之外,我们还有@Controller、@Service、@Repository。它们都可以用来标注在一个类上面创建Bean对象。有这么多相同功能的注解是为了,标识不同层的类,可以理解为每个层都有它对应的注解,这样做的目的是为了使我们的程序架构逻辑更加的清晰。
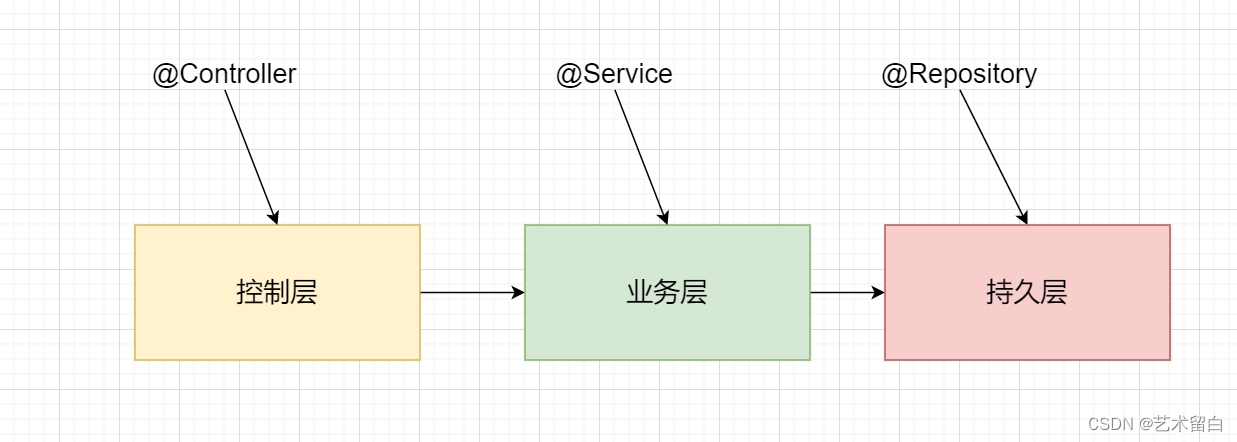
当我们不清楚一个类属于哪一层的时候,我们就可以使用@Component。
过滤不需要扫描的类
我们上边知道了,想要通过注解来配置Bean的前提是需要让Spring容器知道,我们的哪个包下的类有注解。但有时我们的需求是:不想让Spring扫描下面的包下的某些类。这种情况我们就可以使用下边的这种方式:type="annotation":表示按照注解类型进行过滤。expression:就是注解的全类名。比如:org.springframework.stereotype.Service就是 @Service 注解的全类名,其它注解也是这个道理。
通过注解指定id值
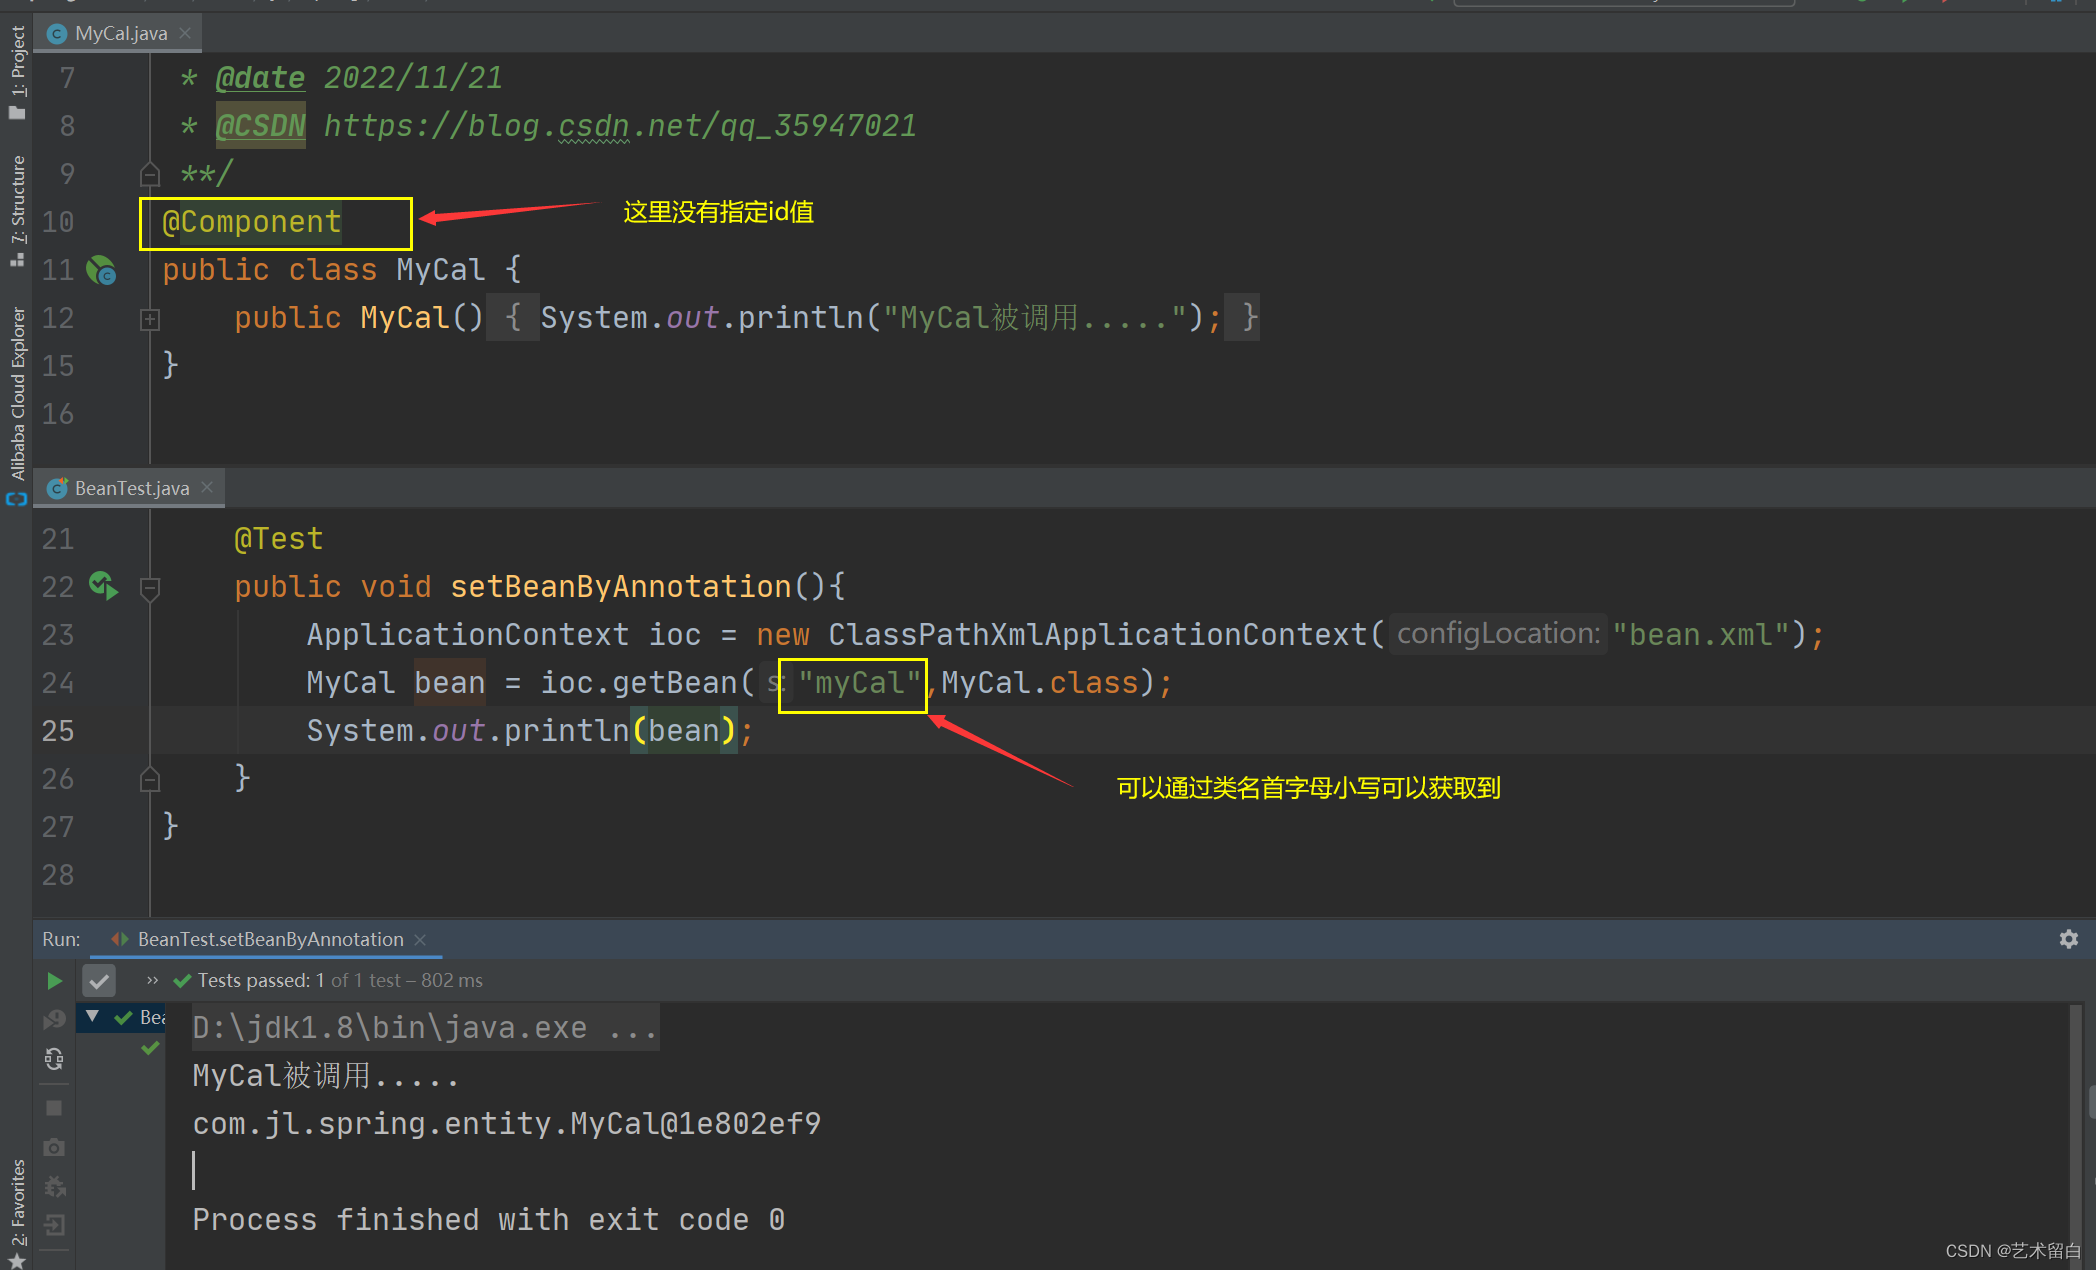
在上边的演示中,我特意用了通过类型来获取创建的Bean对象,并不是注解不支持指定id值。我们通过XML方式可以做到了,我们注解也可以。
package com.jl.spring.entity;import org.springframework.stereotype.Component;/*** @author Long* @date 2022/11/21* @CSDN https://blog.csdn.net/qq_35947021**/
@Component(value = "myCal")
public class MyCal {public MyCal(){System.out.println("MyCal被调用.....");}
}
XML中指定扫描的包,我们这里不再列出。
测试类
@Test
public void setBeanByAnnotation(){ApplicationContext ioc = new ClassPathXmlApplicationContext("bean.xml");MyCal bean = ioc.getBean("myCal",MyCal.class);System.out.println(bean);
}
结果:
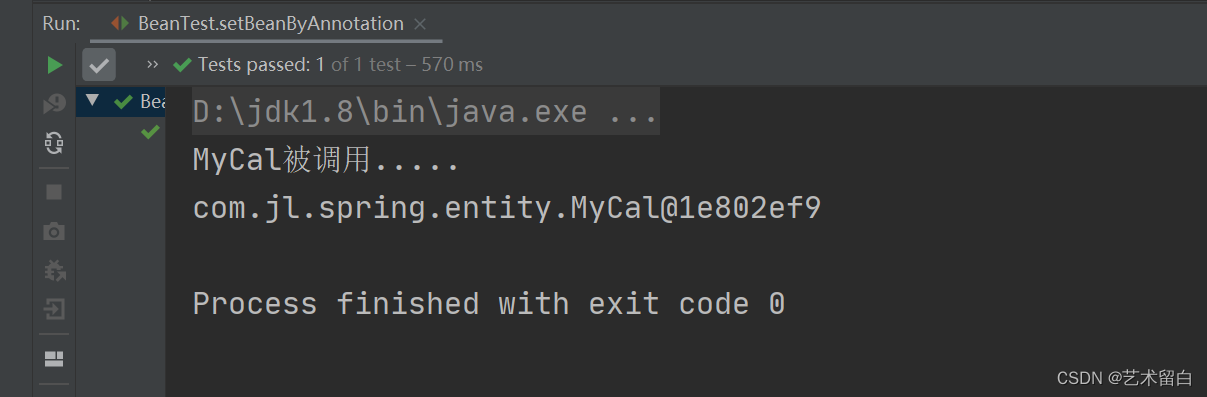
而且如果我们不指定id值,默认的id值是:将类名的首字母小写作为id值:
基于注解来配置多例Bean
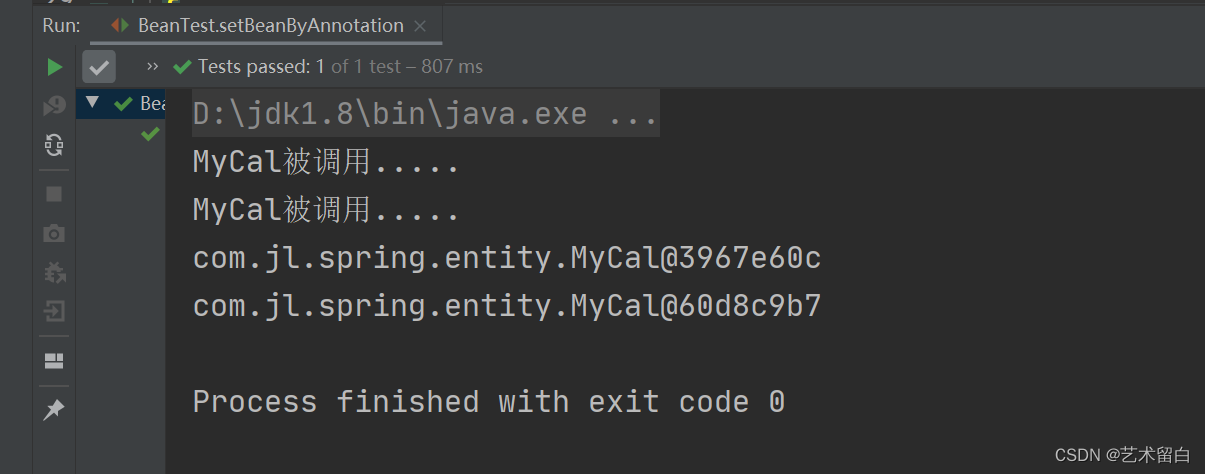
和XML方式一样,Spring容器默认的就是单例。我们想要使用多例就得使用@Scope,值设置为prototype。单例就是singleton。
package com.jl.spring.entity;import org.springframework.context.annotation.Scope;
import org.springframework.stereotype.Component;/*** @author Long* @date 2022/11/21* @CSDN https://blog.csdn.net/qq_35947021**/
@Scope(scopeName = "prototype")
@Component(value = "myCal")
public class MyCal {public MyCal(){System.out.println("MyCal被调用.....");}
}
测试类
@Test
public void setBeanByAnnotation(){ApplicationContext ioc = new ClassPathXmlApplicationContext("bean.xml");MyCal bean = ioc.getBean("myCal",MyCal.class);MyCal bean1 = ioc.getBean("myCal",MyCal.class);System.out.println(bean);System.out.println(bean1);
}
结果截图:
基于注解给Bean注入属性值
&esmp;在使用XML方式给Bean注入属性值的时候,我们使用@Value实现相同的效果。
package com.jl.spring.entity;import org.springframework.beans.factory.annotation.Value;
import org.springframework.stereotype.Component;/*** @author Long* @date 2022/11/21* @CSDN https://blog.csdn.net/qq_35947021**/
@Component
public class Person {@Value(value = "张三")private String name;@Value(value = "123")private int age;public Person(String name, int age) {this.name = name;this.age = age;}public Person() {}public String getName() {return name;}public void setName(String name) {this.name = name;}public int getAge() {return age;}public void setAge(int age) {this.age = age;}@Overridepublic String toString() {return "Person{" +"name='" + name + '\'' +", age=" + age +'}';}
}
测试类
@Test
public void setBeanByAnnotation(){ApplicationContext ioc = new ClassPathXmlApplicationContext("bean.xml");Person person = ioc.getBean("person", Person.class);System.out.println(person);
}
结果截图:
我们这里知识介绍属性值是基本数据类型时候的配置方式。详细的@Value注解的使用,我推荐大家去看冰河大佬有关@Value的文章:Spring注解驱动开发】如何使用@Value注解为bean的属性赋值,我们一起吊打面试官!
五、基于注解的自动装配
我们直接上案例:
package com.jl.spring.component;import org.springframework.beans.factory.annotation.Autowired;
import org.springframework.beans.factory.annotation.Qualifier;
import org.springframework.stereotype.Controller;import javax.annotation.Resource;/*** @author long* @date 2022/9/3* @Controller 标识该类是一个控制器Controller,通常这个类是一个Servlet*/
@Controller
public class UserAction {@Autowiredprivate UserService userService400;public void sayOk(){System.out.println("userAction 的sayOk方法");System.out.println(userService400);userService400.hi();}
}
@Autowired
- 在IOC容器中查找待装配的组件的类型,如果有唯一的bean匹配(按照类型),则使用该bean装配。
- 如何装配的类型对应的bean在IOC容器中有多个,则使用待装配的属性的属性名作为id值再进行查找,找到就装配,找不到就抛出异常。
除此之外,还有一个@Resource也可以用于Bean的自动装配
@Resource
- 此注解有两个属性
name和type,Spring将@Resource注解的name属性解析为bean的id值。例如:@Resource(name = “userService”),表示将id=userService的对象装配。- 如果@Resource没有指定
name和type,则先使用byName注入策略。如果匹配不上,再使用byType策略。例如:@Resource(type = UserService.class), 表示按照UserService.class类型进行装配,这时只能有一个USerService类型的对象。- 如果两个属性都不写则先使用byName(按照属性名)注入策略,如果匹配不上,则使用byType策略,如果都不成功,则装配失败。
除了上述的两个注解外,我们还可以将@Qualifier和@Autowired搭配使用
@Autowired
@Qualifier(value = “userService”)
这两个注解配合使用,相当于@Resource(value = “userService”)。/
package com.jl.spring.component;import org.springframework.stereotype.Service;/*** @author long* @date 2022/9/3* @Service来标识这是一个Service类**/
@Service
public class UserService {public void hi(){System.out.println("service的hi方法");}
}
package com.jl.spring.component;import org.springframework.stereotype.Repository;/*** @author long* @date 2022/9/3* 使用 @Repository 标识该类是一个持久化类*/
@Repository
public class UserDao {
}
测试类
@Test
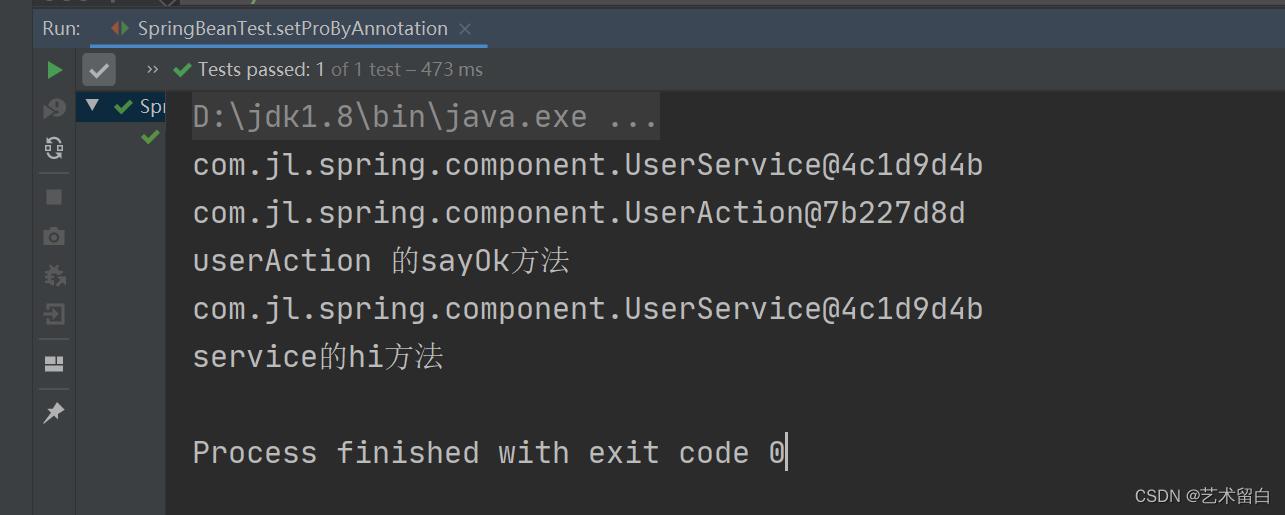
public void setProByAnnotation(){ApplicationContext ioc = new ClassPathXmlApplicationContext("beans05.xml");UserAction userAction = ioc.getBean("userAction", UserAction.class);UserService userService = ioc.getBean("userService", UserService.class);System.out.println(userService);System.out.println(userAction);userAction.sayOk();
}
结果截图:
六、泛型依赖注入
泛型依赖注入就是允许我们在使用spring进行依赖注入的同时,利用泛型的优点对代码进行精简,将可重复使用的代码全部放到一个类之中,方便以后的维护和修改。
package com.jl.spring.depinjection;/*** @author long* @date 2022/9/5*/
public class Phone {
}
package com.jl.spring.depinjection;import org.springframework.stereotype.Repository;/*** @author long* @date 2022/9/5*/
@Repository
public abstract class BaseDao {public abstract void save();
}
package com.jl.spring.depinjection;import org.springframework.context.annotation.ComponentScan;
import org.springframework.stereotype.Repository;/*** @author long* @date 2022/9/5*/
@Repository
public class PhoneDao extends BaseDao{@Overridepublic void save() {System.out.println("PhoneDao save()...");}
}
package com.jl.spring.depinjection;import org.springframework.beans.factory.annotation.Autowired;import javax.annotation.Resource;/*** @author long* @date 2022/9/5* 自定义泛型类*/public class BaseService {@Autowiredprivate BaseDao baseDao;public void save(){baseDao.save();}
}
package com.jl.spring.depinjection;import org.springframework.stereotype.Repository;
import org.springframework.stereotype.Service;/*** @author long* @date 2022/9/5*/
@Service
public class PhoneService extends BaseService{
}
测试类
@Test
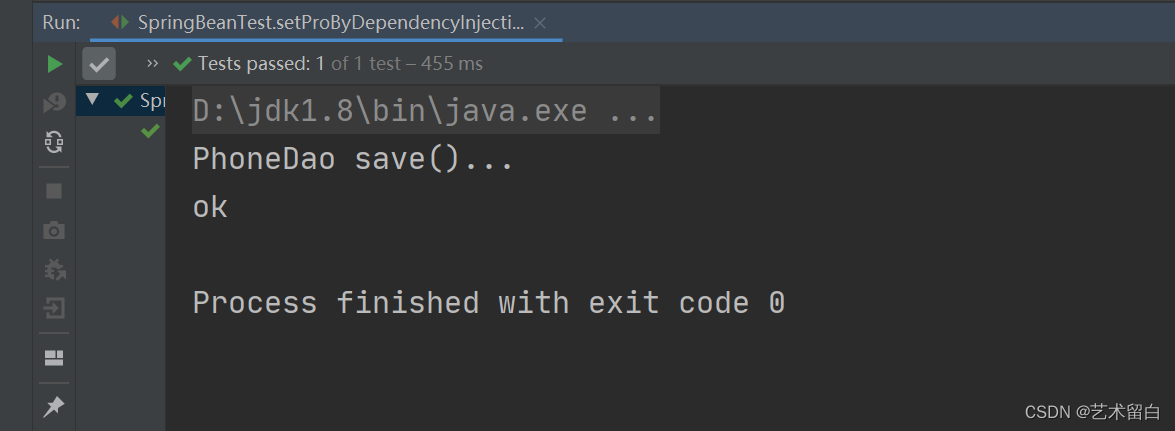
public void setProByDependencyInjection(){ApplicationContext ioc = new ClassPathXmlApplicationContext("beans06.xml");PhoneService phoneService = ioc.getBean("phoneService", PhoneService.class);phoneService.save();System.out.println("ok");
}
结果截图:
如果文章中有描述不准确或者错误的地方,还望指正。您可以留言📫或者私信我。🙏
最后希望大家多多 关注+点赞+收藏^_^,你们的鼓励是我不断前进的动力!!!
感谢感谢~~~🙏🙏🙏
上一篇:黯然,殇情的诗句