

【深度学习】yolov5 tag7.0 实例分割 从0到1的体会,从模型训练,到量化完成
这里记录下yolov5 tag7.0的实例分割,因为也用过paddle家族的实例分割,能够训练出来,但是开放restiful api时遇到点小问题,还是yolov爽啊!!通过这篇博文,您可以一步步的搭建自己的分割网络。
文章目录
- 前言
- 一、小试牛刀
- 1. 预训练权重
- 2. coco128 数据集在这里
- 3.coco128-seg的数据初探
- 二、自有数据集路面积水
- 1.数据介绍
- 2.标注文件的转化:
- 3.标注再验证
- 4.分割数据集
- 三、训练
- 1.构建配置文件
- 2.训练
- 3.选择模型
- 四、模型转化
- 总结
前言
git仓库:https://github.com/ultralytics/yolov5/tree/v7.0
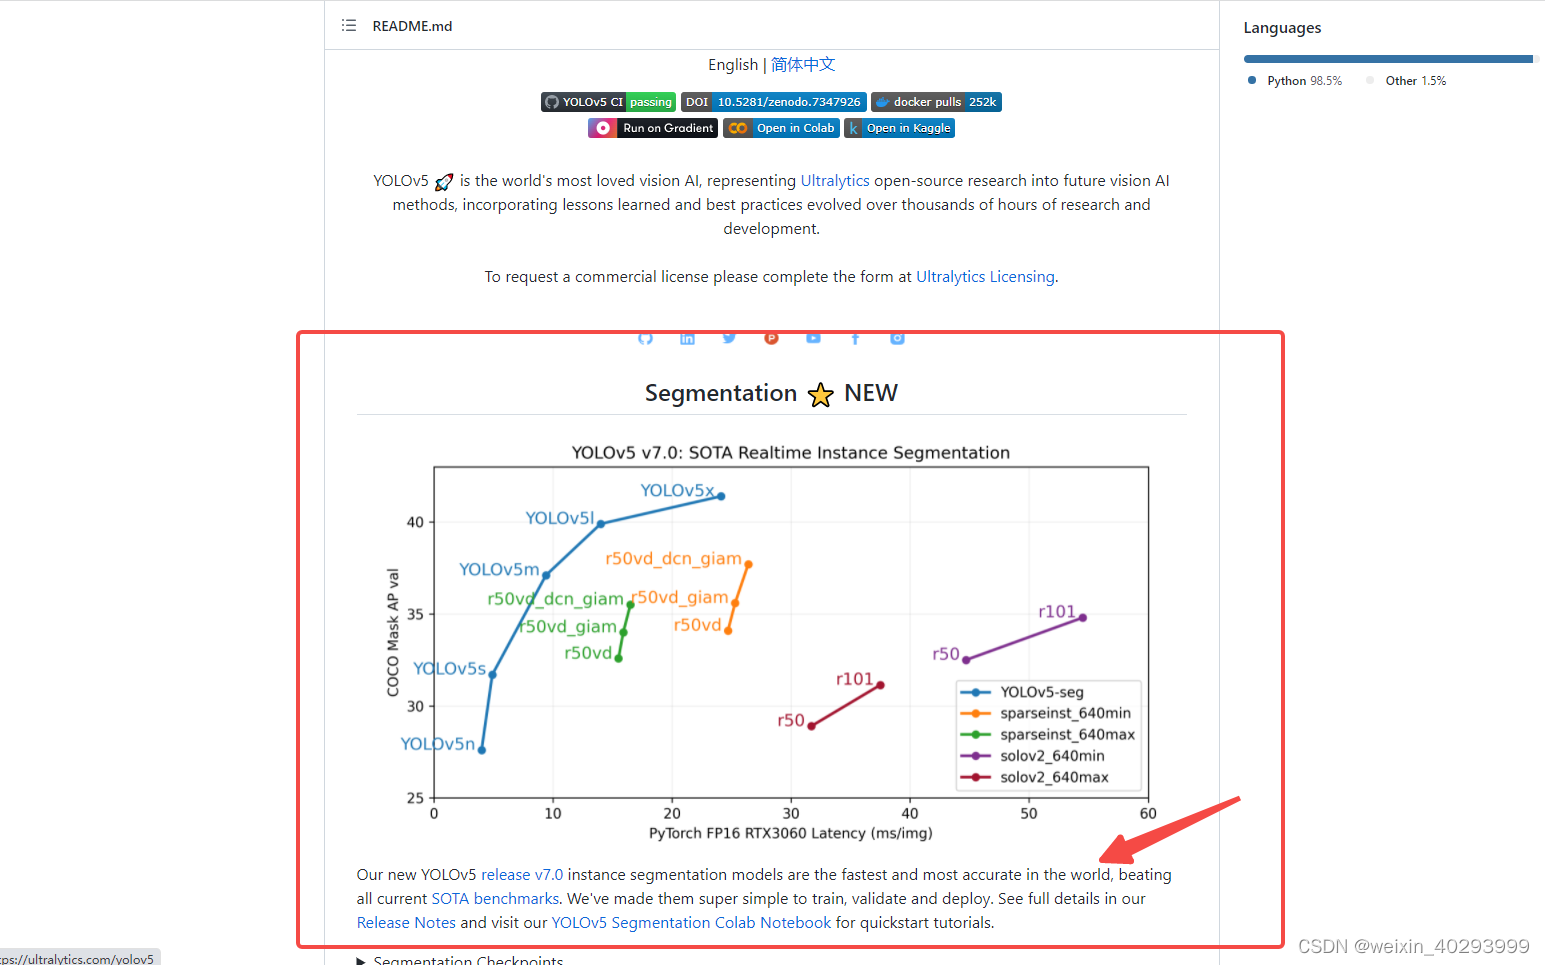
在tag7.0开始支持的,号称sota,在master下的英文介绍中,有这句话,是realtime的sota。
yolv6,yolov7也都在号称sota,大家都是sota。。。。
中文介绍到时没有这个,看来是十分新的研究成果了。
一、小试牛刀
yolov5-7.0/segment/
下,有个tutorials.ipynb文件,这上面说的很清楚,如何训练、如何推理预测,和目标检测的用法几乎是一模一样的。
关于如何安装自行解决吧。
如何预测:
python segment/predict.py --source 0 # webcam
img.jpg # image
vid.mp4 # video
screen # screenshot
path/ # directory
‘path/*.jpg’ # glob
‘https://youtu.be/Zgi9g1ksQHc’ # YouTube
‘rtsp://example.com/media.mp4’ # RTSP, RTMP, HTTP stream
python segment/predict.py --weights yolov5s-seg.pt --img 640 --conf 0.25 --source data/images
#display.Image(filename='runs/predict-seg/exp/zidane.jpg', width=600)
如何训练:
Train YOLOv5s on COCO128 for 3 epochs
!python segment/train.py --img 640 --batch 16 --epochs 3 --data coco128-seg.yaml --weights yolov5s-seg.pt --cache
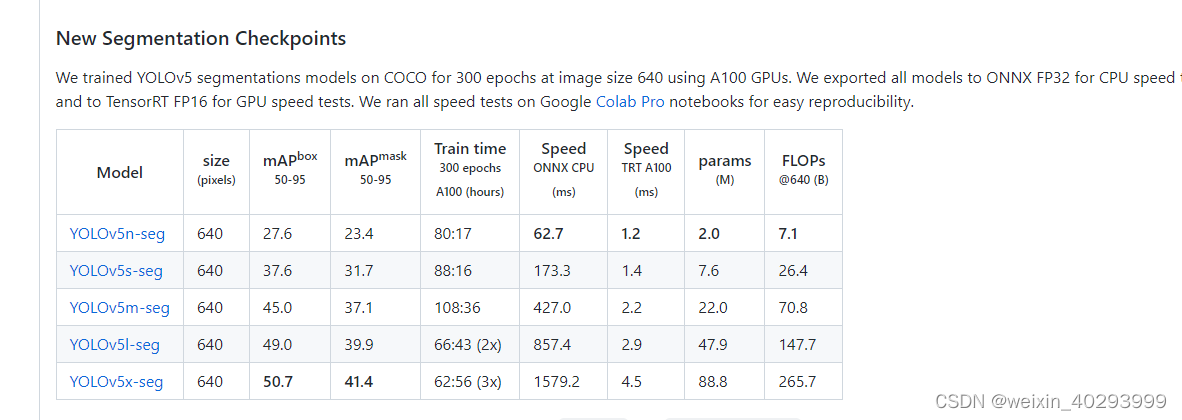
1. 预训练权重
https://github.com/ultralytics/yolov5/releases/v7.0
2. coco128 数据集在这里
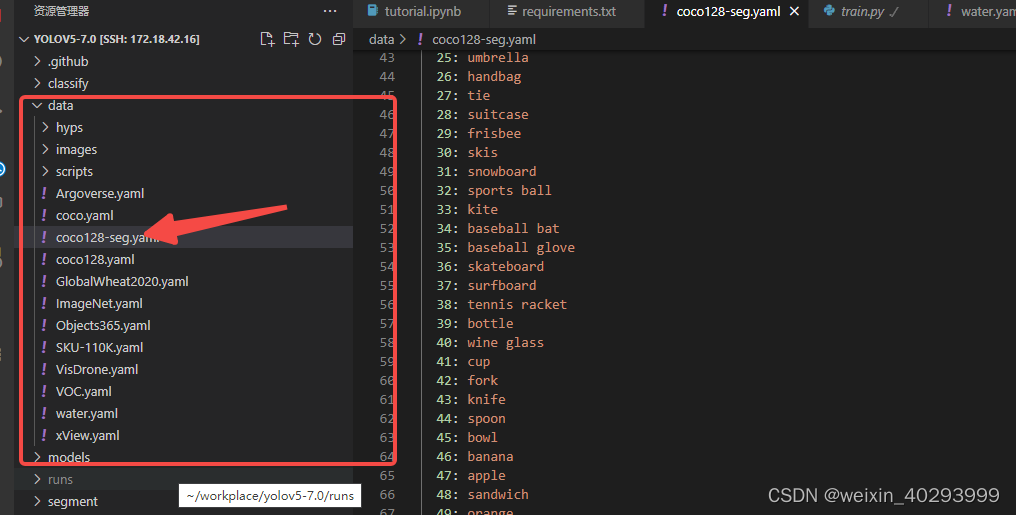
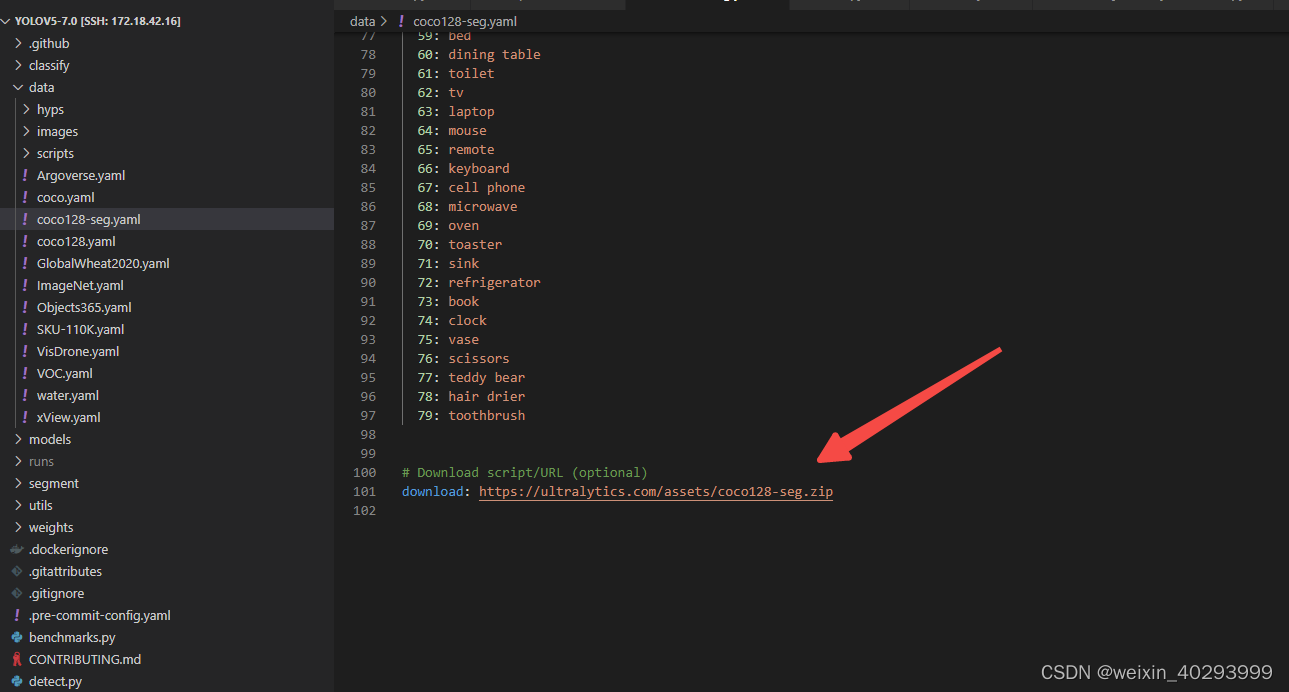
download: https://ultralytics.com/assets/coco128-seg.zip
3.coco128-seg的数据初探
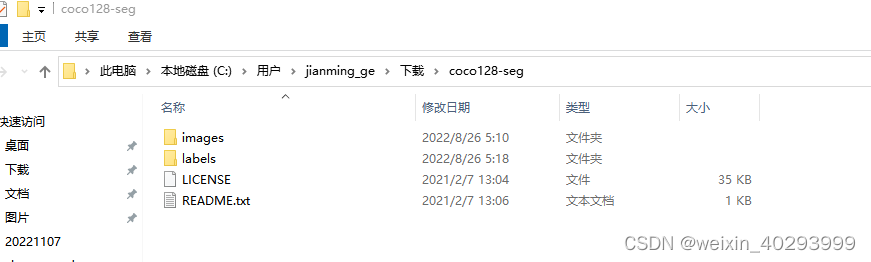
连码放的格式都和目标检测一模一样
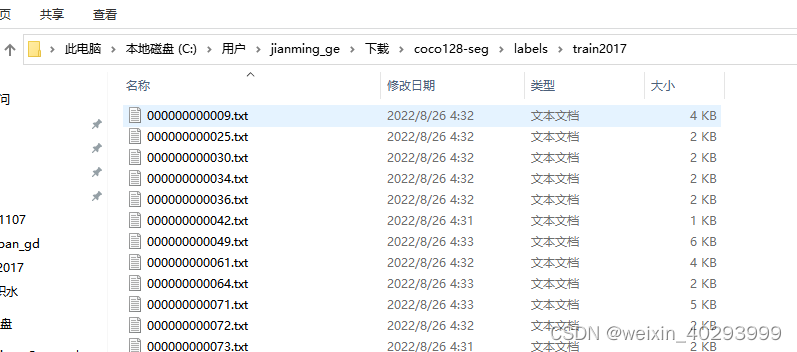
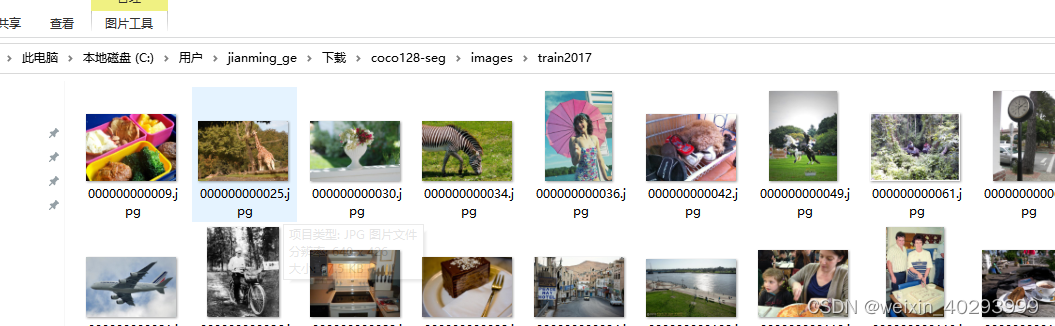

45 是指的类别, 和coco128-seg.yaml文件的names相对应
后面是 x,y x,y …的坐标。分别对应宽和高,需要特别说明的是,这是归一化的。
细心如我,一定会将他们反写到图片,看看啥情况了啊,反写代码如下
def get_a_coco_pic():pic_path = r"C:\Users\jianming_ge\Downloads\coco128-seg\images\train2017\000000000009.jpg"txt_path = r"C:\Users\jianming_ge\Downloads\coco128-seg\labels\train2017\000000000009.txt"import cv2img = cv2.imread(pic_path)height, width, _ = img.shapeprint(height, width)# cv2.imshow("111",img)# 显示原始图片# cv2.waitKey()# 勾勒多边形file_handle = open(txt_path)cnt_info = file_handle.readlines()new_cnt_info = [line_str.replace("\n", "").split(" ") for line_str in cnt_info]print(len(new_cnt_info))print("---====---")# 45 bowl 碗 49 橘子 50 西兰花color_map = {"49": (0, 255, 255), "45": (255, 0, 255), "50": (255, 255, 0)}for new_info in new_cnt_info:print(new_info)s = []for i in range(1, len(new_info), 2):b = [float(tmp) for tmp in new_info[i:i + 2]]s.append([int(b[0] * width), int(b[1] * height)])print(s)cv2.polylines(img, [np.array(s, np.int32)], True, color_map.get(new_info[0]))cv2.imshow('img2', img)cv2.waitKey()
效果也贴出来,现在还找到yolov官方提供的回写标注到图片的代码,但以我对yolov的了解,不出几天就会出来。
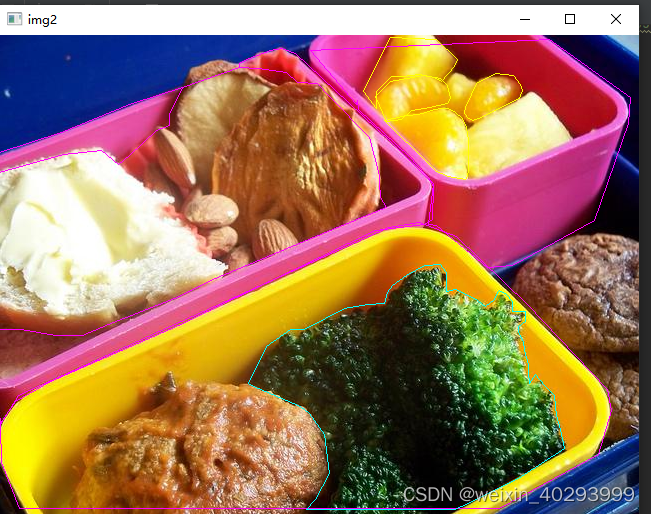
类别是45 bowl 碗 49 橘子 50 西兰花 好吧,那个黄黄的是橘子。
然后就可以拿着这个coco128训练玩儿了,但是你一定不会满足于此,哪我还用写这个blog么。直接看yolov5的readme.md 不是也能搞定么。
看下面,我们用yolov5做一个路面积水
二、自有数据集路面积水
1.数据介绍
一共550张,lambelme标注,效果如下:
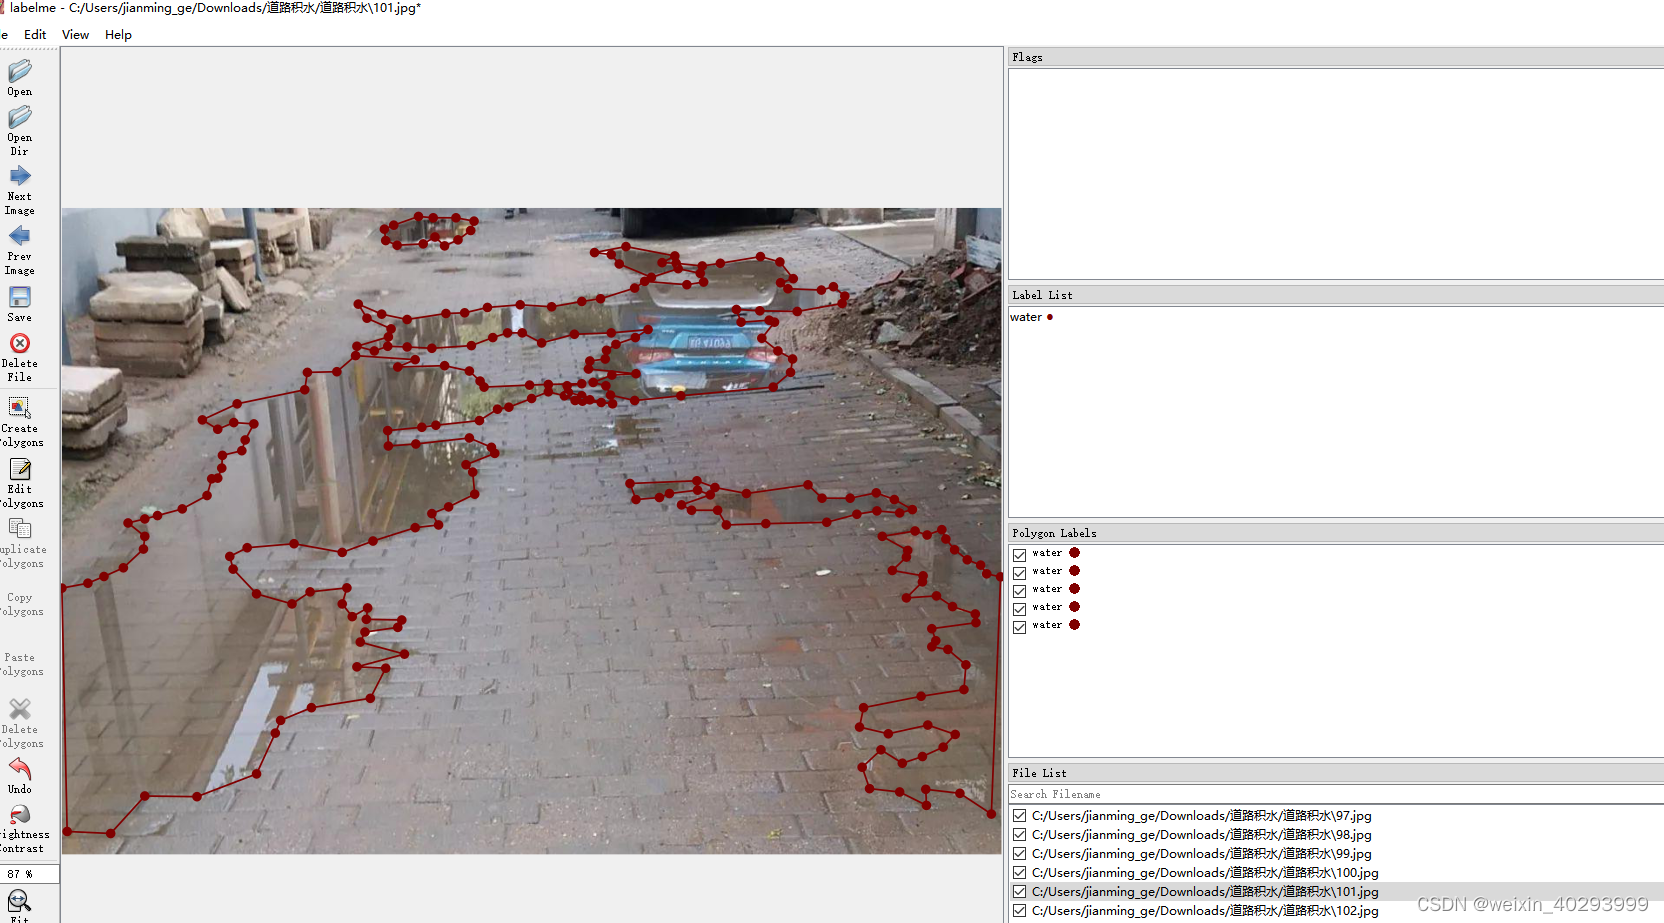
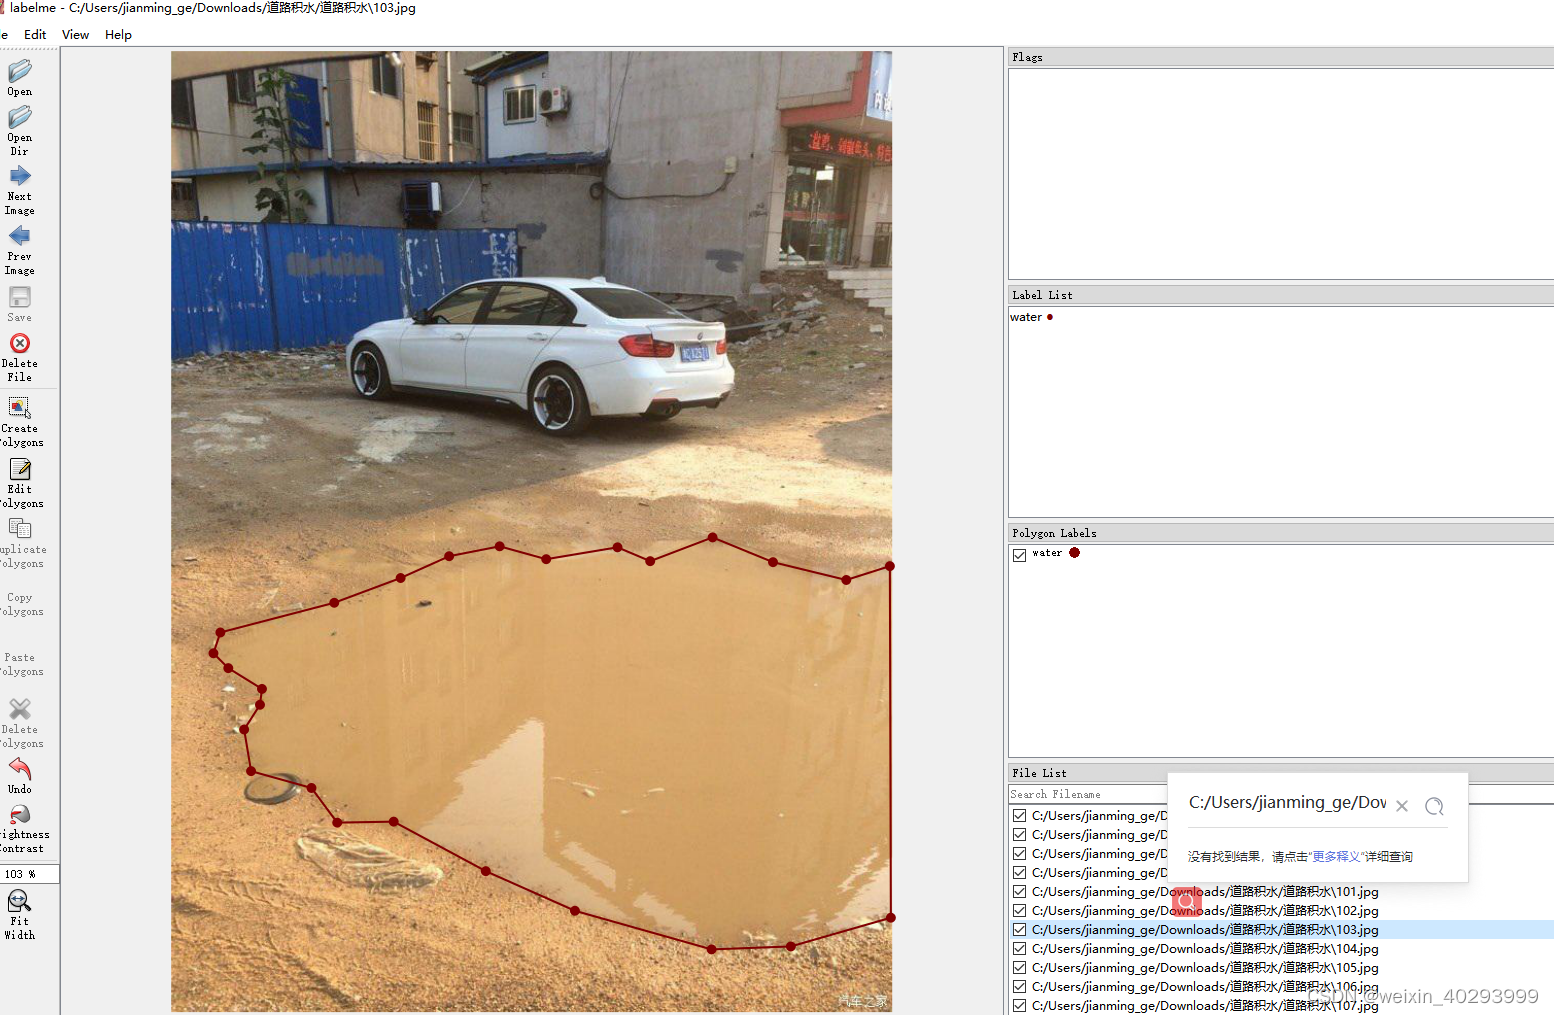
但是labelme的标注是json格式的,需要做一次转换。
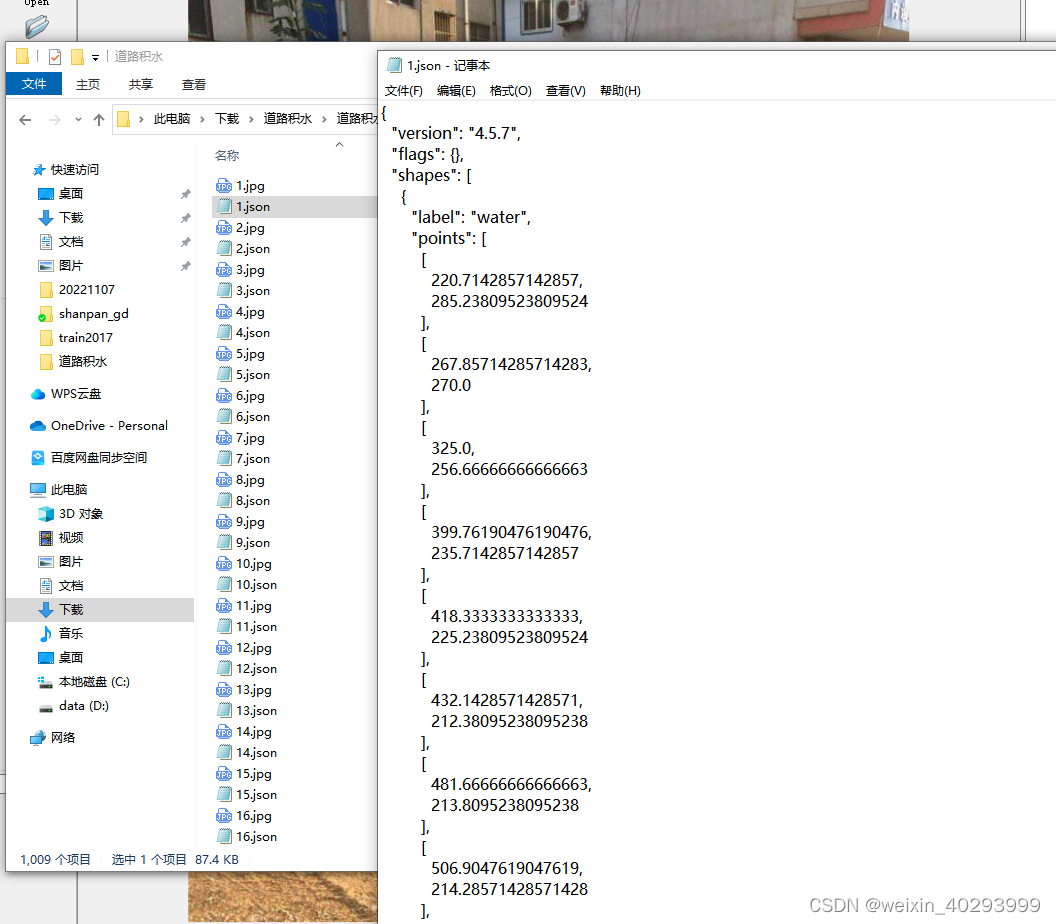
这还是自己准备好的数据集,只需要批量转换一下,自己标注分割就费时费力了啊。(广告:本数据集有偿提供,私信我即可),主要是归一化一下
2.标注文件的转化:
需要安装他的要求转,转换脚本如下:
def convert_json_label_to_yolov_seg_label():import globimport numpy as npjson_path = r"C:\Users\jianming_ge\Desktop\code\handle_dataset\water_street";json_files = glob.glob(json_path + "/*.json")for json_file in json_files:# if json_file != r"C:\Users\jianming_ge\Desktop\code\handle_dataset\water_street\223.json":# continueprint(json_file)f = open(json_file)json_info = json.load(f)# print(json_info.keys())img = cv2.imread(os.path.join(json_path, json_info["imagePath"]))height, width, _ = img.shapenp_w_h = np.array([[width, height]], np.int32)txt_file = json_file.replace(".json", ".txt")f = open(txt_file, "a")for point_json in json_info["shapes"]:txt_content = ""np_points = np.array(point_json["points"], np.int32)norm_points = np_points / np_w_hnorm_points_list = norm_points.tolist()txt_content += "0 " + " ".join([" ".join([str(cell[0]), str(cell[1])]) for cell in norm_points_list]) + "\n"f.write(txt_content)会对应产生.txt 文件,和之前yolov分割例子的coco-128一致
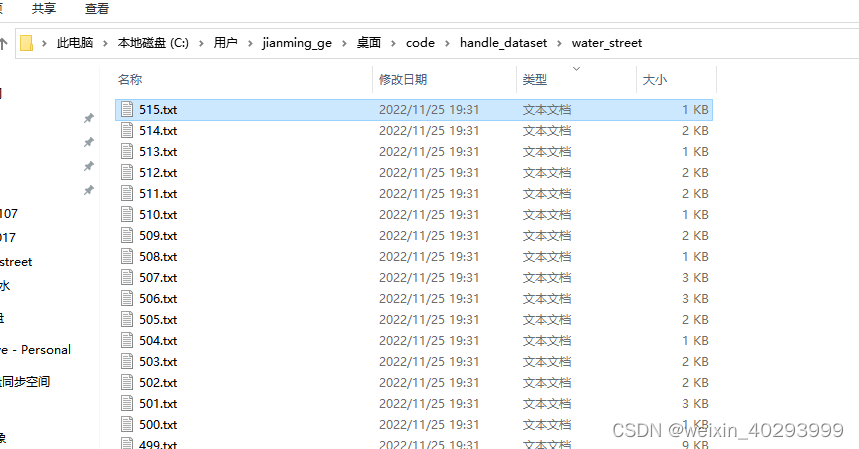
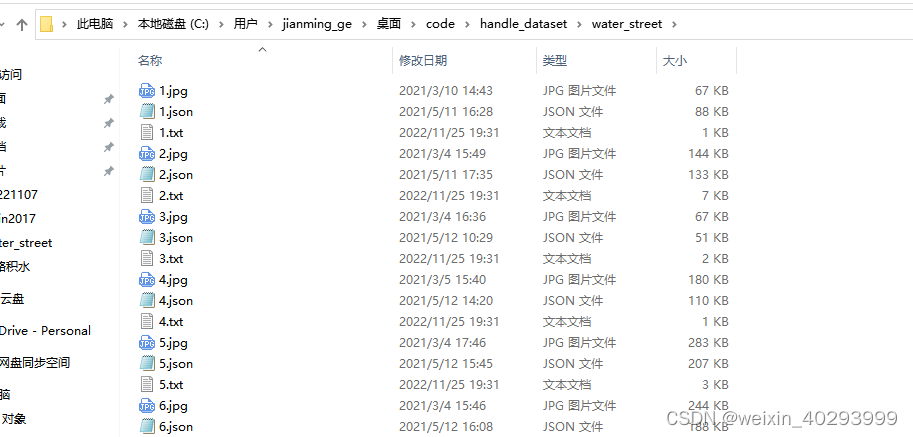
整个数据集的对应关系:
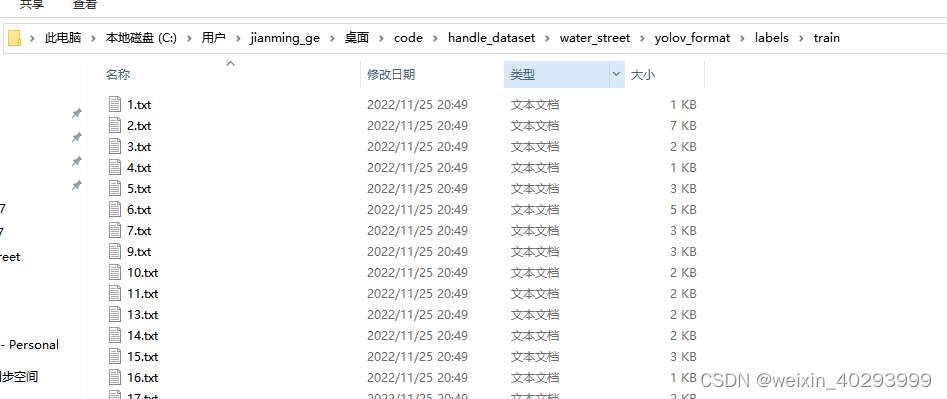
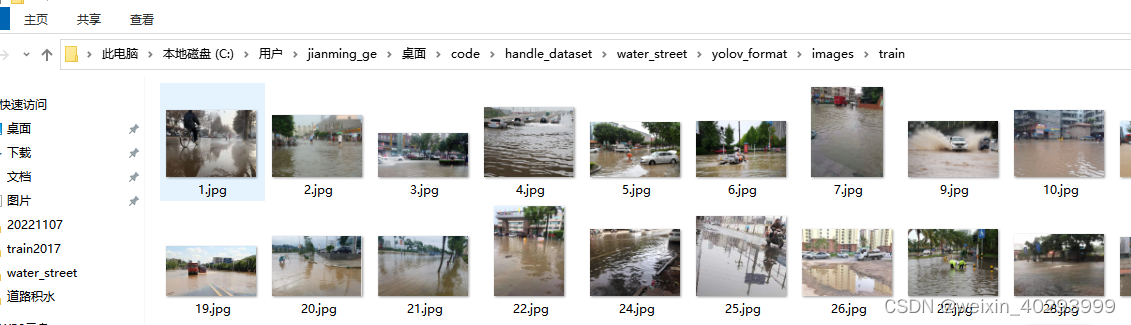
1.jpg 是原始图片,1.json是labelme标注的图片,1.txt是yolov分割所需要的格式
3.标注再验证
转化完成一定要再次验证一遍,否则会死的很惨。因为算法工程师80%的时间,都耗费再数据上,而训练只是一行命令的事儿。
def check_convert_json_label_to_yolov_seg_label():"""验证一下对不对:return:"""import globimport numpy as npimport cv2txt_path = r"C:\Users\jianming_ge\Desktop\code\handle_dataset\water_street";txt_files = glob.glob(txt_path + "/*.txt")for txt_file in txt_files:# if json_file != r"C:\Users\jianming_ge\Desktop\code\handle_dataset\water_street\223.json":# continueprint(txt_file)pic_path = txt_file.replace(".txt", ".jpg")img = cv2.imread(pic_path)height, width, _ = img.shapeprint(height, width)# cv2.imshow("111",img)# 显示原始图片# cv2.waitKey()# 勾勒多边形file_handle = open(txt_file)cnt_info = file_handle.readlines()new_cnt_info = [line_str.replace("\n", "").split(" ") for line_str in cnt_info]print(len(new_cnt_info))print("---====---")# 45 bowl 碗 49 橘子 50 西兰花color_map = {"49": (0, 255, 255), "45": (255, 0, 255), "50": (255, 255, 0)}for new_info in new_cnt_info:print(new_info)s = []for i in range(1, len(new_info), 2):b = [float(tmp) for tmp in new_info[i:i + 2]]s.append([int(b[0] * width), int(b[1] * height)])print(s)cv2.polylines(img, [np.array(s, np.int32)], True, color_map.get(new_info[0]))cv2.imshow('img2', img)cv2.waitKey()
你会看到这样的图片:
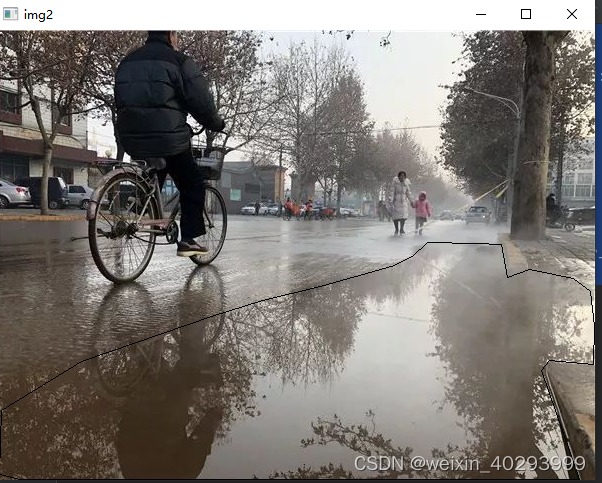
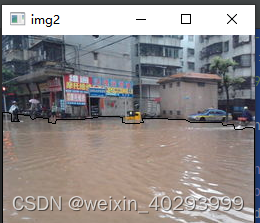
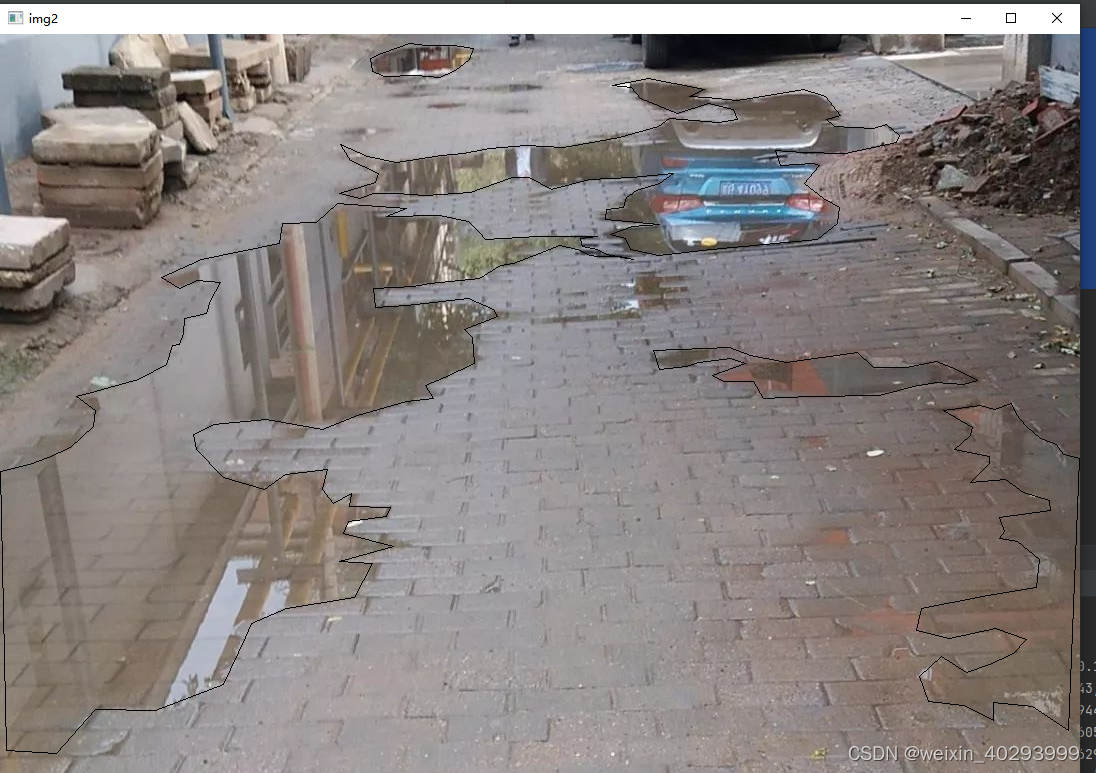
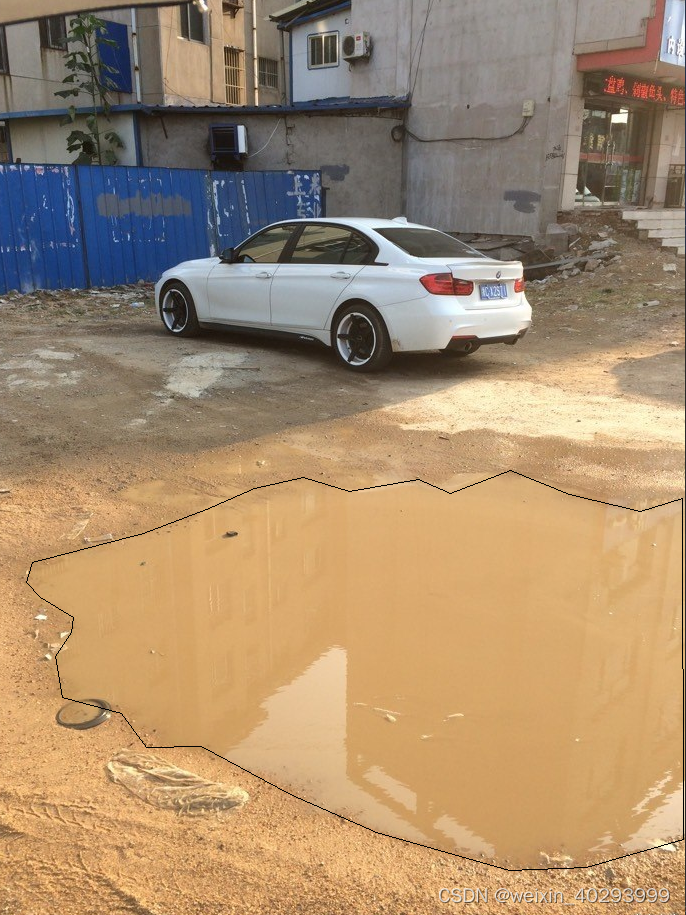
证明转化的标注文件没有问题。
4.分割数据集
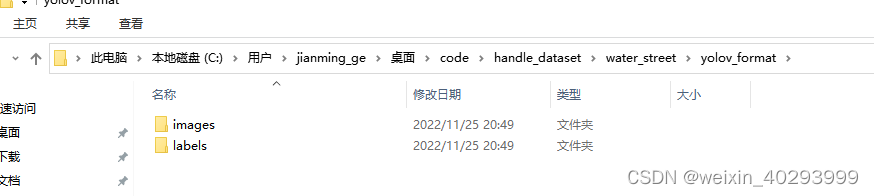
下面就是要按1:9 或者2:8的比例分开数据集,因为数据集才550张,不是特别大,所以我会在代码中重新建目录,把图片和标注文件复制过来。这样并不动旧的数据集,这是一个好习惯!
数据集拆分的代码如下:
def split_dataset():# 为防止数据混乱,执行此脚本前,先将'C:\Users\jianming_ge\Desktop\code\handle_dataset\water_street\yolov_format'清空""":return:"""import globimport shutilimport randomtxt_path = r"C:\Users\jianming_ge\Desktop\code\handle_dataset\water_street"txt_files = glob.glob(txt_path + "/*.txt")# 基础图片文件夹images_base_dir = r"C:\Users\jianming_ge\Desktop\code\handle_dataset\water_street\yolov_format\images"# 基础标注文件夹labels_base_dir = r"C:\Users\jianming_ge\Desktop\code\handle_dataset\water_street\yolov_format\labels"# 训练集图片文件夹images_train_dir = os.path.join(images_base_dir, "train")# 训练集标注文件夹labels_train_dir = os.path.join(labels_base_dir, "train")# 验证集图片文件夹images_val_dir = os.path.join(images_base_dir, "val")# 验证集标注文件夹labels_val_dir = os.path.join(labels_base_dir, "val")# 生成所需4个文件夹[make_new_dir(dir_path) for dir_path in [images_train_dir, labels_train_dir, images_val_dir, labels_val_dir]]# 验证集数据的比例,可以自定义成任何你所需要的比例val_rate = 0.1for txt_ori_path in txt_files:fpath, fname = os.path.split(txt_ori_path) # 分离文件名和路径if random.randint(1, 10) == 10 * val_rate:# 验证集数据txt_dst_path = os.path.join(labels_val_dir, fname)img_dst_path = os.path.join(images_val_dir, fname.replace(".txt", ".jpg"))else:# 训练集txt_dst_path = os.path.join(labels_train_dir, fname)img_dst_path = os.path.join(images_train_dir, fname.replace(".txt", ".jpg"))# 执行复制# 图片都是jpg,且和原始txt文件在同一个目录,所以可以这么写img_ori_path = txt_ori_path.replace(".txt", ".jpg")# 移动标注文件shutil.copy(txt_ori_path, txt_dst_path)# 移动图片文件shutil.copy(img_ori_path, img_dst_path)
执行完,会多这个目录,和coco128-seg的一样:

ok完事具备,开始训练吧!
三、训练
1.构建配置文件
water.yaml
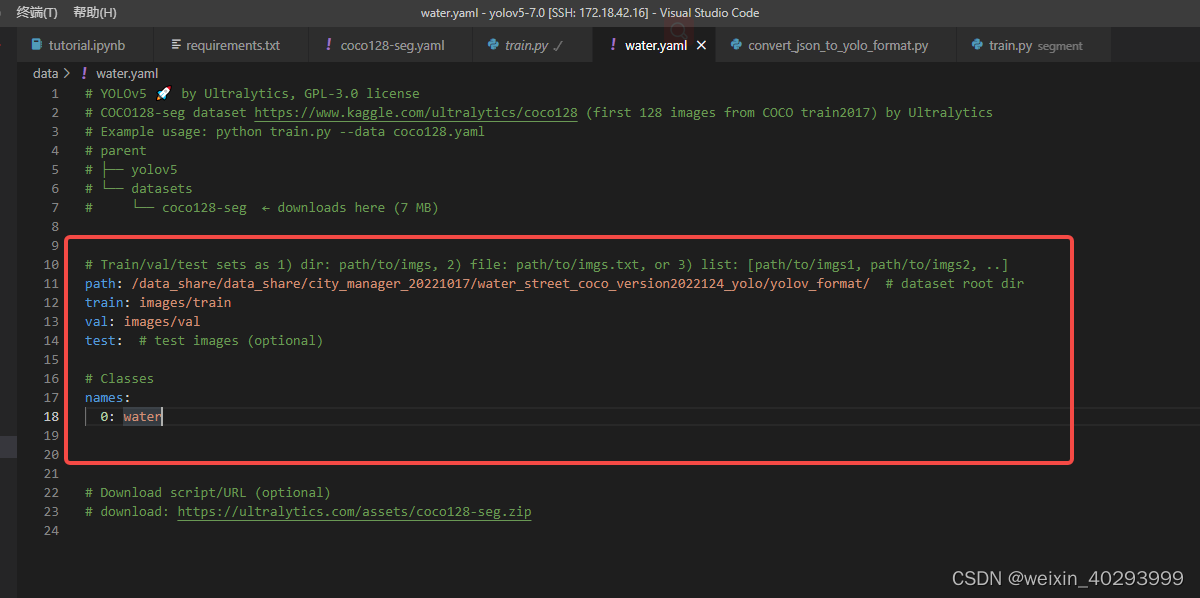
照著coco128-seg.yaml抄一份,改成自己目录结构即可
path: /data_share/data_share/city_manager_20221017/water_street_coco_version2022124_yolo/yolov_format/  # dataset root dir
train: images/train
val: images/val
test:  # test images (optional)# Classes
names:0: water
这里需要多啰嗦一句,配置文件只需要体现图片的路径即可
比如train,最终代码会到这个目录下加载图片:
/data_share/data_share/city_manager_20221017/water_street_coco_version2022124_yolo/yolov_format/images/train
然后智能(暴力)把images替换成labels,也就是说去:/data_share/data_share/city_manager_20221017/water_street_coco_version2022124_yolo/yolov_format/labels/train 下找标注
反正配置文件的写法有好几种,我就照着coco128-seg超了一份。
这里插入一个知识点, 为什么test下人家给写的是optional,引出的问题是在啥时候不需要test数据集?
瓜书上说,train是用来xxx,val是用来ooo,test数据集是用来xxoo。
那么问题来了,那是书上写的,我的问题是,什么时候不需要test数据集,少废话,出答案:
在train、val、test都来自一个概率分布的时候,是不需要test的,仔细想想,都来自一个概率分布,其实连val都可以不用。当然,val是用来防止模型过拟合的,根据loss曲线挑选一个train和val表现都还不错的模型。
就目前这个分割网络来说,我们没有拿到生产数据,还不知道是啥情况,只能先训练一个初版,然后试运行(预生产时)再去迭代优化了。话说,我这里已经在生产摄像头下,下雨时,把收集了一些积水的视频。
2.训练
发车、发车。。
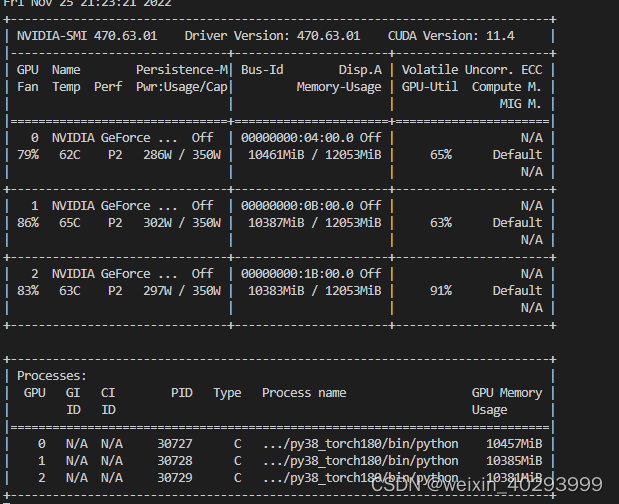
前面已经说过了和目标检测训练的命令一模一样,祖上富裕,3张卡,走你
python -m torch.distributed.launch --nproc_per_node=3 segment/train.py --img 640 --batch 48 --epochs 300 --data water-seg.yaml --weights weights/yolov5m-seg.pt --workers 16 --save-period 20 --cache
上面几个参数自行查一下他的意思
卡的数据和batch 一定是能被整出才行,比如我有3张卡,那么batch要是3的倍数。
一切正常:
3.选择模型
300轮次下来,每20轮保留一个模型,
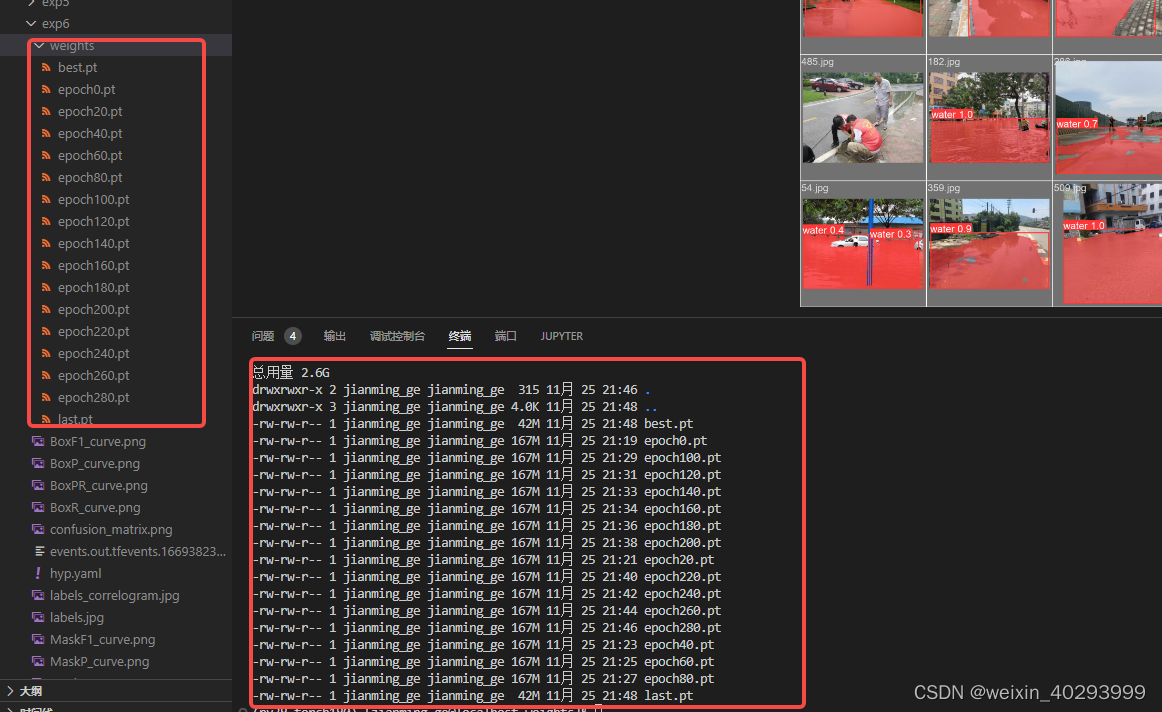
可以看到last.pt 就是best.pt
从result.png 上看
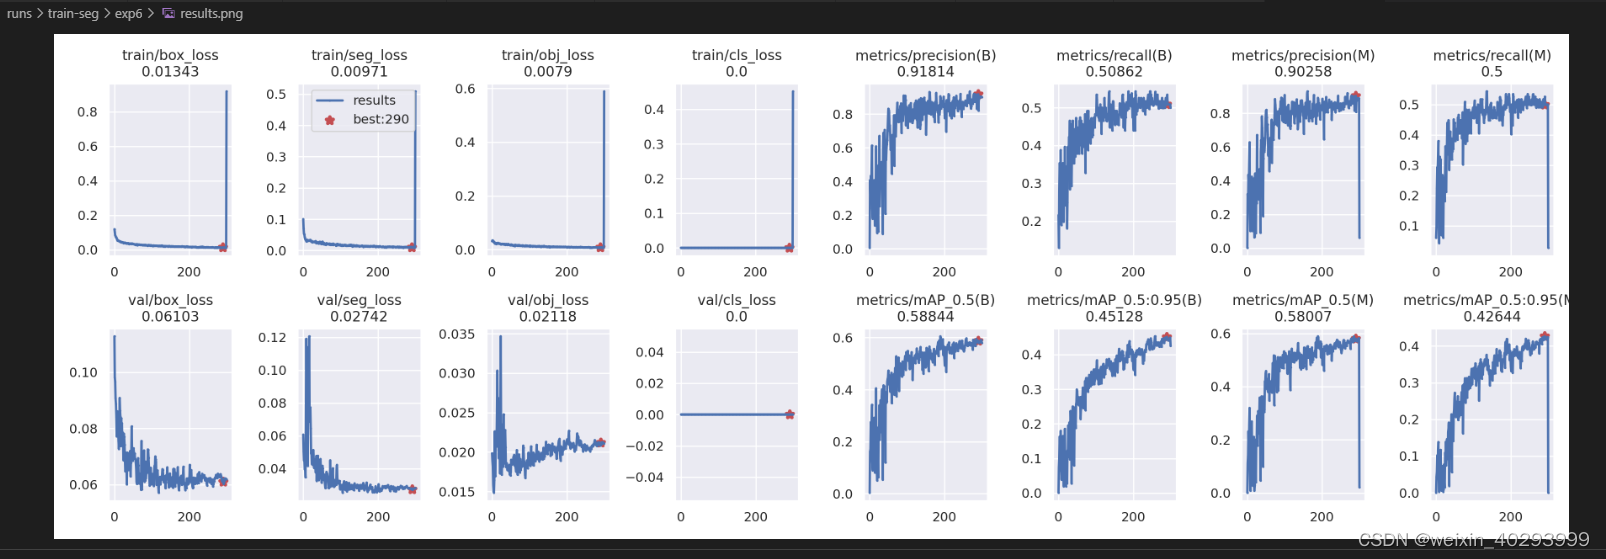
选取200-300轮直接的一个模型是合适的,
本来用tensorboard看更直观的,可是我的tensorboard报错,尚不清楚咋回事。解决了两个小时,无解,翻过来正过去就是那么两句话。
就用best.pt 推理一下试试,把runs/exp 下的best.pt 复制到weights/下,并且重命名為best-seg.pt
python segment/predict.py --weights weights/best-seg.pt --img 640 --conf 0.25 --source /data_share/data_share/city_manager_20221017/water_street_coco_version2022124_yolo/yolov_format/images/val
#display.Image(filename='runs/predict-seg/exp/zidane.jpg', width=600)
麻蛋,把环境搞坏了,这可是我的主环境啊啊啊:
Uninstalling torchvision-0.2.2:
Successfully uninstalled torchvision-0.2.2
Successfully installed dataclasses-0.6 torch-1.7.0 torchvision-0.8.1
报错说需要torchvision>=0.8.1, 我的是0.2.2, 然后我pip install torchvision==0.8.1, 结果给我把torch1.8卸载了,重新安装的torch1.7,
然后重新运行命令,就报错了
Traceback (most recent call last):File "segment/predict.py", line 274, in main(opt)File "segment/predict.py", line 269, in mainrun(**vars(opt))File "/home/jianming_ge/miniconda3/envs/py38_torch180/lib/python3.8/site-packages/torch/autograd/grad_mode.py", line 26, in decorate_contextreturn func(*args, **kwargs)File "segment/predict.py", line 99, in runmodel = DetectMultiBackend(weights, device=device, dnn=dnn, data=data, fp16=half)File "/home/jianming_ge/workplace/yolov5-7.0/models/common.py", line 345, in __init__model = attempt_load(weights if isinstance(weights, list) else w, device=device, inplace=True, fuse=fuse)File "/home/jianming_ge/workplace/yolov5-7.0/models/experimental.py", line 80, in attempt_loadckpt = (ckpt.get('ema') or ckpt['model']).to(device).float()  # FP32 modelFile "/home/jianming_ge/miniconda3/envs/py38_torch180/lib/python3.8/site-packages/torch/nn/modules/module.py", line 490, in floatreturn self._apply(lambda t: t.float() if t.is_floating_point() else t)File "/home/jianming_ge/workplace/yolov5-7.0/models/yolo.py", line 155, in _applyself = super()._apply(fn)File "/home/jianming_ge/miniconda3/envs/py38_torch180/lib/python3.8/site-packages/torch/nn/modules/module.py", line 359, in _applymodule._apply(fn)File "/home/jianming_ge/miniconda3/envs/py38_torch180/lib/python3.8/site-packages/torch/nn/modules/module.py", line 359, in _applymodule._apply(fn)File "/home/jianming_ge/miniconda3/envs/py38_torch180/lib/python3.8/site-packages/torch/nn/modules/module.py", line 359, in _applymodule._apply(fn)File "/home/jianming_ge/miniconda3/envs/py38_torch180/lib/python3.8/site-packages/torch/nn/modules/module.py", line 381, in _applyparam_applied = fn(param)File "/home/jianming_ge/miniconda3/envs/py38_torch180/lib/python3.8/site-packages/torch/nn/modules/module.py", line 490, in return self._apply(lambda t: t.float() if t.is_floating_point() else t)
RuntimeError: CUDA error: no kernel image is available for execution on the device
唉锅从天上来啊,和cuda有不匹配了,算求,又重启了一个环境,安装了新环境。深度学习,有一半时间再安装环境,另一半时间制作docker…
py39_torch1.10.1
# 基础环境
pip install torch==1.10.1+cu111 torchvision==0.11.2+cu111 torchaudio==0.10.1 -f https://download.pytorch.org/whl/cu113/torch_stable.html
# yolov所需环境
pip install -r requirements.txt
# 其它的再报错再说吧,唉,倒霉啊!!比如flask fastapi kafka mysql sharply之类的,求大牛指导管理环境啊
在等这个安装的同时,又重新将原环境装了一次:torch 从1.8 更换成1.8.2 因为LST版本。很快就装完了,然后执行推理也好使。太奇怪了。不知道怎么动了环境
pip install torch==1.8.2 torchvision==0.9.2 torchaudio==0.8.2 --extra-index-url https://download.pytorch.org/whl/lts/1.8/cu111
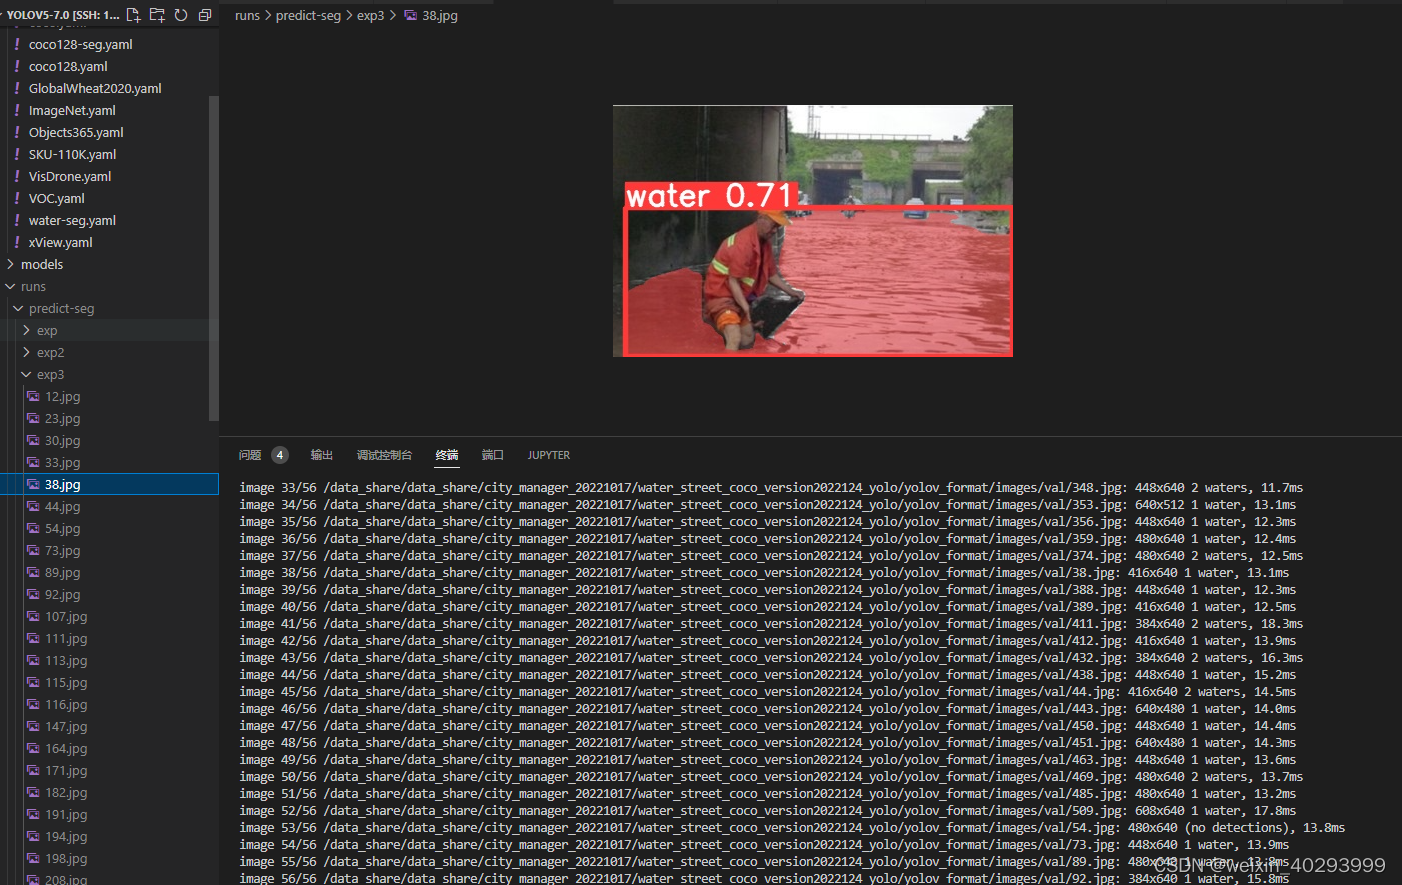
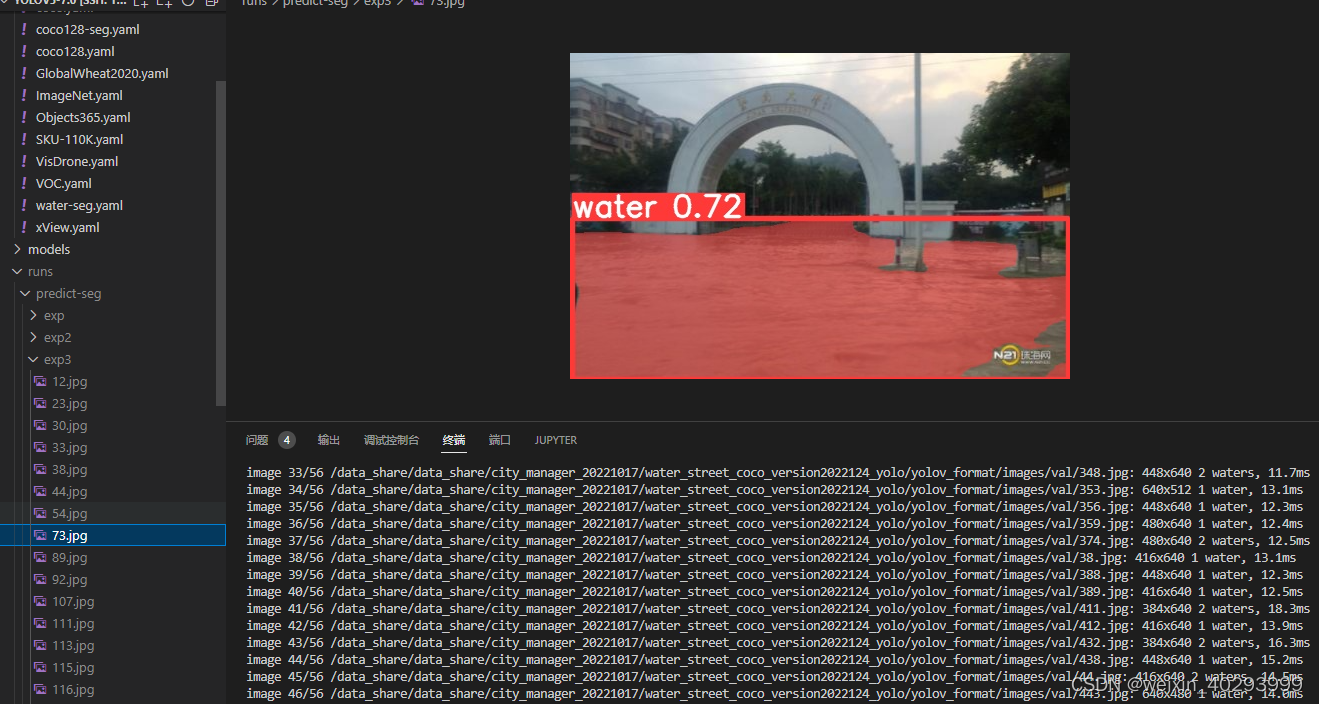
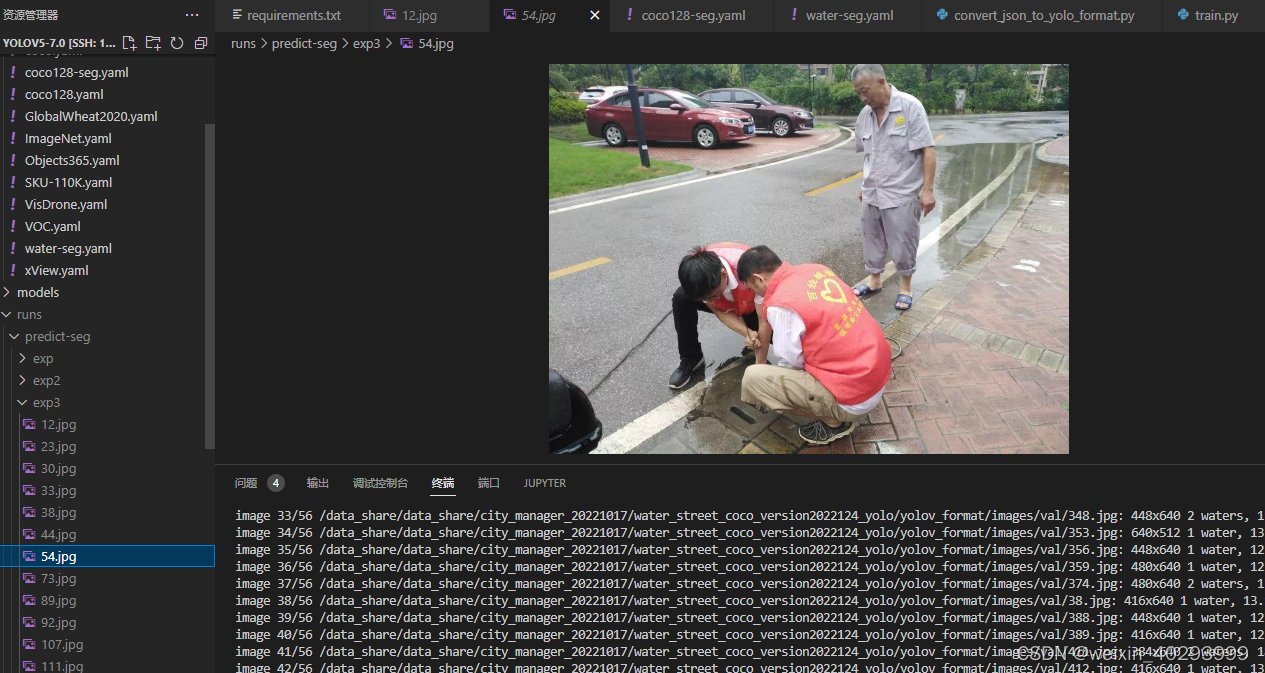
也有未识别的
再看看tensorbord好用了没

还是没有,其实我已经pip install tensorboard了,主要是想很直观的看loss,先这样吧,等环境py39_torch1.10.1弄好了,再运行下看是否成功。
四、模型转化
.pt 到.onnx
根据我之前的博文,onnx对cpu非常友好,能够提升10倍的推理速度,从1-2s 下降到 0.1-0.2s
未完待续…
总结
就先写到这里把,等着模型好了,看看效果继续写。
后面就是封装api了,公司已经有现成的框架和套路了,美滋滋。
再打一次广告,需要数据集私信我,but 有偿啊
下一篇:积什么什么什么成语