
升级Seata Server 1.5.2
目录
- 引言
- 下载地址
- 配置
- 初始Mysql数据库
- 支持TCC Fence
引言
最近在做Seata TCC集成,集成过程中将Seata Server由原来的1.4.2升级为最新的1.5.2,本文记录了Seata 1.5的升级过程。
原Seata 1.4.2的安装过程可参见我之前的博客:
分布式事务 - Seata - AT入门 => 二、启动Seata Server(TC)
下载地址
下载地址:https://github.com/seata/seata/releases/tag/v1.5.2

配置
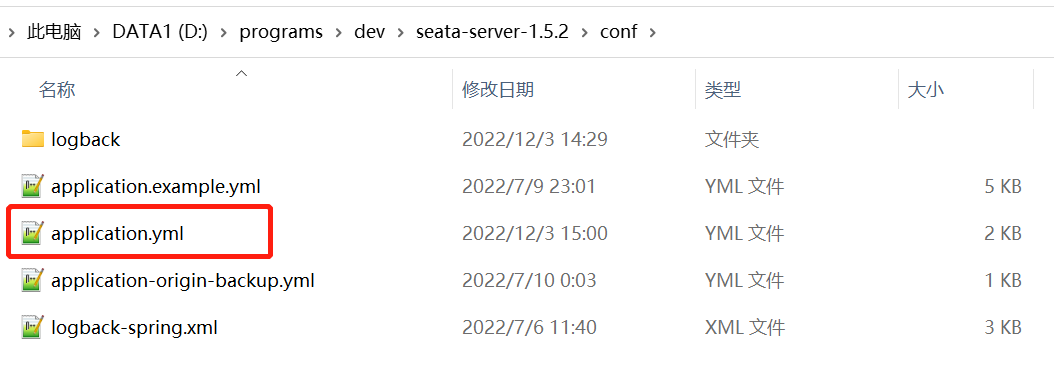
解压后可以发现原来的conf/registry.conf配置文件没有了,可直接修改application.yml进行配置。
application.yml配置内容也类似原registry.conf,主要包括如下两方面配置:
- Seata使用的配置中心(支持file, nacos, consul, apollo, zk, etcd3)
- Seata使用的服务注册中心(支持file, nacos, eureka, redis, zk, consul, etcd3, sofa)
同样以配置中心、注册中心使用Nacos,store.mode=db(mysql)为例,给出application.yml示例配置如下:
server:port: 7091spring:application:name: seata-server
# 日志配置
logging:config: classpath:logback-spring.xmlfile:path: ${user.home}/logs/seata# 不外接日志,故如下配置可暂不考虑extend:logstash-appender:destination: 127.0.0.1:4560kafka-appender:bootstrap-servers: 127.0.0.1:9092topic: logback_to_logstash
# 新增加的console控制台,
# 可通过访问http://localhost:7091进行登录,账号如下seata/seata
console:user:username: seatapassword: seataseata:# Seata接入Nacos配置中心config:# support: file, nacos, consul, apollo, zk, etcd3type: nacosnacos:server-addr: 127.0.0.1:8848namespace: luo-devgroup: SEATA_GROUPusername: nacospassword: nacos##if use MSE Nacos with auth, mutex with username/password attribute#access-key: ""#secret-key: ""data-id: seataServer.properties# Seata接入Nacos服务注册中心registry:# support: file, nacos, eureka, redis, zk, consul, etcd3, sofatype: nacosnacos:application: seata-serverserver-addr: 127.0.0.1:8848group: SEATA_GROUPnamespace: luo-devcluster: defaultusername: nacospassword: nacos##if use MSE Nacos with auth, mutex with username/password attribute#access-key: ""#secret-key: ""# 此处可不必配置,由于接入了nacos配置,以下store相关配置可直接通过seataServer.properties进行配置# store:# support: file 、 db 、 redis# mode: db
#  server:
#    service-port: 8091 #If not configured, the default is '${server.port} + 1000'security:secretKey: SeataSecretKey0c382ef121d778043159209298fd40bf3850a017tokenValidityInMilliseconds: 1800000ignore:urls: /,/**/*.css,/**/*.js,/**/*.html,/**/*.map,/**/*.svg,/**/*.png,/**/*.ico,/console-fe/public/**,/api/v1/auth/login
上述配置中的使用的Nacos配置seataServer.properties,原始内容参见:
1.5.2/script/config-center/config.txt
具体的调整可参见我之前的博客:
分布式事务 - Seata - AT入门 => 二、启动Seata Server(TC) => (5)导入初始配置到nacos
初始Mysql数据库
- 从Seata1.4升级到1.5,数据库脚本有变化,以mysql为例:
- 1.4 msyql脚本:1.4.2/script/server/db/mysql.sql
- 1.5 mysql脚本:1.5.2/script/server/db/mysql.sql 相较于1.4版本,1.5版本mysql脚本主要调整如下:
- 新增加了distributed_lock表,
- 原有的lock_table表新增加了status列,
- 且由1.4的utf8编码调整为1.5的utf8mb4编码。
切记升级前使用新版本的数据库脚本初始化数据库。
支持TCC Fence
Seata1.5版本后解决了TCC模式下的幂等、空回滚、悬挂的问题,
若需支持此特性,还需在各自服务的业务数据库中额外导入表tcc-fence-log:
CREATE TABLE IF NOT EXISTS `tcc_fence_log`
(`xid`           VARCHAR(128)  NOT NULL COMMENT 'global id',`branch_id`     BIGINT        NOT NULL COMMENT 'branch id',`action_name`   VARCHAR(64)   NOT NULL COMMENT 'action name',`status`        TINYINT       NOT NULL COMMENT 'status(tried:1;committed:2;rollbacked:3;suspended:4)',`gmt_create`    DATETIME(3)   NOT NULL COMMENT 'create time',`gmt_modified`  DATETIME(3)   NOT NULL COMMENT 'update time',PRIMARY KEY (`xid`, `branch_id`),KEY `idx_gmt_modified` (`gmt_modified`),KEY `idx_status` (`status`)
) ENGINE = InnoDB
DEFAULT CHARSET = utf8mb4;
注: Seata 1.5解决TCC幂等、悬挂、空回滚问题可参见:
阿里 Seata 新版本终于解决了 TCC 模式的幂等、悬挂和空回滚问题
做完以上调整后,可直接通过/bin/seata-server.bat|sh进行启动。