
SSM框架-SSM整合
目录
1 ContextLoaderListener
2 准备工作
3 配置web.xml
4 配置springmvc.xml
5 配置spring.xml
6 Spring整合MyBatis
7 配置log4j.xml
8 配置事务
9 测试功能
9.1 创建pojo类
9.2 员工列表功能
9.3 分页数据
9.4 分页相关超链接
1 ContextLoaderListener
Spring提供了监听器ContextLoaderListener,实现ServletContextListener接口,可监听 ServletContext的状态,在web服务器的启动,读取Spring的配置文件,创建Spring的IOC容器。web应用中必须在web.xml中配置 配置Spring的监听器,在服务器加载启动时加载spring的配置文件,Spring配置文件的默认位置和名称为:/WEB-INF/applicationContext.xml。当然我们可以自定位位置和名称 我们测试这个监听器: 在web.xml文件中配置监听器,在之前的配置基础上,配置如下: org.springframework.web.context.ContextLoaderListener contextConfigLocation classpath:spring.xml 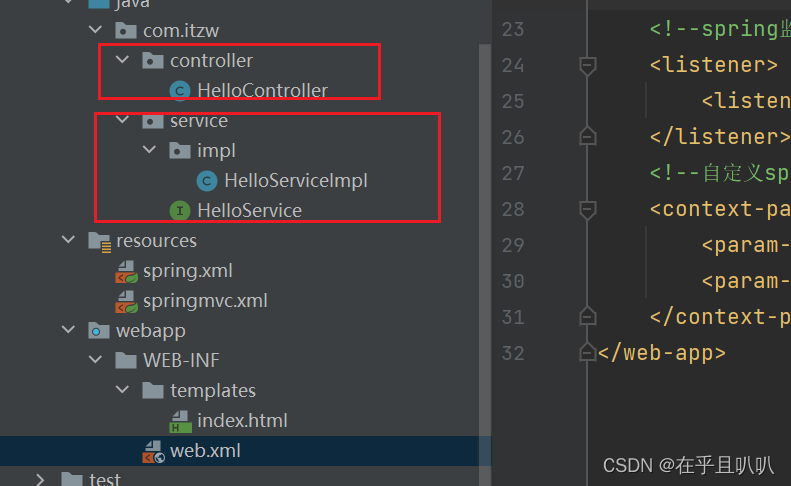
注意:只有控制层需要交给SpringMVC管理,其它都交给Spring管理。
通过源码我们发现SpringMVC的IoC可以访问到Spring中IoC的bean,但是Spring的IoC容器访问不到SpringMVC的IoC的Bean。所以我们不需要别的操作,SpringMVC的IoC容器就可以直接访问到Spring的IoC容器。
2 准备工作
创建model
引入依赖:
5.3.1 org.springframework spring-context ${spring.version} org.springframework spring-beans ${spring.version} org.springframework spring-web ${spring.version} org.springframework spring-webmvc ${spring.version} org.springframework spring-jdbc ${spring.version} org.springframework spring-aspects ${spring.version} org.springframework spring-test ${spring.version} org.mybatis mybatis 3.5.10 org.mybatis mybatis-spring 2.0.7 com.alibaba druid 1.2.13 junit junit 4.12 test mysql mysql-connector-java 8.0.30 log4j log4j 1.2.17 com.github.pagehelper pagehelper 5.2.0 ch.qos.logback logback-classic 1.2.3 javax.servlet javax.servlet-api 3.1.0 provided com.fasterxml.jackson.core jackson-databind 2.12.1 commons-fileupload commons-fileupload 1.3.1 org.thymeleaf thymeleaf-spring5 3.0.12.RELEASE 创建数据库表
CREATE TABLE `t_emp` (
`emp_id` int(11) NOT NULL AUTO_INCREMENT,
`emp_name` varchar(20) DEFAULT NULL,
`age` int(11) DEFAULT NULL,
`sex` char(1) DEFAULT NULL,
`email` varchar(50) DEFAULT NULL,
PRIMARY KEY (`emp_id`)
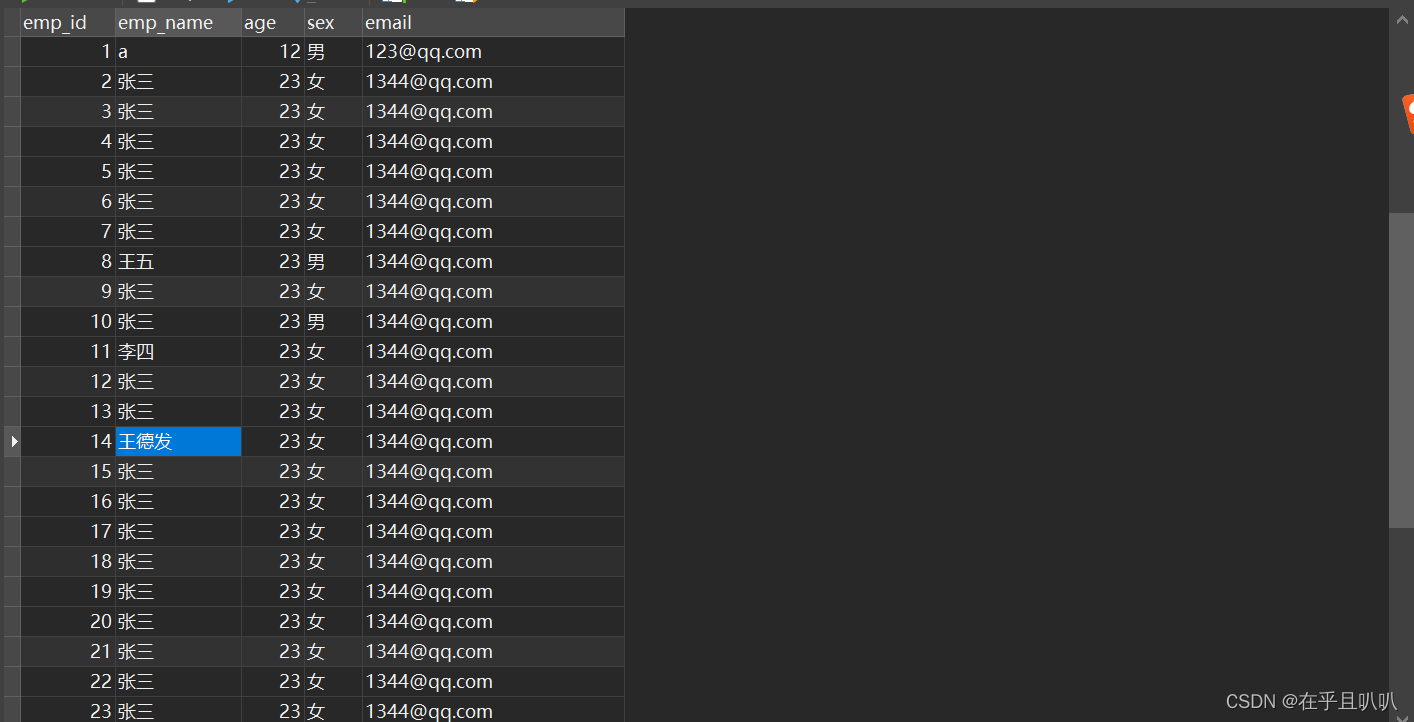
) ENGINE=InnoDB DEFAULT CHARSET=utf8插入一点数据:
3 配置web.xml
CharacterEncodingFilter org.springframework.web.filter.CharacterEncodingFilter encoding UTF-8 forceEncoding true CharacterEncodingFilter /* HiddenHttpMethodFilter org.springframework.web.filter.HiddenHttpMethodFilter HiddenHttpMethodFilter /* SpringMVC org.springframework.web.servlet.DispatcherServlet contextConfigLocation classpath:springmvc.xml 1 SpringMVC / org.springframework.web.context.ContextLoaderListener contextConfigLocation classpath:spring.xml 4 配置springmvc.xml
需要啥就配置啥,没有必要将之前学的都配置上
5 配置spring.xml
我们先配置组件扫描和数据源,其它如果需要我们再配置
6 Spring整合MyBatis
记得在spring配置文件里面引入jdbc.properties文件的时候要在文件前面加上classpath:
我们创建MyBatis核心配置文件,这个我们很熟悉。我们再创建一个mapper文件,并在类路径下创建同样路径和名称的mapper映射文件
我们在spring配置文件中配置SqlSessionFactoryBean,它可以直接在Spring的IOC中获取SqlSessionFactory,我们可以在这里配置MyBatis核心配置文件的相关配置。也就是说可以在Spring配置文件中配置MyBatis配置文件的内容,至于怎么选择,看你咯。比如:
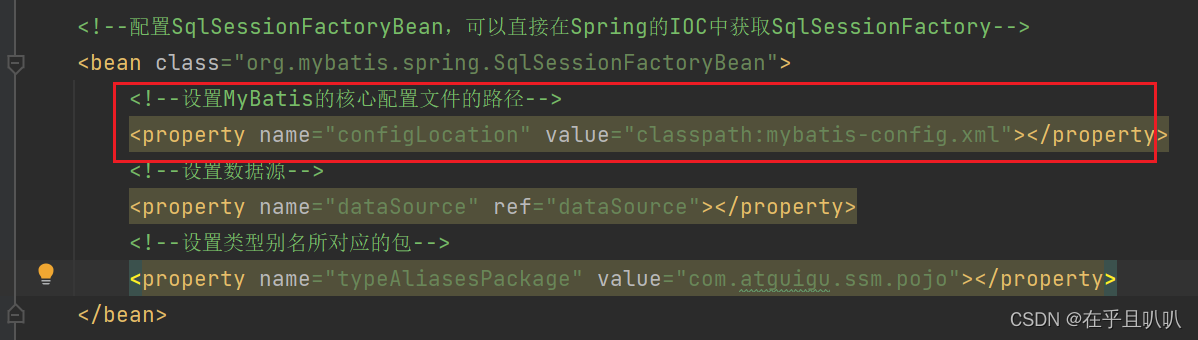
我们在这里配置了数据源和别名,那么我们在MyBatis配置文件中就不需要配置了。
设置映射文件路径:

需要注意的是,如果我们的映射文件包和mapper接口包一样,那么我们就不需要配置这个标签,因为我们都是按照要求配置一样的包,所以这个标签可以不配置,而且MyBatis配置文件中也不需要配置。
我们再配置以下标签(这个标签是spring整合MyBatis最关键的一个):
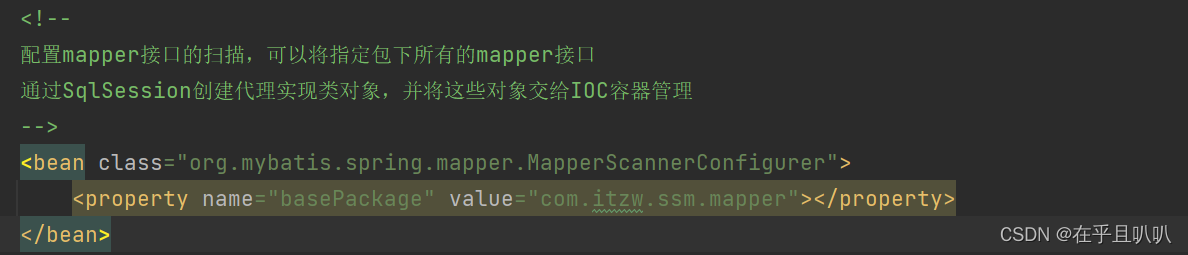
配置这个标签我们就可以直接在service中自动装配mapper接口对象了。需要注意的是上面映射文件不需要配置的前提是,以上这个bean配置后才行。这个bean配置就表示配置类mapper接口和mapper映射文件的路径。如下:

以前我们需要先获取mybatis配置文件流,然后总之很麻烦,现在一步就完成了。
7 配置log4j.xml
在类路径下配置:
8 配置事务
配置完事务记得在service文件上加上@Transactional注解
到此,配置基本完毕,总结spring.xml文件所有内容如下:
mybatis核心配置文件如下:
9 测试功能
9.1 创建pojo类
package com.itzw.ssm.pojo;public class Employee {private Integer empId;private String empName;private Integer age;private String gender;private String email;public Employee() {}public Employee(Integer empId, String empName, Integer age, String gender, String email) {this.empId = empId;this.empName = empName;this.age = age;this.gender = gender;this.email = email;}public Integer getEmpId() {return empId;}public void setEmpId(Integer empId) {this.empId = empId;}public String getEmpName() {return empName;}public void setEmpName(String empName) {this.empName = empName;}public Integer getAge() {return age;}public void setAge(Integer age) {this.age = age;}public String getGender() {return gender;}public void setGender(String gender) {this.gender = gender;}public String getEmail() {return email;}public void setEmail(String email) {this.email = email;}@Overridepublic String toString() {return "Employee{" +"empId=" + empId +", empName='" + empName + '\'' +", age=" + age +", gender='" + gender + '\'' +", email='" + email + '\'' +'}';}
}
9.2 员工列表功能
mapper接口:
List getAllEmployee(); 映射文件:
service接口:
/*** 查询员工所有信息* @return*/List getAllEmployee(); service实现类:
@Service
@Transactional
public class EmployeeServiceImpl implements EmployeeService {@Autowiredprivate EmployeeMapper employeeMapper;public List getAllEmployee() {return employeeMapper.getAllEmployee();}
}
controller类:
@Controller
public class EmployeeController {@Autowiredprivate EmployeeService employeeService;@RequestMapping(value = "/employee",method = RequestMethod.GET)public String getAllEmployee(Model model){List allEmployee = employeeService.getAllEmployee();model.addAttribute("allEmployee",allEmployee);return "employee_list";}
}
前端页面employee_list.html:
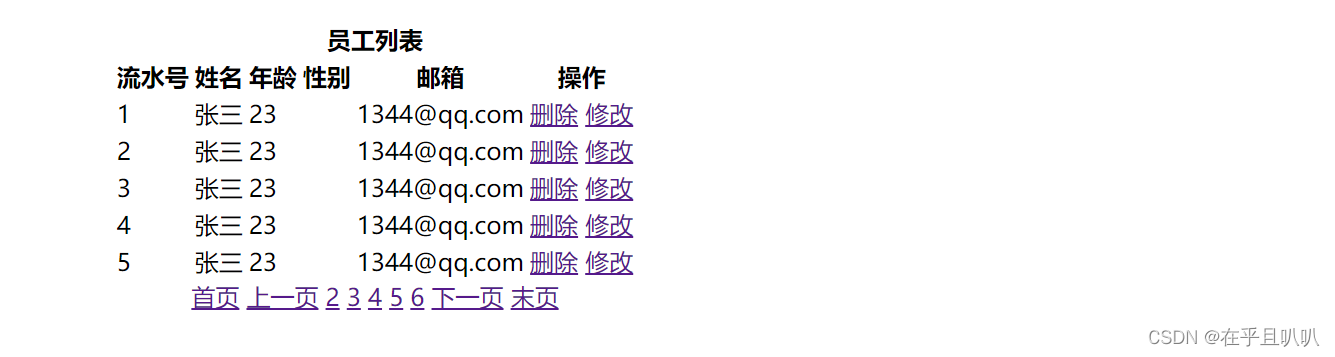
前端使用到了流水号,就是不管员工的id是什么,流水号的号码都是按顺序从上往下逐个增加。
员工列表
欢迎访问员工列表
员工列表 流水号 姓名 年龄 性别 邮箱 操作 删除修改
查看结果:

9.3 分页数据
service接口:
/*** 查询员工分页信息* @param pageNum* @return*/PageInfo getAllEmployeeByPage(Integer pageNum); service实现类:
我们在这里实现分页功能
public PageInfo getAllEmployeeByPage(Integer pageNum) {//开启分页功能PageHelper.startPage(pageNum,5);//查询所有员工信息List allEmployee = employeeMapper.getAllEmployee();//获取分页相关数据PageInfo page = new PageInfo(allEmployee,5);return page;} 控制层:
@RequestMapping(value = "/employee/page/{pageNum}",method = RequestMethod.GET)public String getAllEmployeeByPage(@PathVariable("pageNum") Integer pageNum,Model model){PageInfo page = employeeService.getAllEmployeeByPage(pageNum);model.addAttribute("page",page);return "employee_list";} 注意几点:
这时前端页面接收数据使用page.list,因为一个list表示一个页面。映射文件的SQL语句最后不要加分号,否则出错。

结果:

9.4 分页相关超链接
- hasPreviousPage:是否有上一页,有则是true
- prePage:表示上一页
- hasNextPage:是否有下一页,有则是true
- nextPage:表示下一页
- pages:表示总页数
- navigatepageNums:导航分页的页码,它是个数组
效果:
下一篇:【C语言】函数递归详解