
【RabbitMQ】安装、启动、配置、测试一条龙
创始人
2024-05-09 21:08:20
一、基本环境安装配置
1.英文RabbitMQ是基于erlang开发的所以需要erlang环境,点击以下链接下载安装
Downloads - Erlang/OTP
![]()
2.官网下载RabbitMQ安装包并安装
Installing on Windows — RabbitMQ
![]()
3.配置erlang本地环境变量(和JAVAHOME类似)

4.cmd查看erlang版本
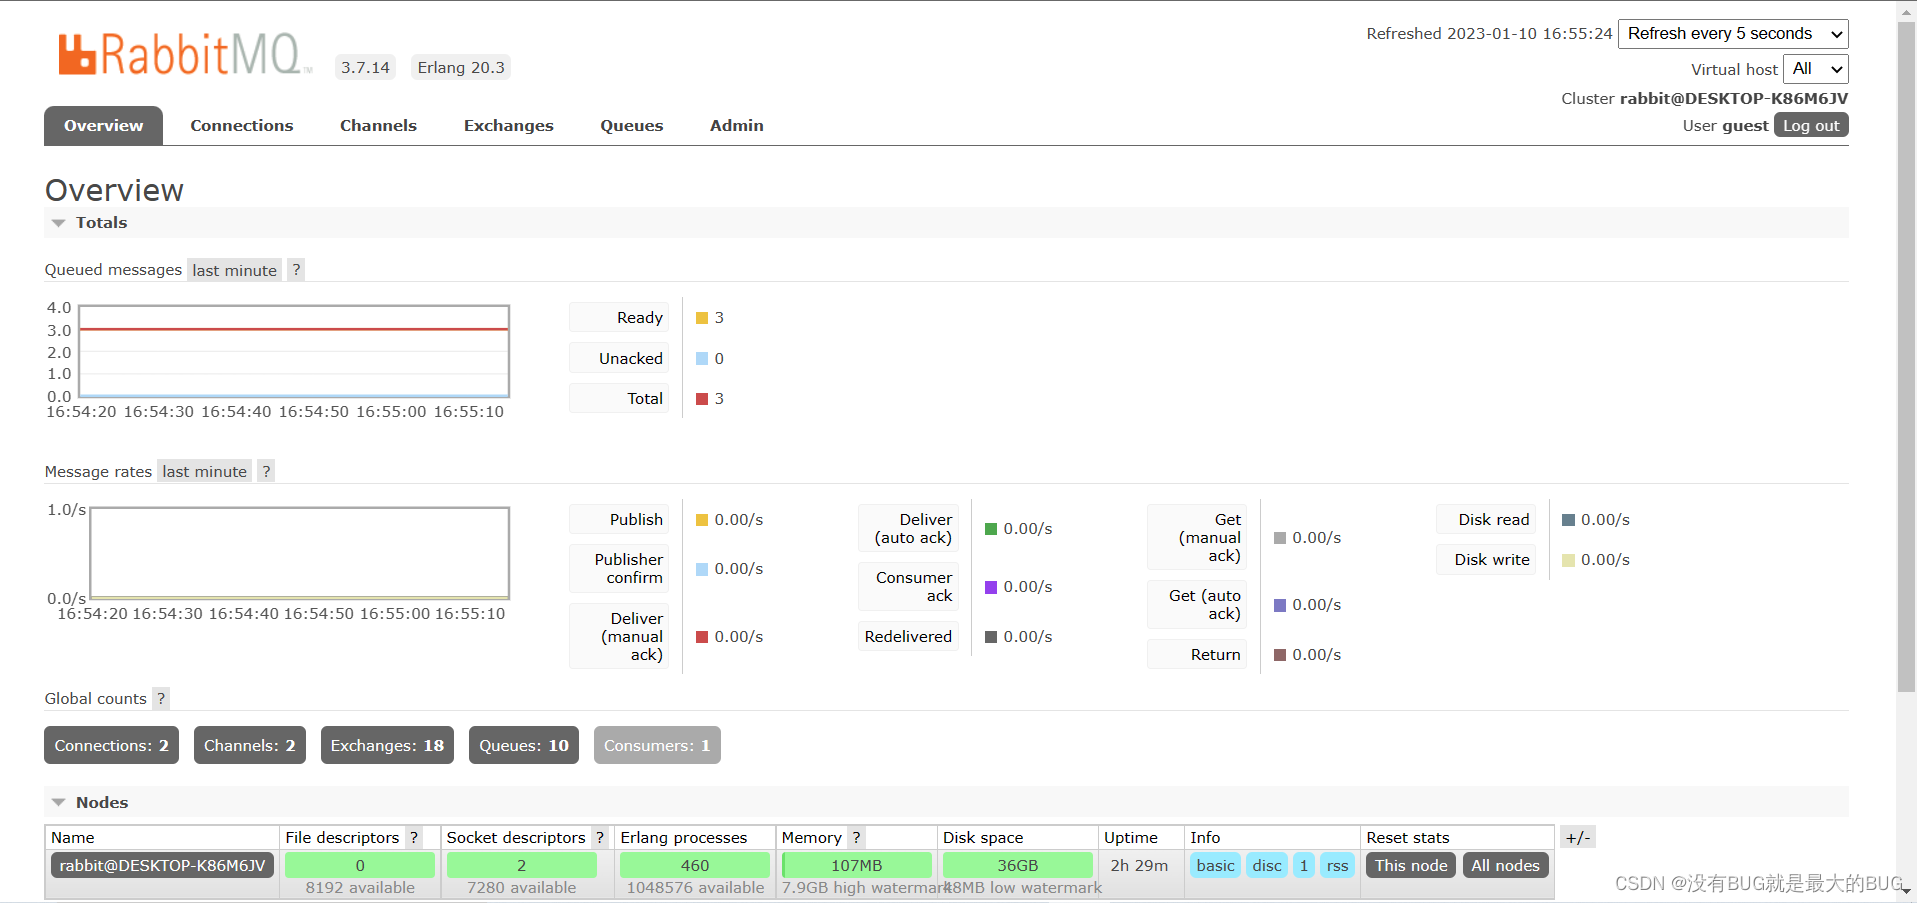
 5.点击以下链接进入RabbitMQ控制台
http://localhost:15672/#/
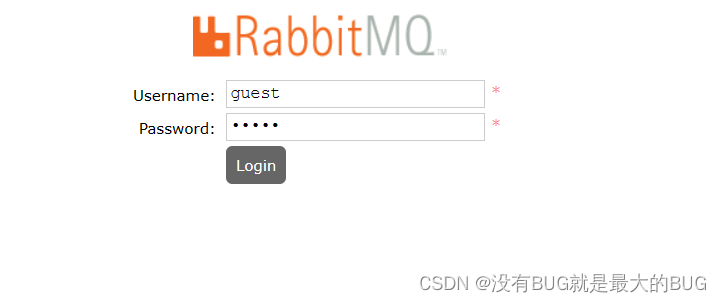
6.账号密码初始都是guest,进行登录
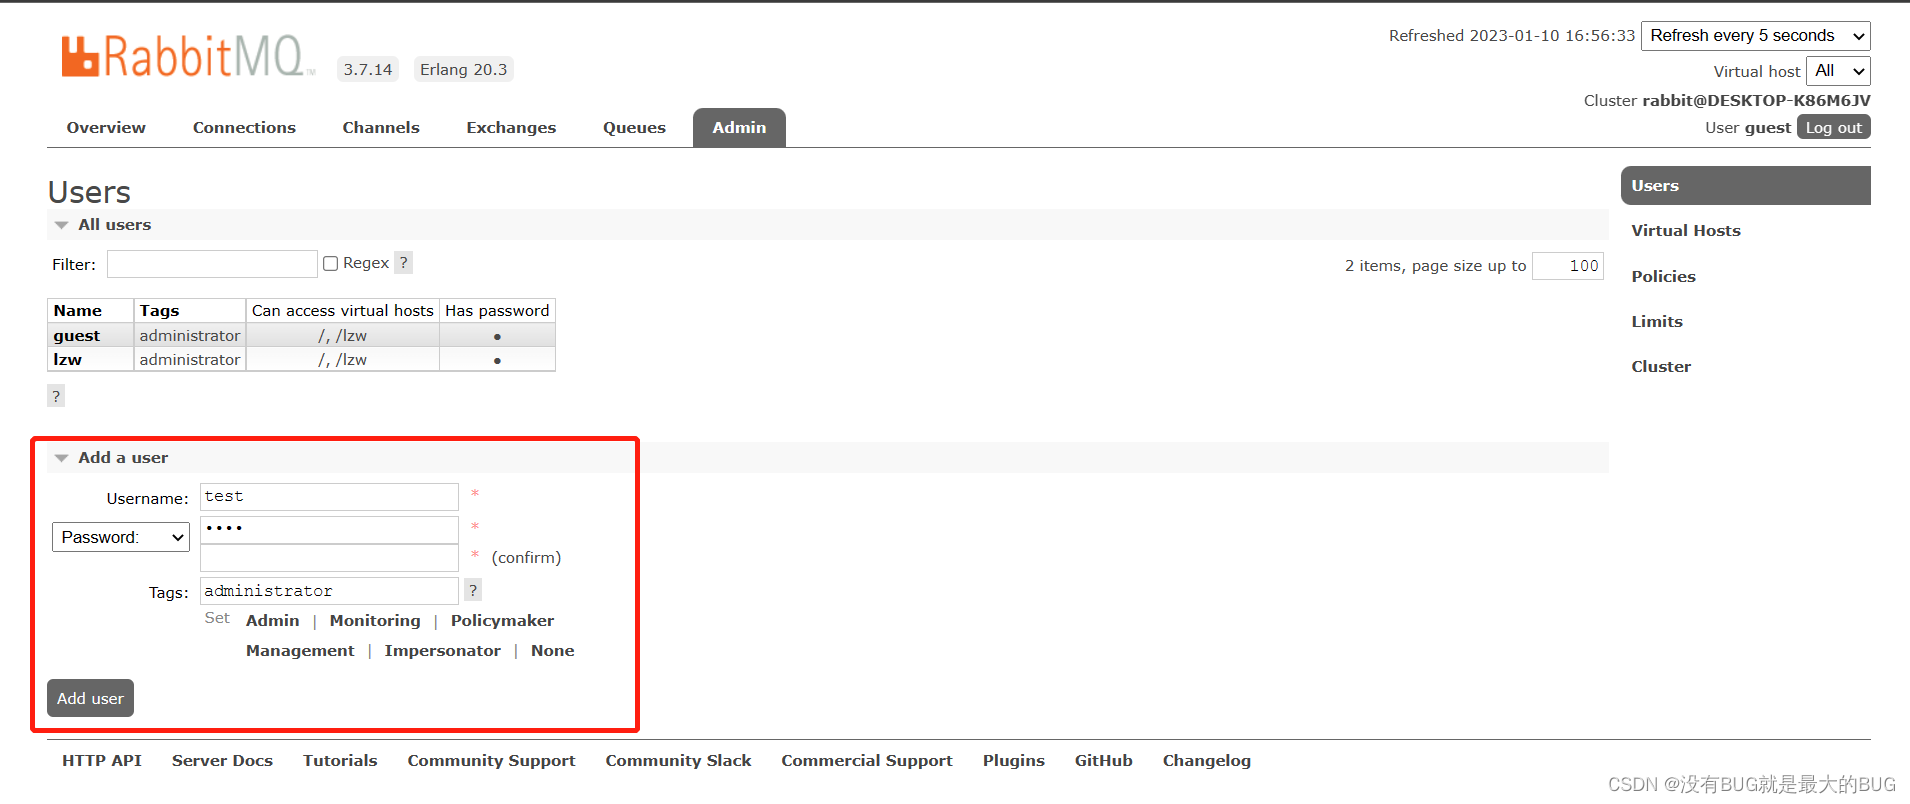
7.可以自定义用户 test
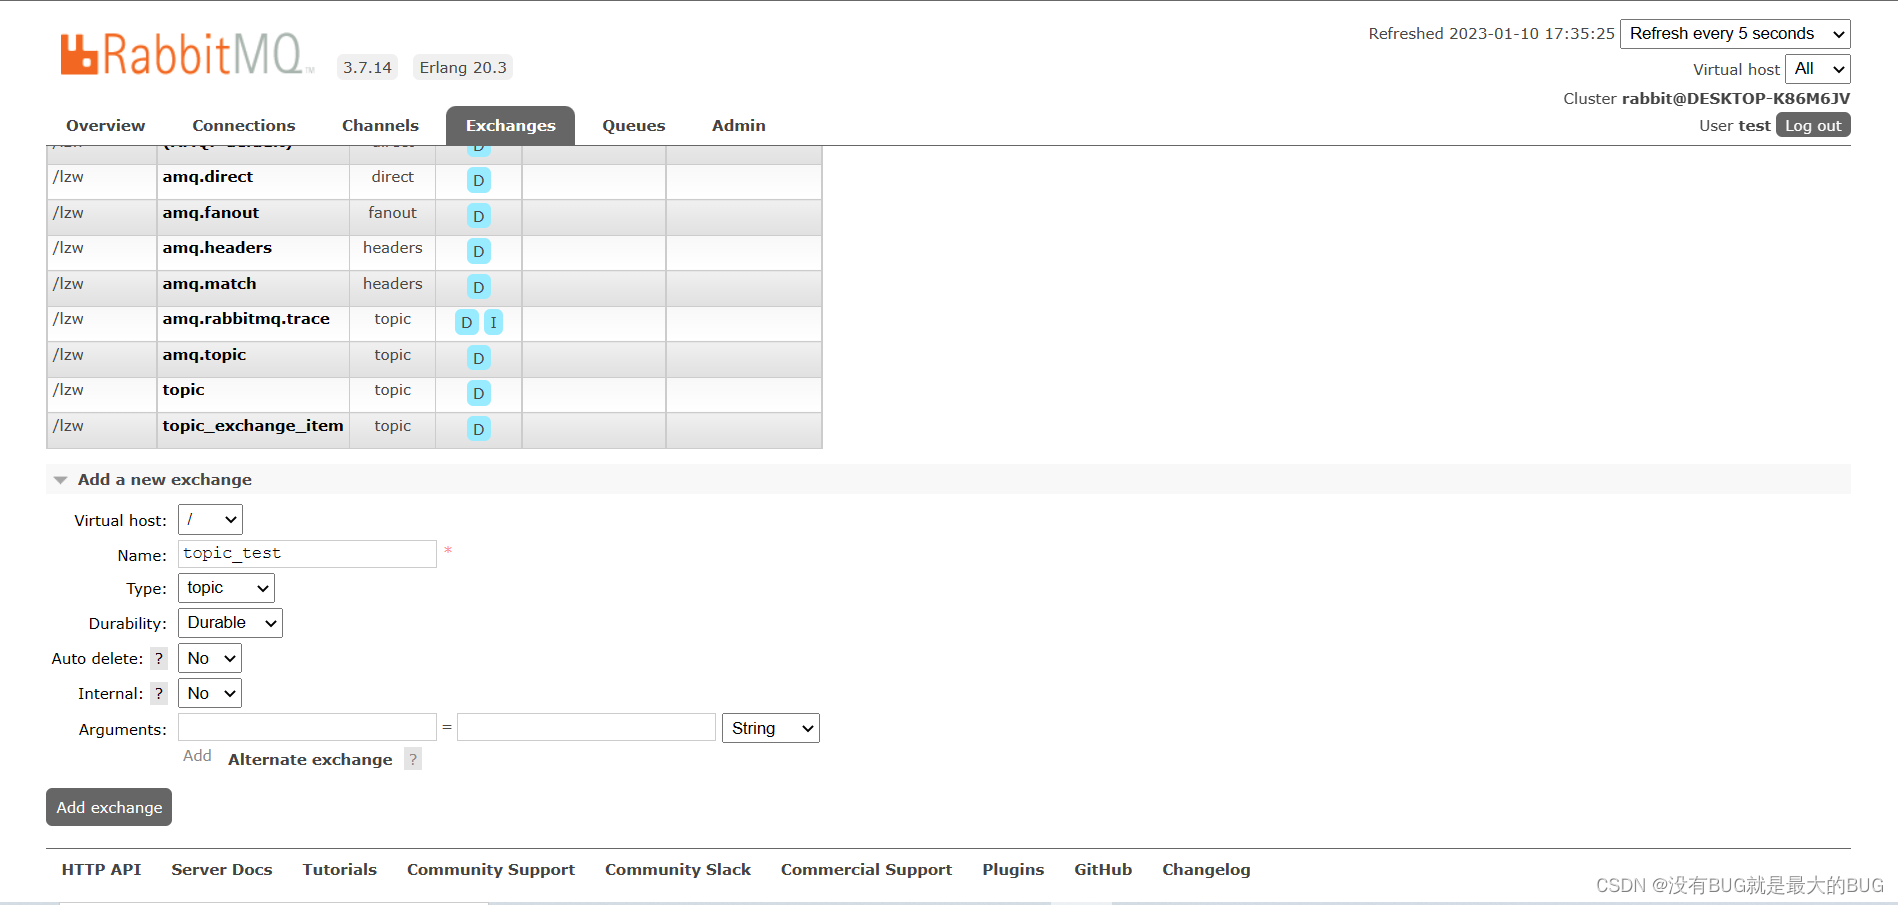
8.创建交换机 topic_test
9.创建队列 queue_test
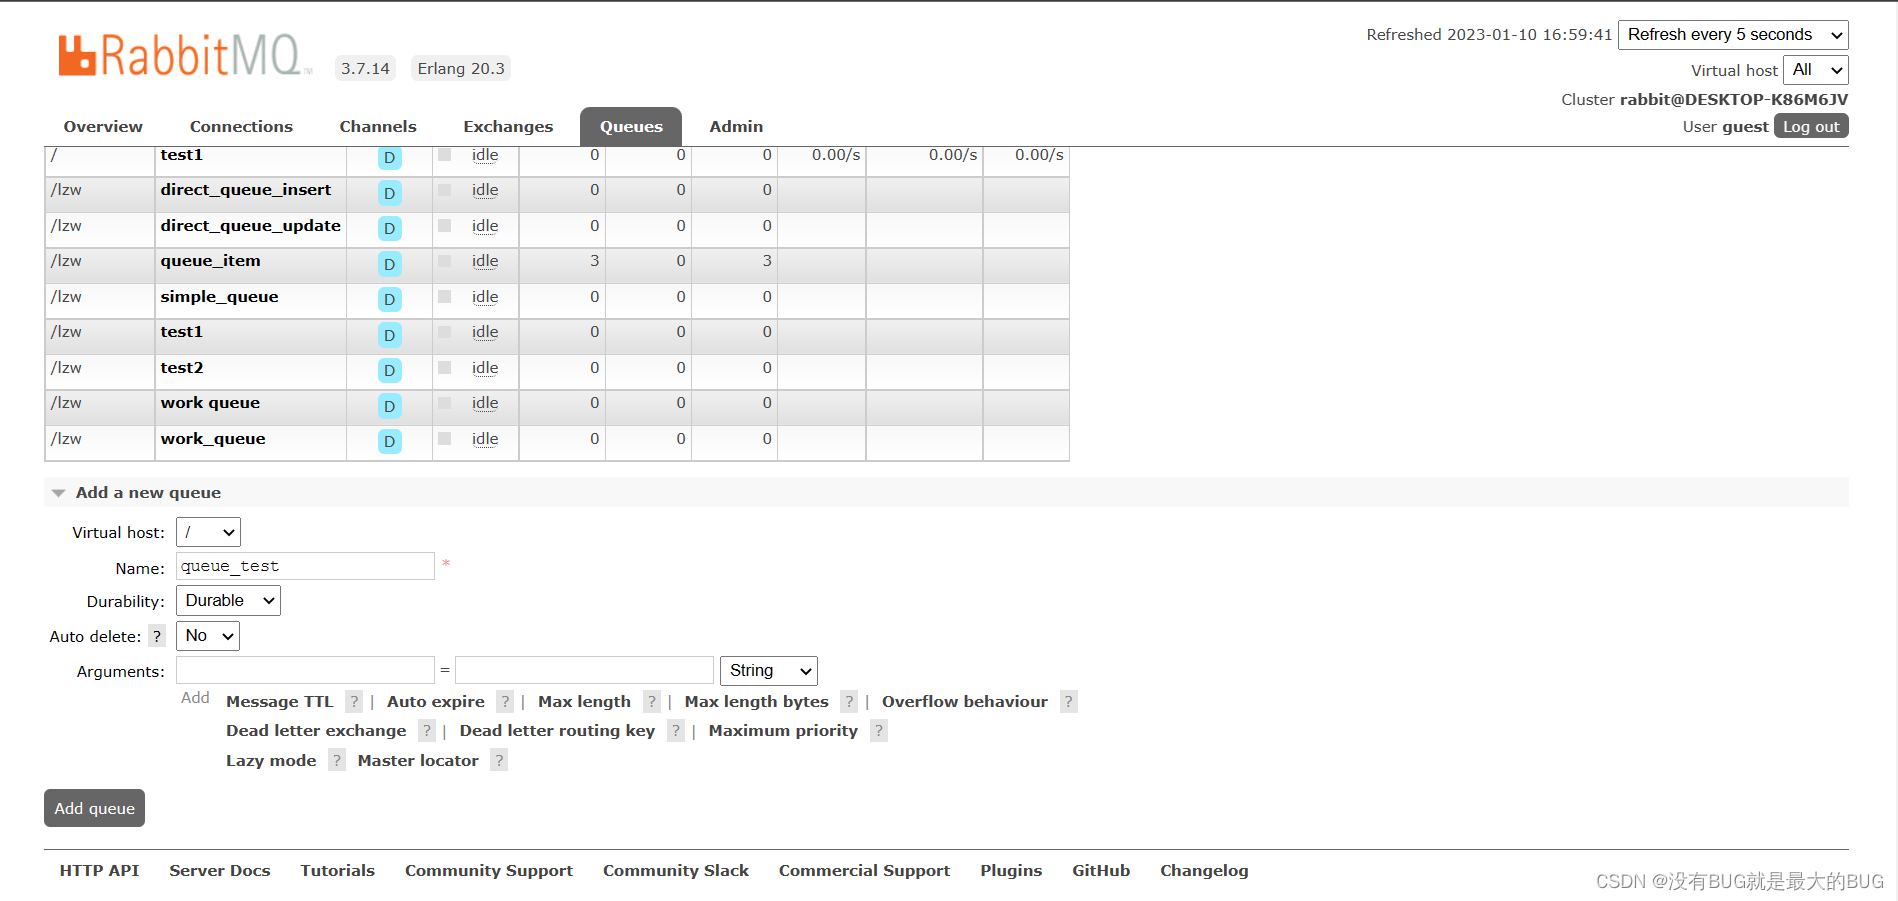
二、创建生产者
1.引入相关依赖
org.springframework.boot spring-boot-starter-parent 2.1.1.RELEASE org.springframework.boot spring-boot-starter-web org.projectlombok lombok provided org.apache.commons commons-lang3 org.springframework.boot spring-boot-starter-amqp 2.yml配置
server:port: 8081spring:rabbitmq:host: 127.0.0.1port: 5672username: testpassword: test
3.编写RabbitMQ配置类
package cn.sdata.config;import org.springframework.amqp.core.*;
import org.springframework.beans.factory.annotation.Qualifier;
import org.springframework.context.annotation.Bean;
import org.springframework.context.annotation.Configuration;/*** @author lzw* @create 2021-09-07-14:21* RabbitMQ配置类* 交换机* 队列* 队列绑定交换机*/
@Configuration
public class RabbitMQConfig {//定义交换机名称public static String TOPIC_EXCHANGE_ITEM = "topic_test";//定义队列名称public static String QUEUE_ITEM ="queue_test";//定义交换机@Bean("topicExchange")public Exchange topicExchange(){return ExchangeBuilder.topicExchange(TOPIC_EXCHANGE_ITEM).durable(true).build();}//定义队列@Bean("itemQueue")public Queue itemQueue(){return QueueBuilder.durable(QUEUE_ITEM).build();}//队列绑定到交换机@Beanpublic Binding itemQueueExchange(@Qualifier("itemQueue") Queue queue,@Qualifier("topicExchange") Exchange exchange){return BindingBuilder.bind(queue).to(exchange).with("item.*").noargs();}
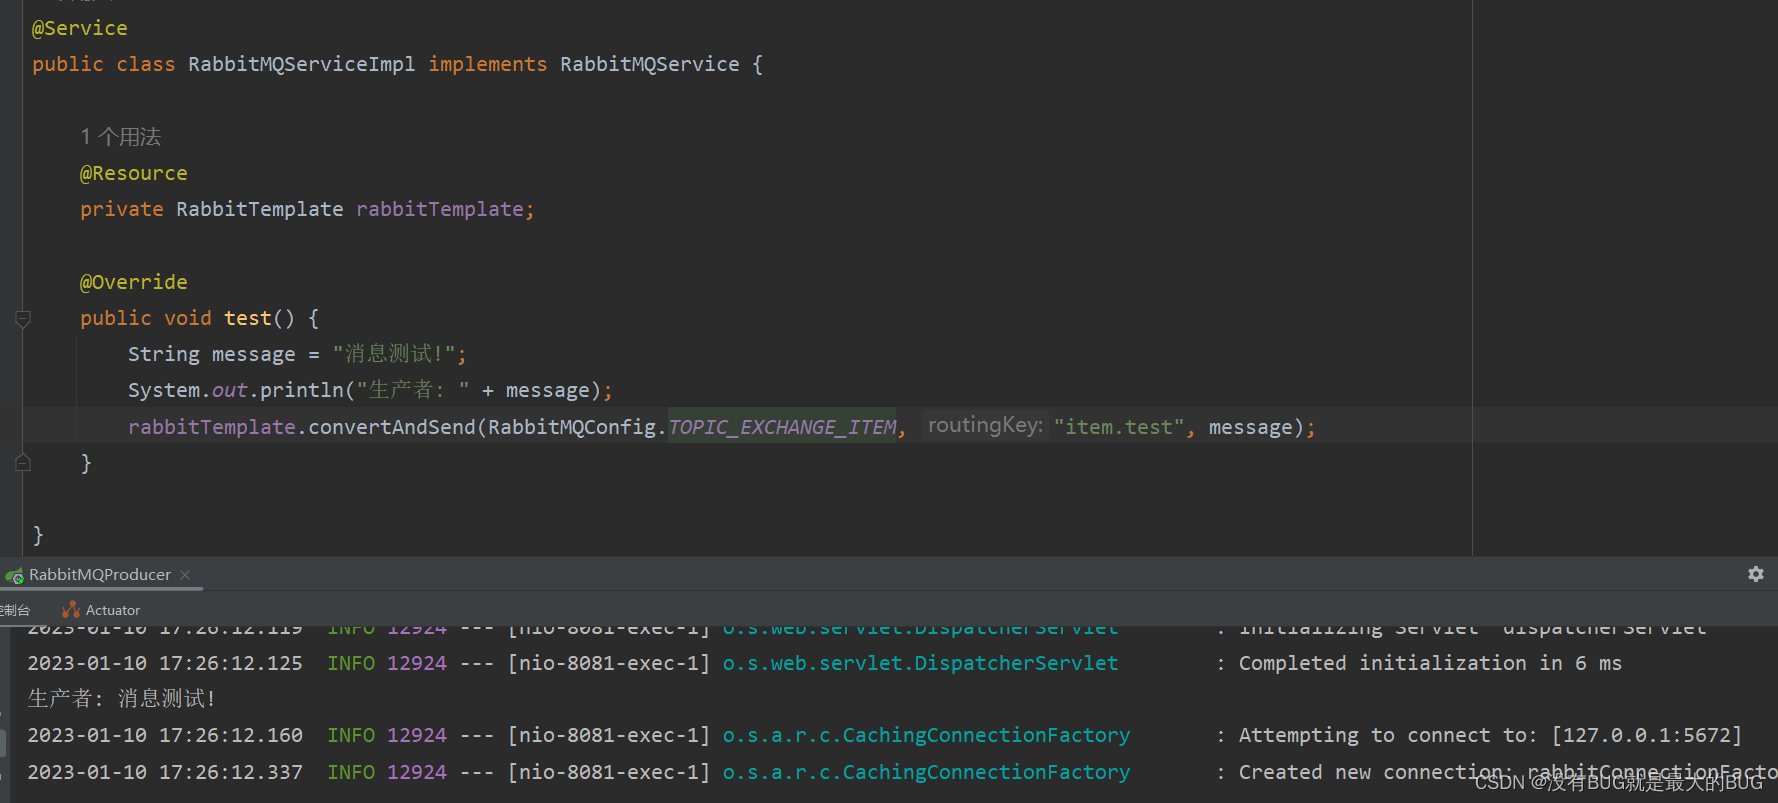
}4.模拟生产者发送消息(此处提供serviceImpl代码,剩余service、controller代码自行补齐即可)
@Service
public class RabbitMQServiceImpl implements RabbitMQService {@Resourceprivate RabbitTemplate rabbitTemplate;@Overridepublic void test() {rabbitTemplate.convertAndSend(RabbitMQConfig.TOPIC_EXCHANGE_ITEM,"item.test","生产了一条消息!");}
}
三、创建消费者
1.引入相关依赖同上
2.yml配置
server:port: 8082spring:rabbitmq:host: 127.0.0.1port: 5672username: testpassword: test
3.创建一个类用来监听消息
package cn.sdata.listener;import org.springframework.amqp.rabbit.annotation.RabbitListener;
import org.springframework.stereotype.Component;/*** @author lzw* @create 2021-09-07-14:47*/
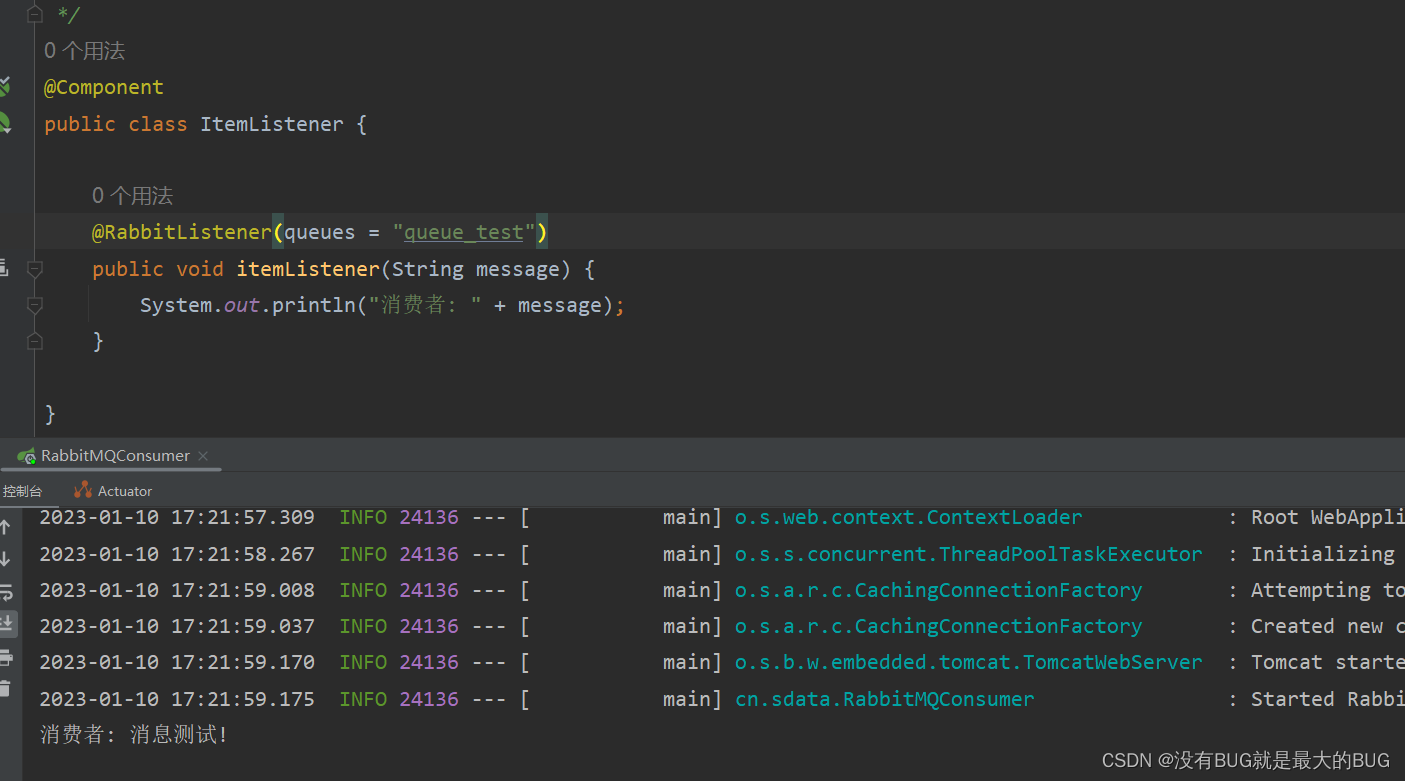
@Component
public class ItemListener {@RabbitListener(queues = "test1")public void itemListener(String message){System.out.println("接收到的消息"+message);}}
四、测试
1.依次启动生产者、消费者
2.生产者输出
3.消费者输出
RabbitMQ发送消息有六种模式,简易模式、工作模式、广播模式、路由模式、主题模式、6RPC模式(基本不用),我这边用的是主题模式(Topic)
相关内容
热门资讯
埃菲尔铁塔在哪 中国仿建埃菲尔...
2019年4月26日,广西南宁市,街头惊现一座巨型山寨版埃菲尔铁塔,高约20米,白色塔身,造型逼真,...
苗族的传统节日 贵州苗族节日有...
【岜沙苗族芦笙节】岜沙,苗语叫“分送”,距从江县城7.5公里,是世界上最崇拜树木并以树为神的枪手部落...
北京的名胜古迹 北京最著名的景...
北京从元代开始,逐渐走上帝国首都的道路,先是成为大辽朝五大首都之一的南京城,随着金灭辽,金代从海陵王...
长白山自助游攻略 吉林长白山游...
昨天介绍了西坡的景点详细请看链接:一个人的旅行,据说能看到长白山天池全凭运气,您的运气如何?今日介绍...
应用未安装解决办法 平板应用未...
---IT小技术,每天Get一个小技能!一、前言描述苹果IPad2居然不能安装怎么办?与此IPad不...
脚上的穴位图 脚面经络图对应的...
人体穴位作用图解大全更清晰直观的标注了各个人体穴位的作用,包括头部穴位图、胸部穴位图、背部穴位图、胳...
猫咪吃了塑料袋怎么办 猫咪误食...
你知道吗?塑料袋放久了会长猫哦!要说猫咪对塑料袋的喜爱程度完完全全可以媲美纸箱家里只要一有塑料袋的响...
demo什么意思 demo版本...
618快到了,各位的小金库大概也在准备开闸放水了吧。没有小金库的,也该向老婆撒娇卖萌服个软了,一切只...
世界上最漂亮的人 世界上最漂亮...
此前在某网上,选出了全球265万颜值姣好的女性。从这些数量庞大的女性群体中,人们投票选出了心目中最美...
埃菲尔铁塔在哪 中国仿建埃菲尔...
2019年4月26日,广西南宁市,街头惊现一座巨型山寨版埃菲尔铁塔,高约20米,白色塔身,造型逼真,...
苗族的传统节日 贵州苗族节日有...
【岜沙苗族芦笙节】岜沙,苗语叫“分送”,距从江县城7.5公里,是世界上最崇拜树木并以树为神的枪手部落...
北京的名胜古迹 北京最著名的景...
北京从元代开始,逐渐走上帝国首都的道路,先是成为大辽朝五大首都之一的南京城,随着金灭辽,金代从海陵王...
长白山自助游攻略 吉林长白山游...
昨天介绍了西坡的景点详细请看链接:一个人的旅行,据说能看到长白山天池全凭运气,您的运气如何?今日介绍...
世界上最漂亮的人 世界上最漂亮...
此前在某网上,选出了全球265万颜值姣好的女性。从这些数量庞大的女性群体中,人们投票选出了心目中最美...
应用未安装解决办法 平板应用未...
---IT小技术,每天Get一个小技能!一、前言描述苹果IPad2居然不能安装怎么办?与此IPad不...
脚上的穴位图 脚面经络图对应的...
人体穴位作用图解大全更清晰直观的标注了各个人体穴位的作用,包括头部穴位图、胸部穴位图、背部穴位图、胳...
demo什么意思 demo版本...
618快到了,各位的小金库大概也在准备开闸放水了吧。没有小金库的,也该向老婆撒娇卖萌服个软了,一切只...
猫咪吃了塑料袋怎么办 猫咪误食...
你知道吗?塑料袋放久了会长猫哦!要说猫咪对塑料袋的喜爱程度完完全全可以媲美纸箱家里只要一有塑料袋的响...